
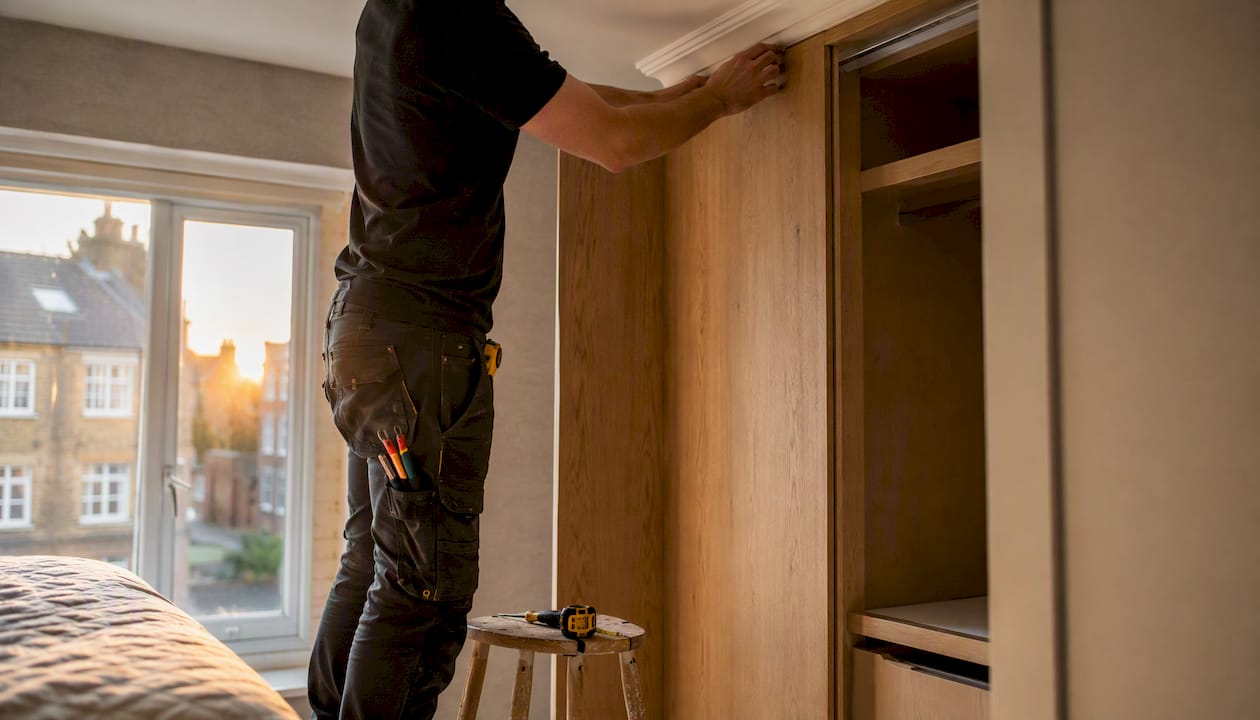
Wardrobes with coving are entirely practical and, when handled correctly, look as though they were always part of the room. The best outcome for most homeowners is a bespoke, made-to-measure wardrobe designed around the existing coving profile — either by replicating it, scribing around it, or removing and reinstating a section cleanly. If budget is the priority, a well-modified off-the-shelf unit can work, but it demands precise measurement and carries more risk of a visible gap or weak fixing. Here is the shortlist of approaches at a glance:
- Bespoke made-to-measure with profile matching: the wardrobe cornice is manufactured to replicate or complement the existing coving, producing a fully integrated look.
- Scribe, cut, or set back: the frame is positioned below or behind the coving line, with a scribe bead or shadow gap concealing the transition.
- Remove and reinstate: a section of coving is carefully taken out to allow a full-height frame, then reinstated or replaced to match.
If you are ready to act now, the measurement checklist and surveyor questions are in the sections below.
Key takeaways
Wardrobes with coving are practical and look best when the chosen method — match, set-back, or remove-and-reinstate — is confirmed before manufacture, based on a measured survey and physical coving template.
| Point | Details |
|---|---|
| Choose your method early | Decide between profile matching, set-back, or reinstatement at the brief stage to avoid costly redesigns. |
| Measure coving projection and drop | Record the coving’s horizontal projection and vertical drop before manufacture — these govern frame position and door clearance. |
| Liner thickness matters | Sliding-door liners are typically 18mm thick; full-height liners usually require a section of coving to be removed or accommodated. |
| Modern vs plaster coving | Polyurethane coving is easy to cut and fill; original plaster cornice in period properties may need a specialist plasterer to reinstate. |
| Finest Furniture Studio | Offers free measured surveys, profile templating, bespoke manufacture, and a 10-year guarantee across London and surrounding areas. |
Table of Contents
- Which approach works best for wardrobes with coving?
- How do you measure and prepare a room with coving for a wardrobe?
- How do you choose between DIY modifications and a bespoke maker?
- What does wardrobe work involving coving cost, and how long does it take?
- What finishing details make a wardrobe look built-in alongside coving?
- How do bespoke makers handle coving challenges in practice?
- Our recommended approach for London homeowners
- Ready for a measured survey? Here is how we can help
- Sources
- FAQ
Which approach works best for wardrobes with coving?
The three methods each carry distinct trade-offs in cost, finish quality, and disruption. Understanding them before you speak to a maker saves redesign time later.
- Profile matching (bespoke cornice): a joiner or fitted wardrobe specialist manufactures a cornice strip that mirrors the room’s existing coving. The result is a fully flush, built-in aesthetic. Cost is higher because it requires templating and custom moulding, but it suits period rooms in Richmond, Chelsea, or Wimbledon where original plaster cornices are a feature worth preserving.
- Scribe or set-back: the wardrobe carcass stops short of the ceiling by the depth of the coving projection. A scribe bead or fillet covers the gap between the top of the unit and the wall. Lower cost, faster to manufacture, and perfectly acceptable in rooms where the coving is shallow or the ceiling height is generous.
- Remove and reinstate: a section of coving is cut away to allow a full-height frame to sit flush against the ceiling. The removed section is either reinstated with matching material or replaced with a new length. This method suits rooms where full-height doors are a priority and the existing coving is modern polyurethane rather than irreplaceable plaster.
Pro Tip: Decide between “match” and “respect” before the design is drawn. Fitted joinery for period homes consistently shows that choosing your approach at the brief stage prevents the finished unit from looking like an afterthought against original architectural features.
How do you measure and prepare a room with coving for a wardrobe?
Accurate measurement is where a bespoke installation earns its money. The critical figures are not just floor-to-ceiling height; they include the coving’s projection from the wall, its drop from the ceiling, and how both interact with your chosen door type.
What to measure on site
- Floor-to-ceiling height: measure at three points across the wall (left, centre, right) and record the smallest figure as your working height.
- Coving projection from wall: the horizontal distance the coving extends into the room. This determines how far back a full-height frame must sit, or how deep a cornice strip needs to be.
- Coving drop from ceiling: the vertical distance from the ceiling face to the bottom of the coving. This is the clearance you have before the coving obstructs a top rail or liner.
- Skirting projection: measure the skirting board’s depth from the wall face, as this governs the minimum depth of the base and the liner position at floor level.
- Wall plumb: use a spirit level to check whether the wall leans in or out. A wall out of plumb by more than 5mm across a 2.4m height will need scribing to close the gap.
Clearance guidelines by door type
Sliding-door liner systems typically use an 18mm wall liner thickness, and installers position liners either above the skirting or cut the skirting to allow the liner to run floor-to-ceiling. The same logic applies at ceiling level: if the liner runs full height, the coving must be removed or the liner must stop below it.
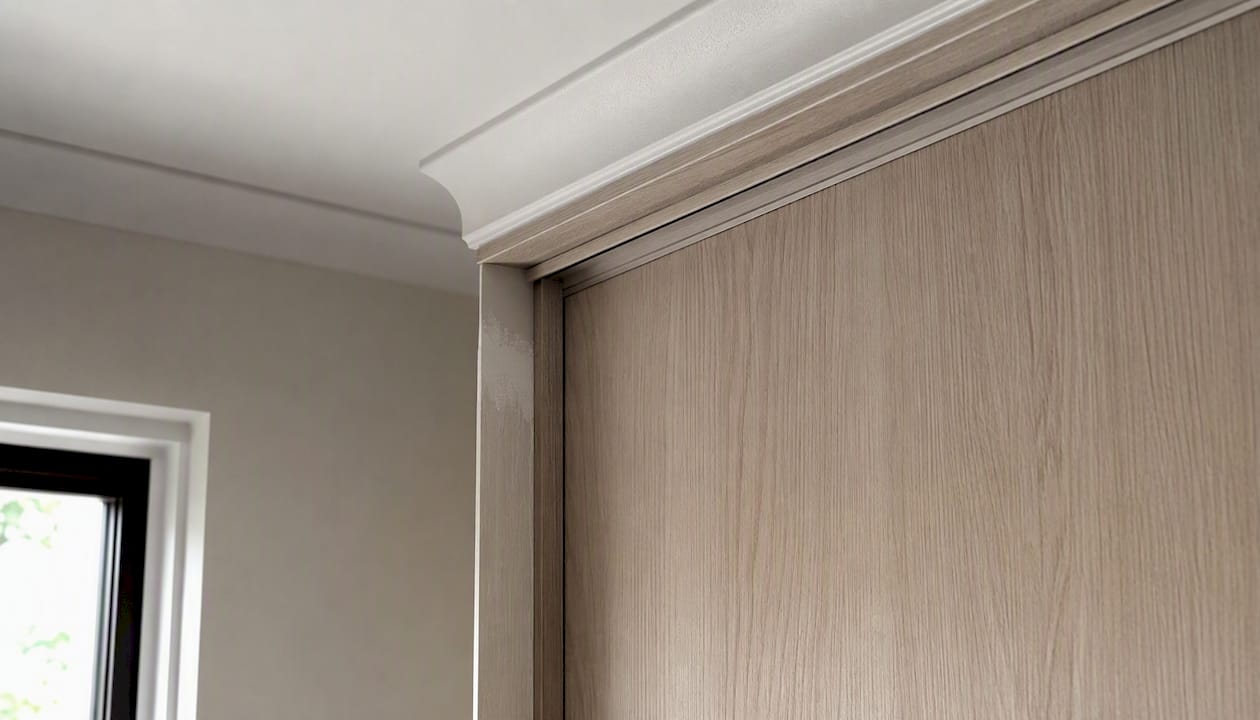
| Door type | Minimum top clearance needed | Coving accommodation |
|---|---|---|
| Hinged doors | 10–15mm above door leaf | Scribe bead or set-back frame usually sufficient |
| Sliding doors (full-height liner) | Liner depth plus 5mm tolerance | Coving section removal typically required |
| Pocket / bi-fold doors | 10mm above track housing | Profile-matched cornice strip recommended |
Pro Tip: Take a profile template of the coving using a contour gauge or a piece of card scribed on site. Send this to your maker before manufacture — it removes ambiguity about projection depth and prevents costly remakes.
When installing sliding wardrobe frames, small sections of coving are commonly removed and later made good. Modern coving is often hollow and may need Polyfiller or coving adhesive after cutting to produce a neat finish. Plaster cornice is a different matter entirely: it is dense, brittle, and irreplaceable in many period properties, so removal should be a last resort.
How do you choose between DIY modifications and a bespoke maker?
For a seamless finish and reliable tolerances, a bespoke survey-and-manufacture route gives the best outcome because the unit is designed around your specific coving profile rather than adapted to fit it after the fact. That said, the right route depends on several factors.
Decision criteria
- Room complexity: deep plaster cornices, sloping ceilings, or alcoves with chimney breasts almost always need bespoke joinery.
- Budget: set-back or scribe methods with standard carcasses cost less; profile-matched bespoke cornices add to the price.
- Heritage constraints: listed buildings or conservation areas in Chiswick, Hammersmith, or Barnes may restrict what you can remove or alter.
- Desired finish: if the wardrobe needs to look built-in rather than placed-in, bespoke is the reliable route.
- Timeline: off-the-shelf modifications can be completed faster, but risk a poor fit if measurements are approximate.
Bespoke fitted joinery handles irregular walls, odd ceiling heights, and existing features such as coving and picture rails far better than off-the-shelf units. DIY modifications to flatpack systems are possible — some homeowners shorten bases or cut frames to clear coving — but cutting near pre-drilled fixing holes can compromise structural stability, so this approach carries real risk if not done carefully.
Questions to ask a surveyor or maker before signing
- Do you carry out an in-home measured survey before manufacture?
- Will you take a physical template of the coving profile?
- Can you show portfolio examples of wardrobes fitted in rooms with existing coving?
- Who is responsible for removing and reinstating coving sections?
- What is your tolerance policy if the finished unit does not fit within the agreed gap?
- Do you offer a written workmanship guarantee, and for how long?
- What is the lead time from survey to installation?
- Will you dispose of the old wardrobe?
- What door types do you offer, and how does each interact with the coving line?
- Can you match the existing coving profile with a bespoke cornice strip?
- How do you handle walls that are out of plumb?
- What substrate do you use for the carcass (MDF, solid timber, or board)?
- Do you paint or finish on site, or are panels pre-finished?
- What happens if the coving is damaged during installation?
- Is the price fixed after the survey, or subject to variation?
Red flags: no site survey offered; no portfolio of coving-specific work; vague or absent warranty; inability to explain how they will accommodate the coving. A trustworthy maker will confirm a measured survey, physical templating, a clear lead time, and a written guarantee before you sign anything.
For further guidance on what to check before choosing a wardrobe, including how to decide whether to blend new furniture with existing features or create a contrasting finish, that resource covers the decision in detail.
What does wardrobe work involving coving cost, and how long does it take?
The principal cost drivers are bespoke profiling, on-site templating, coving removal or reinstatement, door type, and finishing — in roughly that order of impact. A set-back frame with a scribe bead is the most affordable route; a full profile-matched cornice with plaster reinstatement is the most expensive.
Typical bespoke wardrobe projects in London follow this sequence: in-home survey (one visit), manufacture (usually two to six weeks depending on complexity and material), and installation (typically seven to twelve days on site). Delays most commonly occur at the manufacture stage when bespoke mouldings or matching profiles need to be sourced or machined.
The condition of the existing coving materially affects both cost and method. Modern polyurethane or polystyrene coving is inexpensive to cut, fill, and replace. Original plaster cornice in a period property in Putney or Twickenham may require a specialist plasterer to reinstate, adding both time and cost to the project. Allocating the detail budget to visible elements — doors, handles, cornice strips, and frame lines — rather than over-specifying hidden internals is a practical way to manage cost without compromising the finished look.
Pro Tip: Get the coving assessed before the survey visit. Tap it gently: a hollow sound indicates modern polyurethane or polystyrene; a solid thud suggests plaster. That single test tells your maker which removal method applies and whether a specialist plasterer needs to be budgeted.
What finishing details make a wardrobe look built-in alongside coving?
Small, considered details separate a built-in result from one that merely fits in the space. Scribe beads, shadow gaps, matching profiles, and correct paint sequencing each play a part.
- Scribe beads and fillets: a thin timber or MDF bead, scribed to follow the wall’s profile, closes the gap between the wardrobe carcass and an uneven wall or coving return. It is painted to match and becomes invisible.
- Profile options: MDF is the standard substrate for painted finishes; polyurethane mouldings are lightweight and easy to cut; plaster is the premium choice for period rooms. Match the material to the existing coving where possible.
- Substrate preparation: fill any gaps between the coving and the wall with coving adhesive or Polyfiller before painting. Sand flush when dry.
- Fixing strategy for cornice returns: fix the wardrobe cornice strip to the carcass top panel, not to the ceiling, so any ceiling movement does not crack the joint.
- Paint sequencing: prime and paint cornice strips and scribe beads before fitting panels where possible. Touching in on site is faster and produces a cleaner result than trying to cut in around installed mouldings.
Trade guidance recommends a Stanley-type blade for scribing modern coving and a chisel for older plaster cornice, with appropriate fillers for hollow sections. Getting the cut clean on the first pass matters: ragged edges are difficult to fill neatly and show through paint.
Pro Tip: Paint the cornice strip and any scribe beads in the final wall colour before installation. One careful touch-in on site is far quicker than cutting in around a fitted moulding, and the finish is noticeably sharper.
For wardrobe design ideas that pair well with coving-sensitive installations, including finish examples and profile combinations, that resource covers the aesthetic decisions in depth.
How do bespoke makers handle coving challenges in practice?
Bespoke makers typically apply one of three templates depending on the room: match-profile doors with a custom cornice, a set-back frame with a reveal, or full reinstatement of coving after a full-height frame is fitted. Each produces a different balance of cost and finish.
-
Shallow coving, smaller bedroom (set-back with reveal): a standard carcass is positioned so the top panel sits just below the coving line. A shadow gap or painted fillet conceals the transition. The client trades a small loss of internal height for a lower cost and a clean, contemporary look. This approach suits modern new-build bedrooms in Ealing or Kingston where coving projection is typically 50–80mm.
-
Deep plaster cornice, period property (profile-matched cornice strip): the maker takes a physical template of the cornice on survey day and machines a matching MDF or polyurethane strip. The wardrobe cornice is fitted to the top of the carcass and painted to match the room. The client pays more for the profiling and finishing time, but the result reads as original joinery. This is the preferred method for Victorian and Edwardian properties in Fulham, Chelsea, and Hammersmith.
-
Sloping ceiling or alcove (remove and reinstate): where a full-height sliding door is the priority and the ceiling slopes or the alcove has an irregular coving return, a section of coving is removed to allow the liner to run floor-to-ceiling. The coving is then reinstated with matching material and made good. The client accepts a slightly higher cost and a short period of disruption in exchange for full-height doors and a flush frame. For awkward room layouts including alcoves, this method consistently produces the most complete result.
A measured survey is the only reliable way to confirm which template applies to your room.
Our recommended approach for London homeowners
For London homeowners who prioritise finish and longevity, a bespoke measured wardrobe is the approach we recommend — because it is the only method that accounts for your specific coving profile, wall plumb, and ceiling height before a single panel is cut.
At Finest Furniture Studio, every project begins with an in-home measured survey. We take physical templates of the coving and skirting, photograph the room, and confirm the chosen method before manufacture begins. Our portfolio covers profile-matched cornices in period properties across Richmond, Wimbledon, Putney, Kingston, Chiswick, Fulham, Chelsea, Ealing, Twickenham, Barnes, and Hammersmith, as well as set-back and reinstatement projects across wider London and nearby areas including Walton-on-Thames, Guildford, Woking, and Reading.
Finest Furniture Studio typically completes installations within seven to twelve days and backs every project with a 10-year workmanship guarantee. We also remove and dispose of your old wardrobe as part of the service.
Ready for a measured survey? Here is how we can help
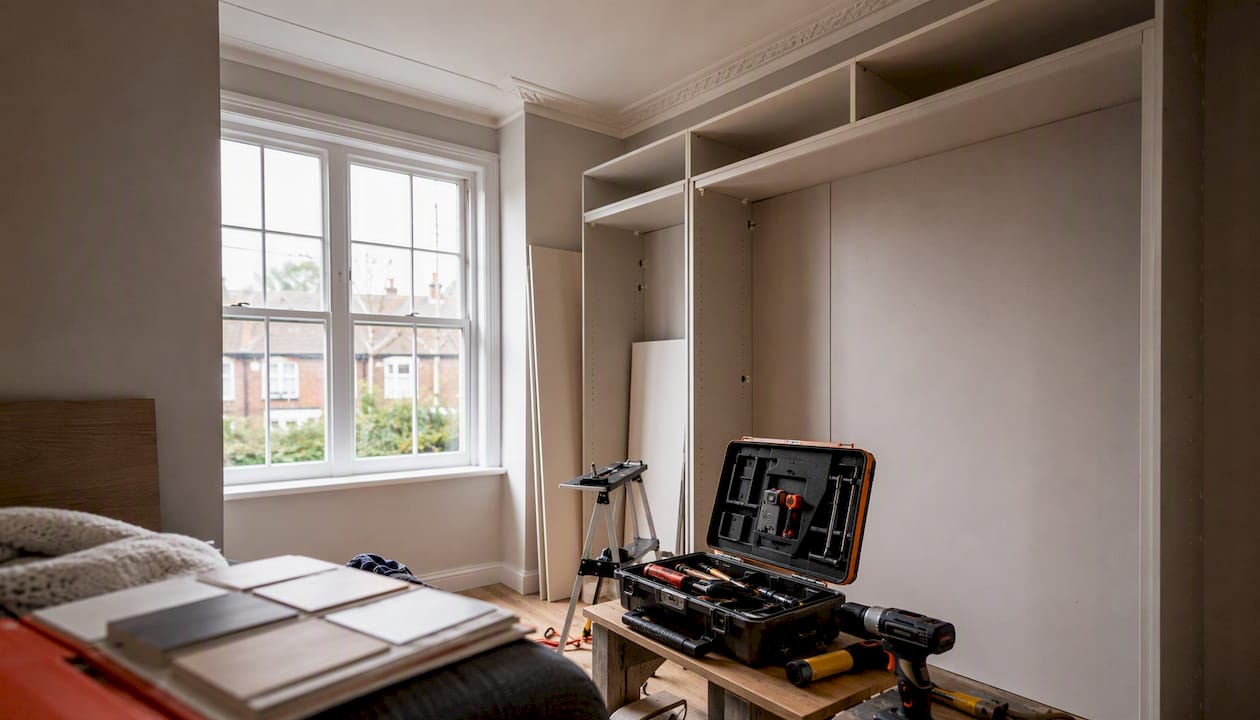
A wardrobe that works perfectly with your coving starts with one visit. Finest Furniture Studio offers free in-home design visits across London and the surrounding counties, where we measure, template, and advise on the best approach for your room — whether that is a profile-matched cornice, a set-back frame, or a full reinstatement.

Our service covers everything from the initial survey through to manufacture, installation, and disposal of your existing wardrobe:
- Free in-home design visit and measured survey
- Physical coving and skirting templating
- Bespoke manufacture to your exact dimensions
- Professional installation, typically within seven to twelve days
- Removal and disposal of your old wardrobe
- 10-year workmanship guarantee
For bespoke built-in wardrobes in West London or across the city, contact us to book your free design visit. Call or WhatsApp us on 📞 07468 150807, or visit our studio at 124 City Road, Kemp House, London, EC1V 2NX. You can also browse our built-in wardrobe options to see finishes and configurations before your visit.
Sources
The following UK installation and trade guidance sources informed this article:
- Transform your space with fitted joinery for period homes
- INSTALLATION GUIDE
- How to cut skirting board for sliding wardrobe doors
FAQ
Should bedrooms have coving?
Coving is not a structural requirement, but it adds a finished, architectural quality to a bedroom and can increase the perceived value of a property. In period homes across London, original plaster cornices are often considered a feature worth preserving.
Is coving fashionable in 2026?
Coving has returned strongly in interior design, particularly in period conversions and higher-specification new builds. Shallow, clean-lined profiles suit contemporary rooms; deeper classical cornices suit Victorian and Edwardian properties.
What are common wardrobe design mistakes when coving is present?
The most frequent mistakes are failing to measure the coving projection before ordering, choosing full-height sliding doors without accounting for liner clearance, and attempting to modify flatpack carcasses near pre-drilled fixing holes, which can weaken the structure.
Can you show examples of built-in wardrobes that incorporate coving?
Yes — bespoke makers typically use one of three approaches: a profile-matched cornice strip, a set-back frame with a shadow gap, or a full-height frame with coving reinstated above. Finest Furniture Studio’s portfolio covers all three across Richmond, Wimbledon, Chelsea, and wider London.