
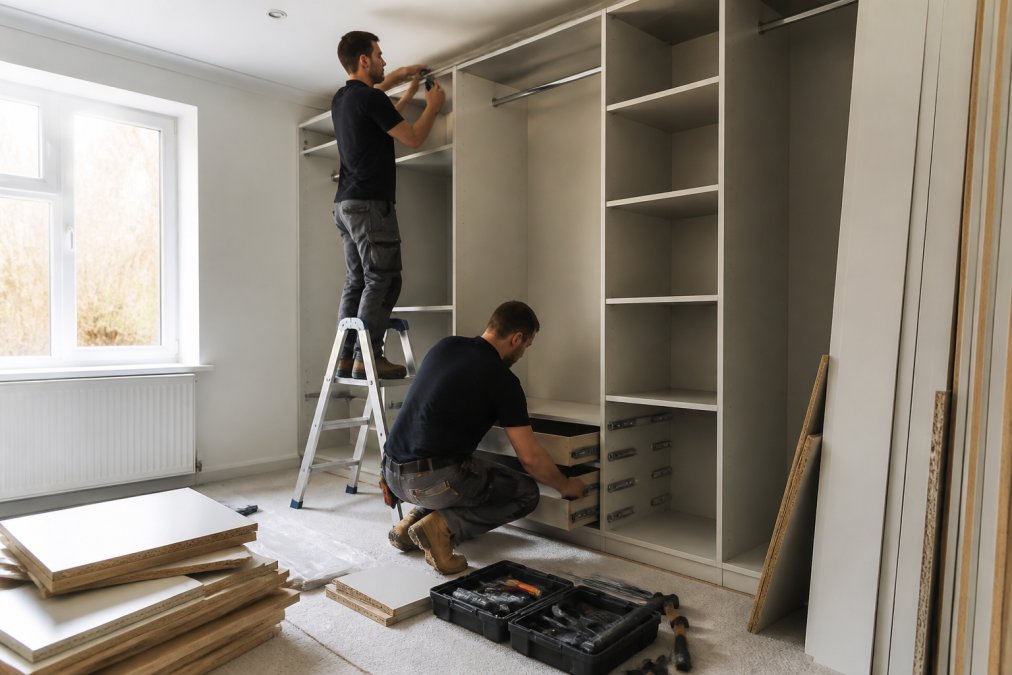
Table of Contents
- Understanding Fitted Wardrobe Installation Timeline
- Key Factors Affecting Your Installation Schedule
- Bespoke Wardrobe Lead Times in 2026
- How to Prepare Your Room for Wardrobe Installation
- Fitted Wardrobe Installation Cost and Budget Planning
- The Installation Day: What Happens and How Long It Takes
- Managing Delays and Contingency Planning
- Conclusion
Last Updated: August 13, 2026
Understanding Fitted Wardrobe Installation Timeline
A fitted wardrobe installation timeline spans from your initial design consultation through final handover, typically ranging from 8 to 16 weeks depending on complexity and material availability. This journey involves multiple phases: design sign-off, manufacturing, site preparation, and the actual on-site fitting. Understanding what happens at each stage helps you plan your home renovation effectively and set realistic expectations with your family or colleagues.
The timeline isn’t simply about how long carpenters spend in your bedroom. It’s a coordinated sequence of decisions, measurements, material procurement, and skilled installation work. At Finest Furniture Studio, we’ve found that homeowners who understand this process manage their expectations better and experience fewer surprises. The difference between a smooth project and a stressful one often comes down to knowing what’s happening behind the scenes during those weeks when nothing appears to be happening in your home.
Most people underestimate how much time goes into the manufacturing phase. Once your design is signed off, your bespoke wardrobe enters production. This isn’t mass production, it’s custom-built to your exact specifications. Every internal configuration, door finish, and storage solution is crafted specifically for your room dimensions and your needs.
Key Factors Affecting Your Installation Schedule
Several variables directly influence how long your fitted wardrobe project will take. The complexity of your design stands at the top of this list. A straightforward built-in wardrobe in a rectangular room with standard ceiling height moves faster than a bespoke solution fitted around a sloping ceiling, understairs alcove, or multiple awkward spaces. Each architectural challenge adds time to both the design phase and the manufacturing phase.
Material procurement creates another significant variable. Lead times for certain finishes, hardware, and internal fittings depend on supplier availability and current demand. In 2026, supply chains have stabilised compared to previous years, but seasonal fluctuations still occur. Peak renovation seasons (spring and early summer) can extend material lead times by 2-3 weeks compared to quieter periods.
Your room’s current condition matters more than many homeowners realise. If the walls are uneven, the floor is unlevelled, or existing fixtures need removal before installation can begin, this adds preparation time. Some rooms require structural assessment or minor remedial work before a fitted wardrobe can be installed properly.
The design complexity also encompasses storage capacity requirements and internal configuration choices. A wardrobe with multiple hanging rails, pull-out drawers, shelving systems, and bespoke compartments takes longer to manufacture than a simple hanging space. The more tailored your solution to your specific organisational needs, the longer the manufacturing phase typically lasts.
| Factor | Impact on Timeline | Typical Effect |
|---|---|---|
| Design complexity | High | Adds 1-3 weeks to manufacturing |
| Material availability | High | Can add 2-4 weeks to lead time |
| Room condition | Medium | May add 1-2 weeks to preparation |
| Installation accessibility | Medium | Affects fitting day duration |
| Seasonal demand | Medium | Peak seasons add 2-3 weeks |
Bespoke Wardrobe Lead Times in 2026
The design sign-off phase typically takes 1-2 weeks. This is when you meet with your designer, discuss your storage needs, review room measurements from the site survey, and agree on the final specification. Some clients know exactly what they want and sign off quickly. Others need time to consider options, particularly when working with awkward spaces that require creative solutions.
Once design is signed off, manufacturing begins. For a standard bespoke fitted wardrobe, expect 6-10 weeks for the manufacturing phase. This includes material procurement, cutting and assembly of panels, internal configuration installation, door finishing, and quality checks before dispatch. Bespoke joinery takes time because each component is made to order rather than pulled from existing stock.
Complex projects with multiple storage solutions, premium finishes, or non-standard dimensions may extend to 10-12 weeks in manufacturing. The manufacturing lead time also depends on current order volume at your chosen supplier. During peak season, even straightforward projects may take slightly longer simply because the workshop is at capacity.
Preparation work before installation typically requires 1-2 weeks. This includes removing existing furniture or fixtures, protecting floors and walls, and ensuring the room is ready for the installation team. If your room needs structural preparation or remedial work, this phase may extend to 3-4 weeks.
The actual on-site fitting usually takes 3-7 days for most residential projects. Finest Furniture Studio offers a 7-day fitting service, meaning installation is completed within a week. Simpler projects might finish in 3-4 days, while complex multi-wardrobe installations or projects involving understairs solutions and sloping ceiling accommodations may take the full week.
How to Prepare Your Room for Wardrobe Installation
Preparation begins at least one week before your scheduled installation date. Start by removing everything from the room that isn’t essential. Wardrobes, dressing tables, bed frames, and other furniture should be relocated to another room or stored temporarily. The installation team needs clear access to all walls and floor space where work will occur.
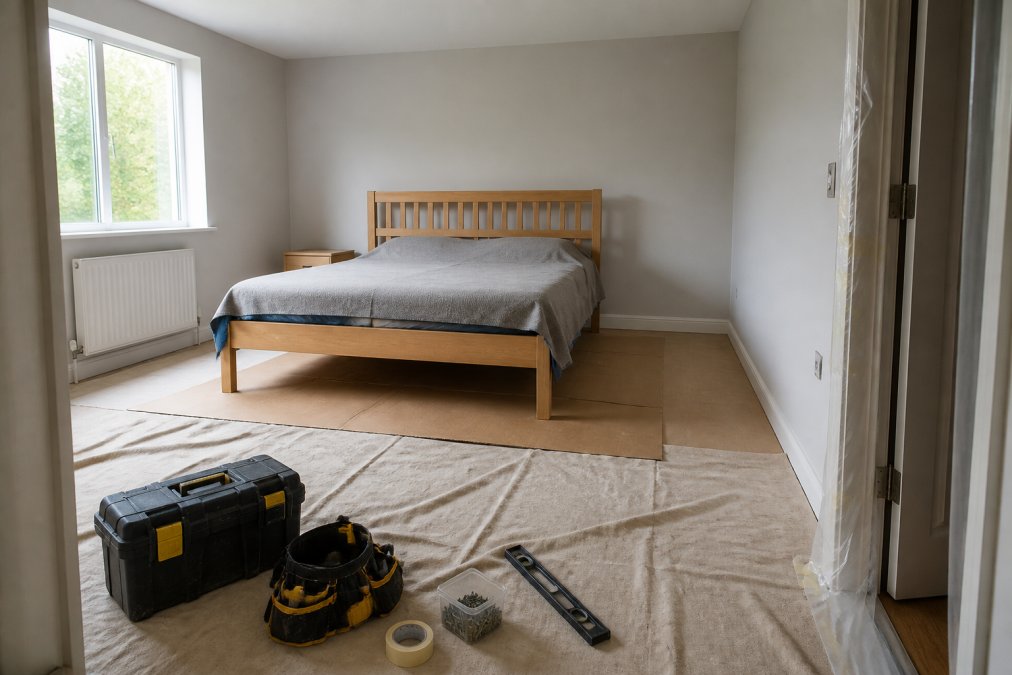
Protect your floors and remaining furniture with dust sheets and cardboard. Professional installation teams bring protection, but laying your own beforehand demonstrates you understand the process and helps prevent accidental damage. Cover radiators, light switches, and electrical outlets with protective tape. If you have hardwood flooring, extra protection is worthwhile.
Clear your walls completely. Remove pictures, shelves, hooks, and any wall-mounted accessories. This gives the installation team full access and prevents damage to your wall decorations. If you have radiators along the wall where the wardrobe will be fitted, discuss with your installer whether they need to be repositioned or worked around.
Ensure the room is accessible. Clear hallways and staircases of obstacles. The installation team will need to move large panels and components through your home. If your bedroom is on an upper floor, confirm that stairwells and landings are clear. Protect banisters and walls along the route with cardboard or protective coverings.
Arrange for someone to be home during installation. The team needs access to the room and may need clarification on final positioning or configuration details. Having the homeowner present also allows you to discuss any adjustments or final tweaks before the team leaves.
Communicate any concerns about noise or timing beforehand. Installation involves power tools, measuring, and fitting work that creates noise and vibration. If you work from home or have young children, discuss timing with your installer. Most teams work during standard daytime hours, but discussing your situation in advance helps manage expectations.
Fitted Wardrobe Installation Cost and Budget Planning
Budget planning for a bespoke fitted wardrobe requires understanding the cost components. The design and consultation phase is typically complimentary, Finest Furniture Studio offers a free design visit where measurements are taken and initial specifications are discussed. This removes financial risk from the planning stage.
Manufacturing costs form the largest component of your budget. Pricing depends on storage capacity, material selection, internal configuration complexity, and room dimensions. A simple single wardrobe in a standard room costs significantly less than a multi-wardrobe solution with custom storage compartments, pull-out systems, and premium finishes. For accurate pricing, you need a detailed design specification and room measurements.
Installation costs are separate from manufacturing. Most fitted wardrobe specialists charge for on-site fitting based on project complexity and duration. A straightforward 3-day installation costs less than a complex 7-day project involving awkward spaces or multiple wardrobes. Installation labour typically represents 15-25% of the total project cost, though this varies by supplier and location.
Additional costs may include room preparation work, removal of existing fixtures, or minor structural adjustments. If your room requires wall remediation, electrical work, or structural assessment before installation can proceed, budget for these separately. Discuss these potential costs during your initial consultation.
For transparent pricing without hidden fees, request a detailed quote that breaks down manufacturing, installation, and any additional work separately. Reputable suppliers provide itemised quotes so you understand exactly what you’re paying for. Ask about warranty coverage, a comprehensive warranty protects your investment and provides peace of mind.
Consider the long-term value of your investment. A high-quality bespoke fitted wardrobe with a 10-year warranty represents better value than cheaper alternatives that may need replacement within 5 years. Calculate the cost per year of use over the expected lifespan of the wardrobe.
The Installation Day: What Happens and How Long It Takes
Installation day begins with the team arriving and assessing the room. They’ll verify that preparation work is complete, check wall conditions, and confirm final measurements. This assessment typically takes 30-60 minutes. The team confirms the exact positioning of your wardrobe and discusses any final details with you.
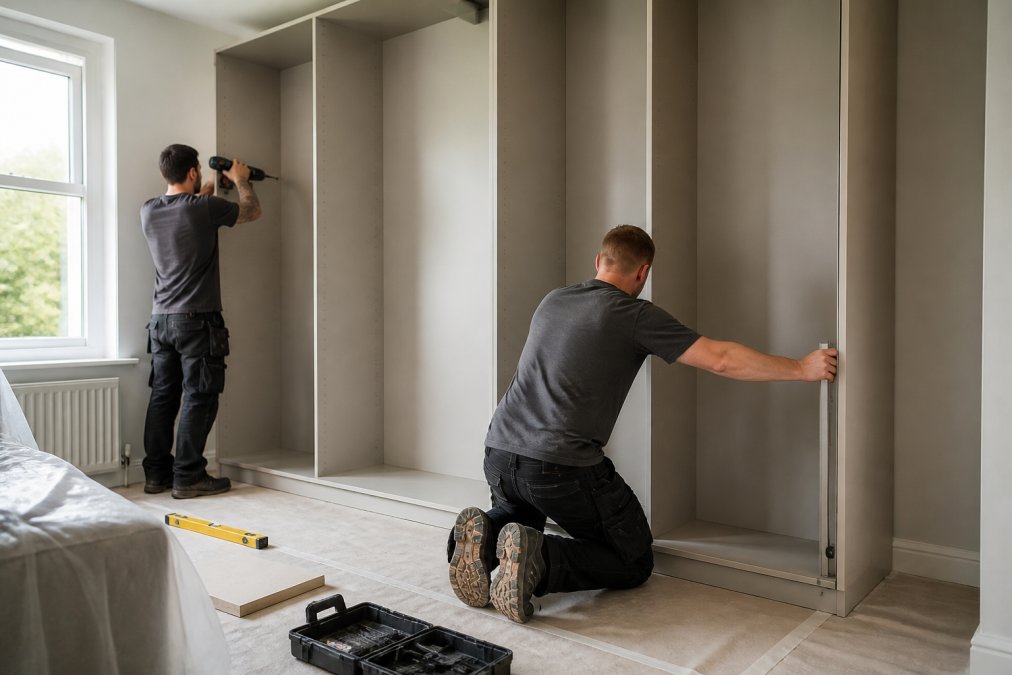
Panel installation follows the assessment phase. The team secures the main frame and vertical panels to the walls, ensuring everything is perfectly level and plumb. This phase takes 2-4 hours depending on wall condition and wardrobe complexity. If walls are uneven, the team may need to use shims or make minor adjustments to ensure panels fit perfectly.
Internal configuration installation comes next. Shelves, hanging rails, drawers, and storage compartments are fitted into the frame. This phase requires precision and attention to detail. Each component must align properly and function smoothly. Depending on the complexity of your internal configuration, this phase takes 3-6 hours.
Door fitting and adjustment is the final major phase. Doors are hung, adjusted for perfect alignment, and tested for smooth operation. Handles and hardware are installed. This phase typically takes 2-3 hours. The team ensures all doors close smoothly, align perfectly with the frame, and operate without catching or binding.
The installation team performs a final quality check before leaving. They test all doors, drawers, and mechanisms. They clean up dust and debris. They explain how to care for your wardrobe and discuss any warranty coverage. A typical 7-day installation might be broken down as: Day 1-2 for frame and panel installation, Day 3-4 for internal configuration, Day 5-6 for door fitting and adjustment, and Day 7 for final details and quality checks.
Noise and disruption during installation is unavoidable. Power tools, drilling, and fitting work create noise. The team works efficiently to minimise disruption, but expect noise levels similar to moderate construction work during daylight hours. Dust protection helps contain mess, but some dust is inevitable with any installation work.
Managing Delays and Contingency Planning
Supply chain disruptions occasionally occur despite improved stability in 2026. Material shortages, supplier delays, or quality issues discovered during manufacturing can push back your installation date. When you book your project, ask your supplier what contingency plans exist if delays occur. Reputable suppliers communicate proactively if delays are anticipated.
Weather can affect delivery schedules, particularly during winter months. If your wardrobe is being delivered by external transport, snow, ice, or severe weather might delay arrival. This is beyond anyone’s control, but understanding it’s a possibility helps you plan flexibility into your schedule.
Room preparation delays sometimes occur when homeowners discover issues during the preparation phase. Damp, structural problems, or electrical issues might need addressing before installation can proceed. Identify these issues early during your site survey so they don’t surprise you later.
Installation team availability affects scheduling. If your preferred installation date falls during peak season, the team might be fully booked. Booking early in the year or choosing off-peak seasons (autumn or winter) typically offers more scheduling flexibility.
Build contingency time into your planning. If your wardrobe is needed by a specific date, book your project 2-3 weeks earlier than absolutely necessary. This buffer protects you if unexpected delays occur. Discuss contingency options with your supplier before you commit to the project.
Communication is your best protection against unexpected delays. Regular updates from your supplier about manufacturing progress, dispatch dates, and installation scheduling keep you informed. If delays do occur, prompt communication allows you to adjust your plans rather than discovering problems at the last moment.
Document everything in writing. Your quote, design specification, timeline, and any agreed contingency plans should all be in writing. This protects both you and your supplier if disputes arise about what was promised or when work should be completed.
Conclusion
Planning a fitted wardrobe installation requires understanding the complete timeline from design through final fitting. The typical 8-16 week project timeline breaks down into distinct phases: design consultation (1-2 weeks), manufacturing (6-12 weeks), room preparation (1-2 weeks), and installation (3-7 days). Knowing what happens at each stage helps you manage expectations and plan your home renovation effectively.
At Finest Furniture Studio, we prioritise transparent communication throughout your project. Our 7-day fitting service, complimentary design visit, and clear upfront pricing with no hidden fees mean you know exactly what to expect. With a 10-year warranty backing your investment, you’re protected for the long term. Book a free design visit today and get a detailed timeline specific to your project and room requirements.
Frequently Asked Questions
How long does a fitted wardrobe installation actually take on the day?
A typical fitted wardrobe installation takes between 1 to 3 days depending on complexity, room size, and internal configuration. Simple single-wall installations may complete in one day, whilst bespoke designs with multiple sections, internal shelving, and custom door finishes often require 2-3 days. The installation team will provide a specific timeframe during your design visit after assessing your room dimensions and project scope.
What's included in bespoke wardrobe lead times, and how far ahead should I book?
Bespoke wardrobe lead times typically span 4-8 weeks from design sign-off to installation, covering the design phase, manufacturing, and scheduling. Lead times vary based on design complexity, material procurement, and current demand. Booking 8-12 weeks in advance ensures you secure your preferred installation date, particularly during peak seasons. Contact us for a free design visit to discuss your specific timeline and confirm availability.
What are the main costs involved in fitted wardrobe installation?
Costs typically include design consultation, bespoke manufacturing, materials (cabinetry, doors, internal fittings), on-site fitting labour, and any room preparation work. Pricing depends on your room dimensions, design complexity, storage capacity, door finishes, and whether you need site survey work for awkward spaces. Visit our pricing page or book a free design visit for a transparent quote with no hidden fees.
What should I do to prepare my room before the installation team arrives?
Clear the room of furniture, personal items, and clutter at least one day before installation. Remove wall hangings, mirrors, and shelving in the installation area. Protect flooring with dust sheets and ensure the room temperature is stable (between 15-25°C). Confirm access routes for the installation team and their tools. Provide clear information about any existing plumbing, electrics, or heating behind the installation area so the team can work safely and avoid damage.
This article was written using GrandRanker