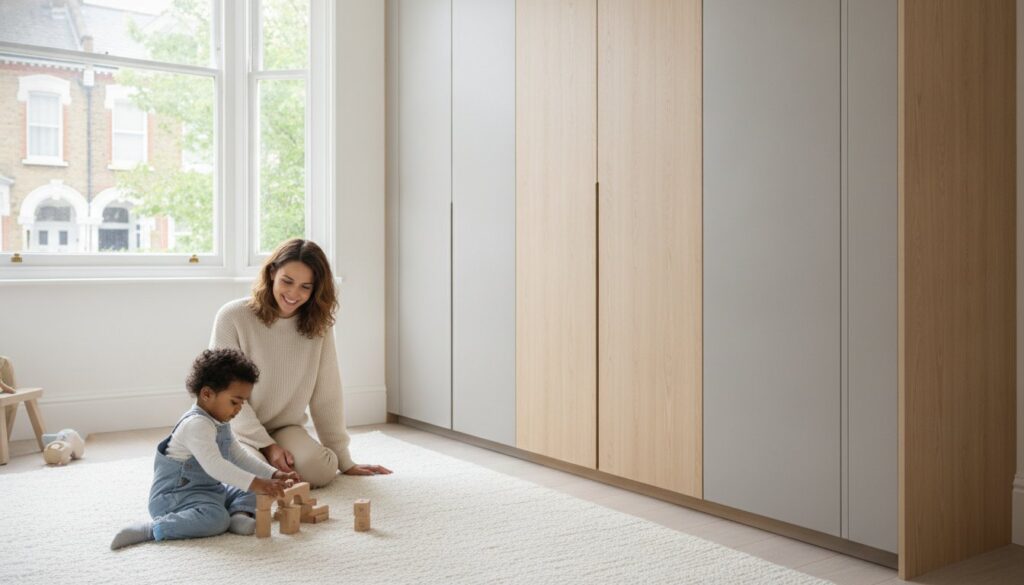


Imagine waking up in your beautifully designed London bedroom, reaching for your favourite coat, and being met with the jarring sound of a bespoke wardrobe door scraping against the floor. It’s a small disruption that instantly breaks the harmony of a perfectly organised home. You’ve invested in high-quality storage to bring elegance to your space, so learning how to adjust fitted wardrobe doors is a vital skill for maintaining that seamless, high-end look when hinges settle or tracks move over time.
This professional guide will help you master the art of realigning your bespoke wardrobe doors, whether you’re dealing with uneven gaps on hinged units or sliding doors that have jumped their tracks. We’ll walk you through the precise steps to restore fluid movement and perfect symmetry, ensuring your storage remains as functional as it is beautiful. By the end of this guide, you’ll have the confidence to maintain your sanctuary with the precision of a specialist.
Key Takeaways
- Learn the specific functions of the three-screw adjustment system to eliminate uneven gaps and prevent doors from scraping your bedroom floor.
- Discover how to maintain sliding door tracks and access the hidden roller screws to ensure a smooth, silent glide every time.
- Master the professional technique of how to adjust fitted wardrobe doors using a manual Pozi-drive screwdriver for maximum precision and hardware protection.
- Identify the subtle signs that your wardrobe requires professional attention, from structural settling in London homes to the limitations of standard high-street carcasses.
- Gain the confidence to maintain your bespoke storage whilst knowing when to invest in premium, engineered solutions that offer a 10-year guarantee.
Understanding Why Fitted Wardrobe Doors Lose Alignment
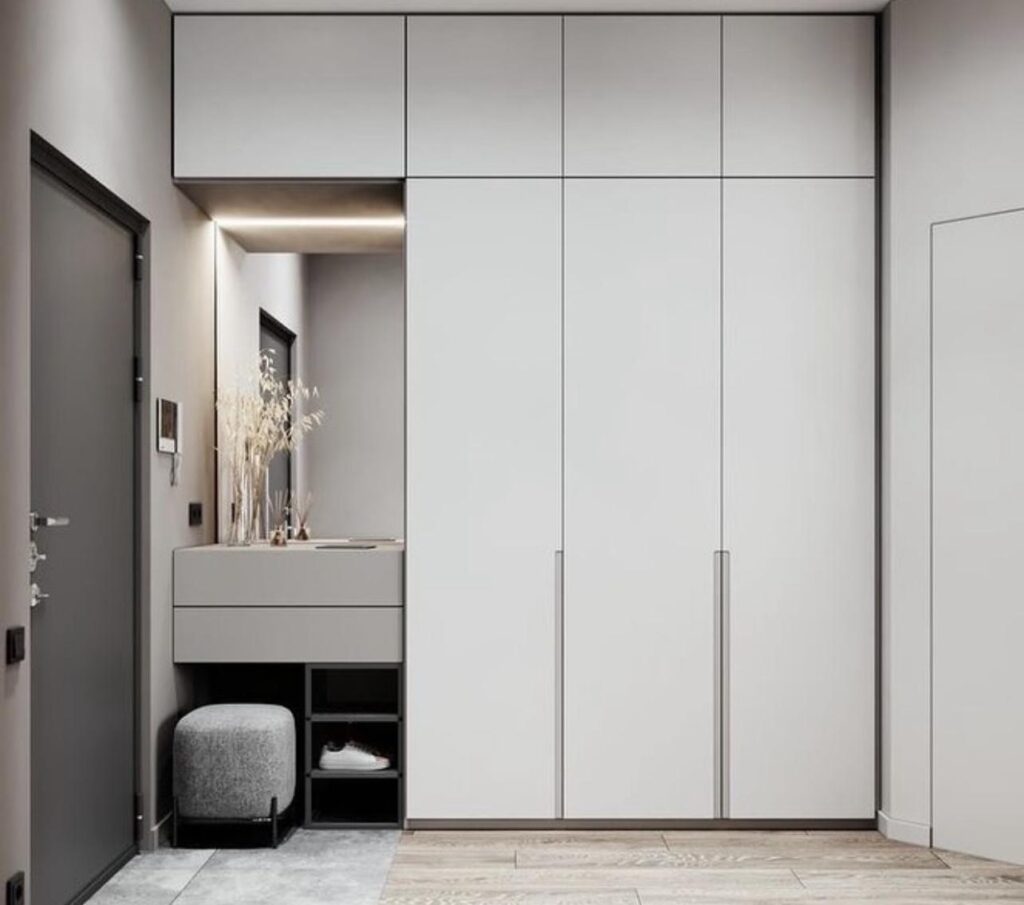
A bespoke wardrobe is a significant investment in your home’s harmony, yet even the finest cabinetry isn’t immune to the laws of physics. Understanding why alignment shifts is the first step in learning how to adjust fitted wardrobe doors effectively. It isn’t usually a sign of poor quality; rather, it’s often a natural response to the environment. When you’ve invested in a premium storage solution, maintaining that crisp, flush look is part of the pride of ownership.
London properties face unique challenges that directly impact your furniture. Much of the city is built on London Clay, a soil type that expands and contracts significantly based on moisture levels. This movement causes houses to “settle” or shift minutely over time. When the floor or walls of a room move by even a few millimetres, the rigid frame of your wardrobe remains square whilst the surrounding environment doesn’t. This discrepancy leads to doors that no longer sit flush against the carcass.
The Impact of House Settling in West London
Even the most meticulously installed bespoke fitted wardrobes london homeowners enjoy can experience this shift. Period properties in areas like Richmond or Wimbledon are particularly prone to movement because their foundations often pre-date modern building standards. It’s vital to differentiate between a simple hinge adjustment and a structural floor issue. If your wardrobe carcass is level but the doors look “off,” a quick tweak is usually all that’s required to restore that seamless finish.
Signs Your Wardrobe Doors Need Attention
You don’t need to be a master carpenter to spot when things are moving. Look for these common indicators that your furniture needs a professional touch:
- Visible “stair-stepping”: This occurs when the top corners of double doors don’t align, creating a jagged silhouette across the top of the unit.
- Scuff marks: Look for fresh scratches on the bottom track of sliding units or the interior floor of hinged wardrobes.
- The “Drift”: Doors that slowly swing open on their own or refuse to stay closed against the carcass indicate a lean that needs correcting.
Daily life also plays a significant role in alignment. Modern trends favour heavy mirror-fronted doors or thick, wood-effect panels which place constant stress on hardware. Over thousands of opening and closing cycles, metal components can settle into their maximum tolerances. Gaining a foundational understanding cabinet construction helps you realise that hinges are designed to be adjustable precisely because specialists anticipate this mechanical fatigue.
Don’t forget the impact of the British climate. Seasonal temperature changes cause natural wood and frames to expand and contract slightly. This seasonal breathing can lead to temporary misalignment that rights itself, or it might require a permanent adjustment. Additionally, if you’ve recently moved into a new build, expect some settling within the first twelve months as the building materials dry out. Mastering how to adjust fitted wardrobe doors ensures these minor environmental shifts don’t permanently detract from your sanctuary.
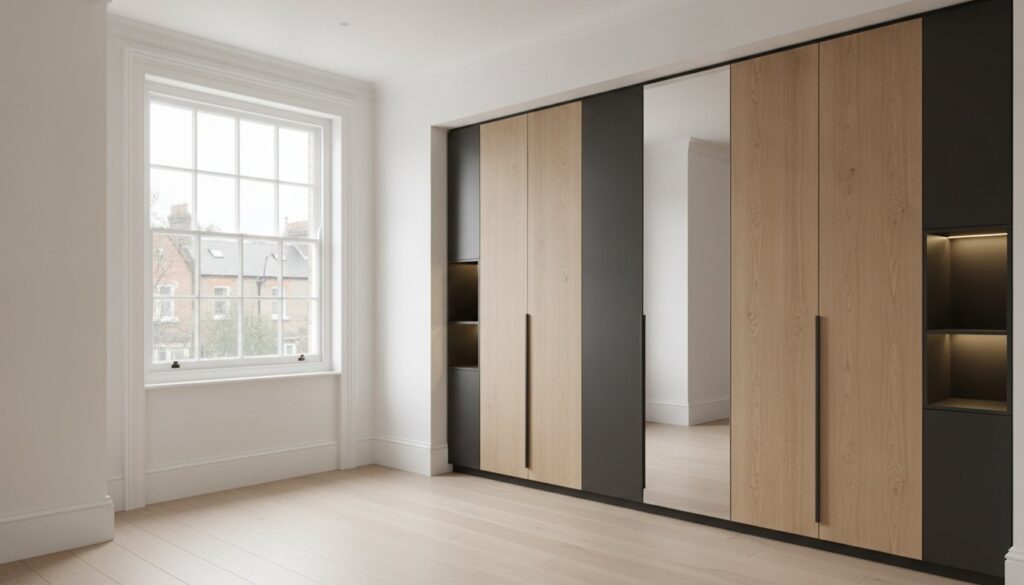
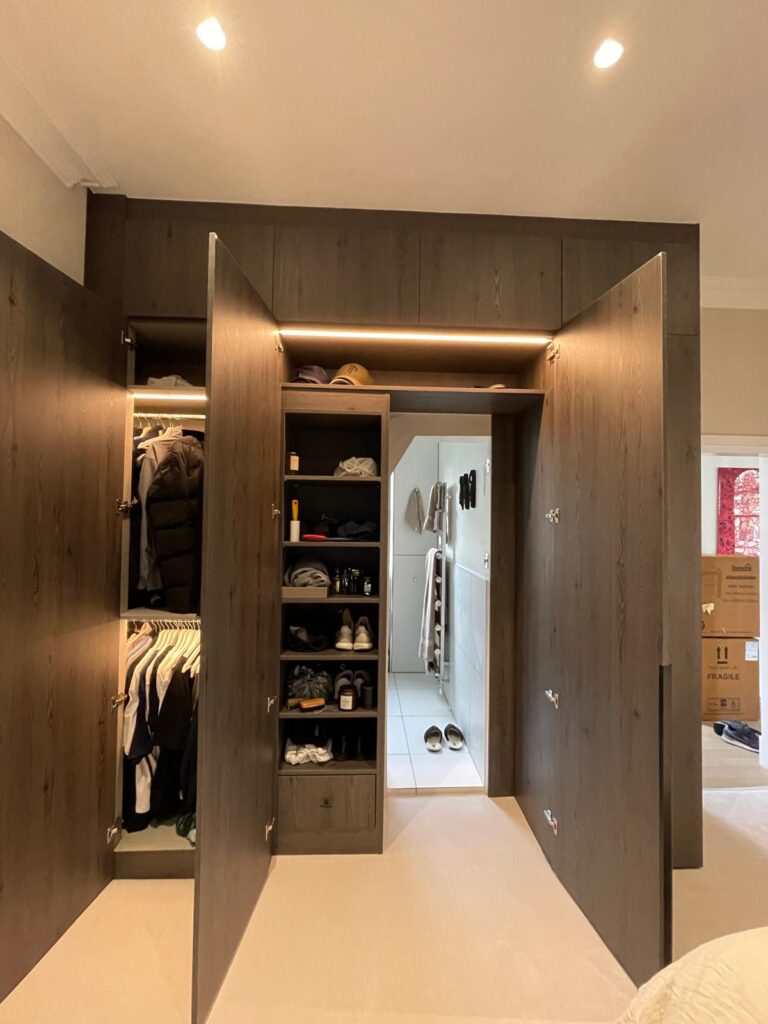
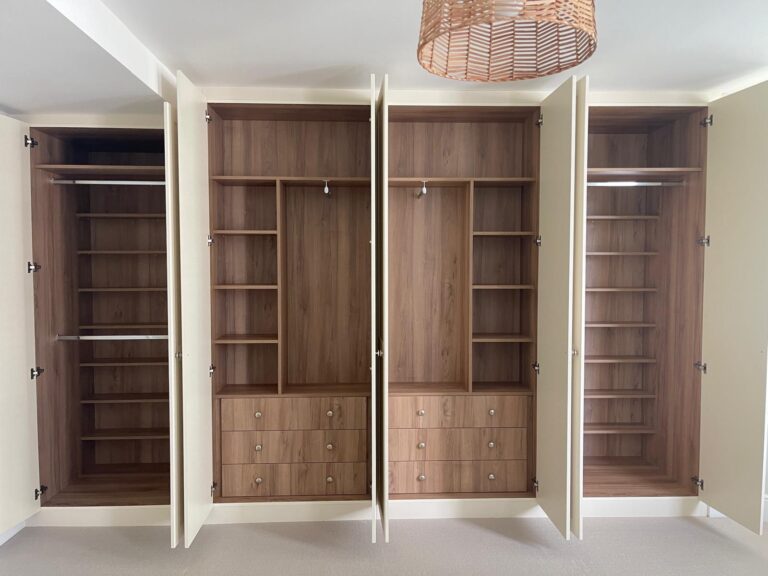
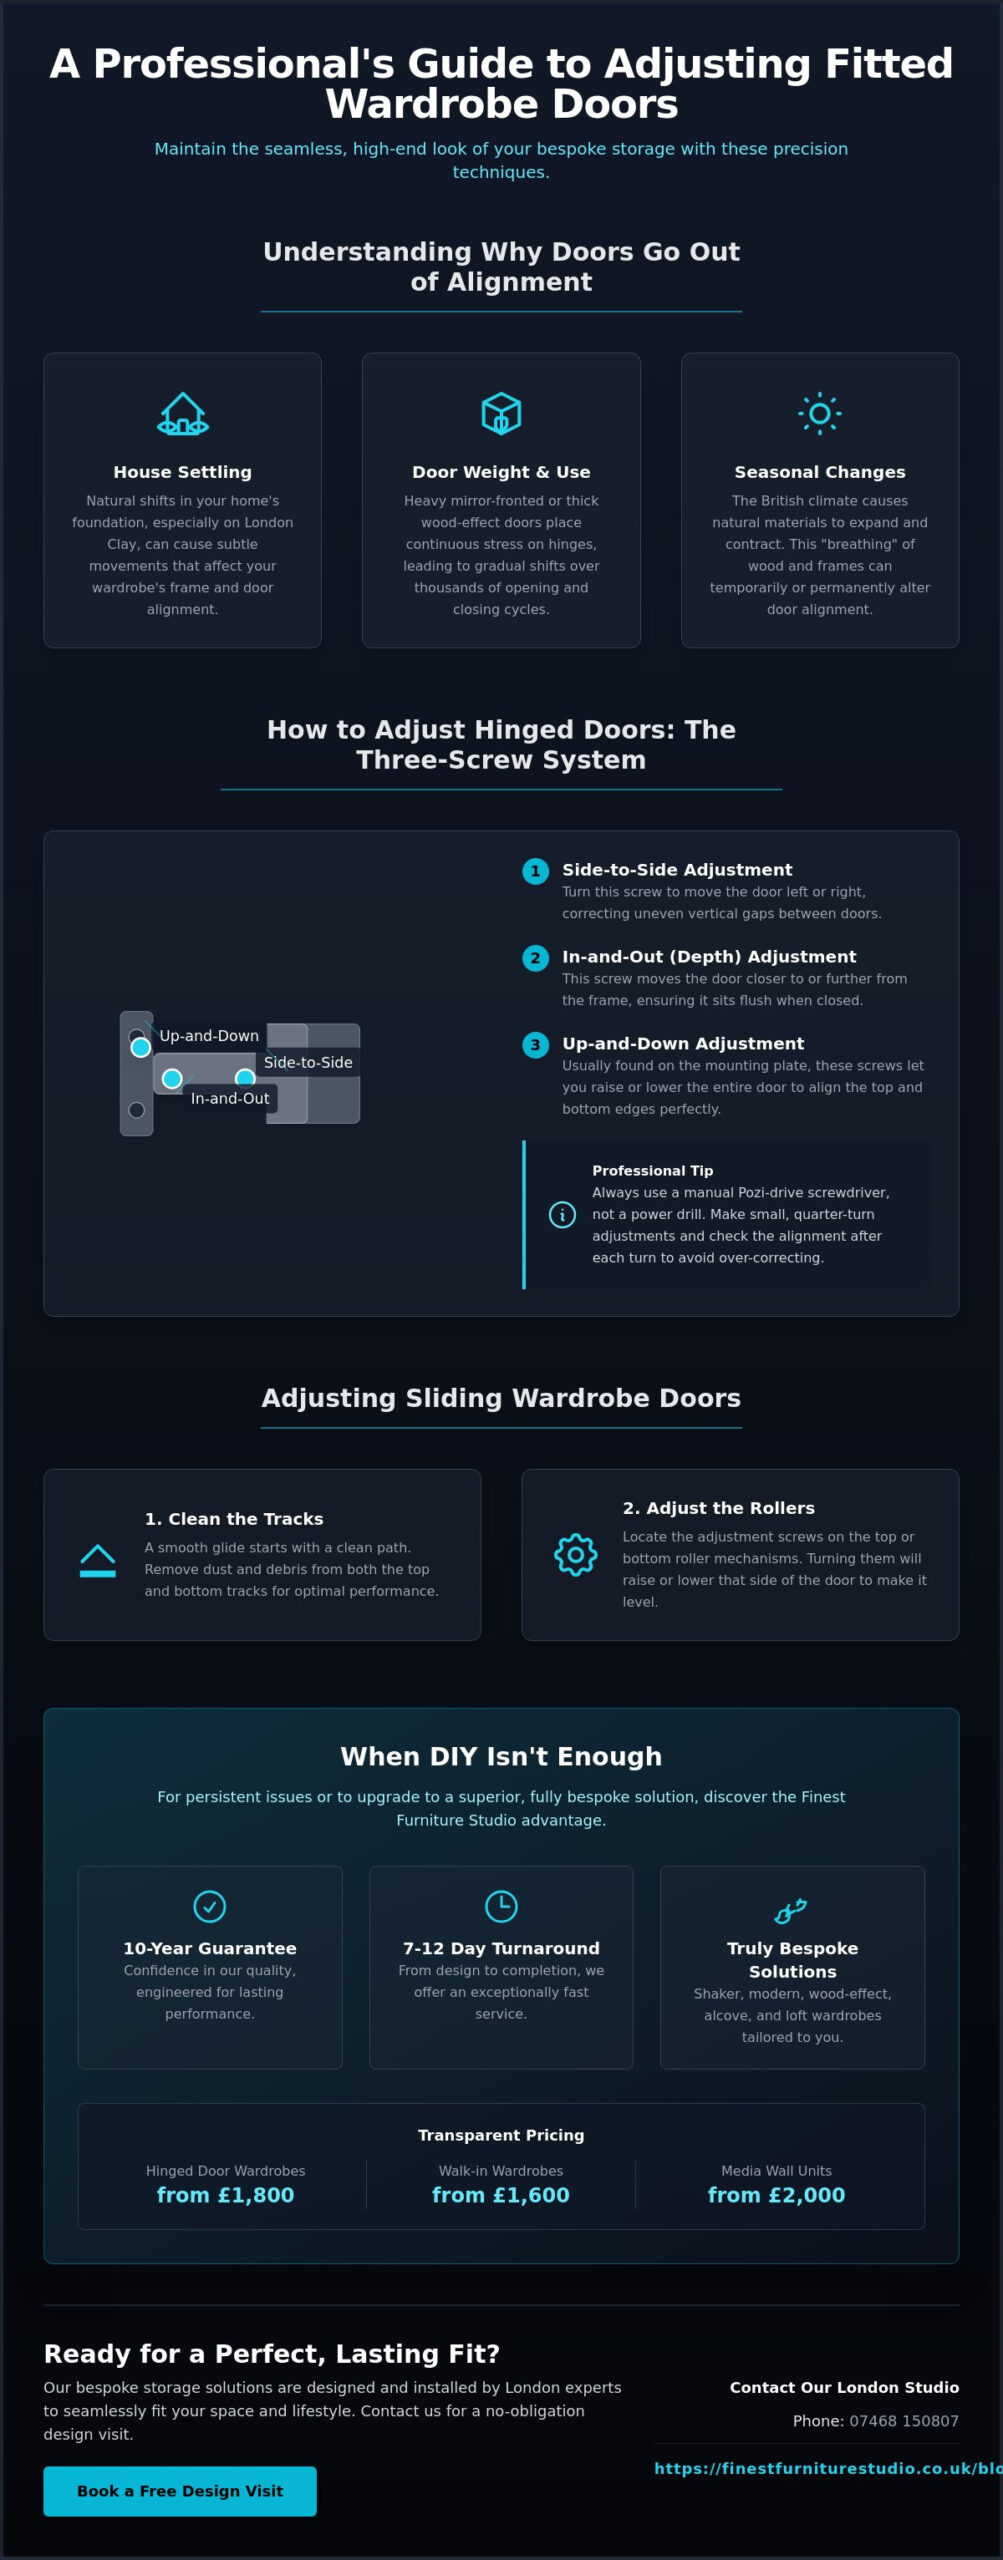
How to Adjust Hinged Wardrobe Doors: The Three-Screw System
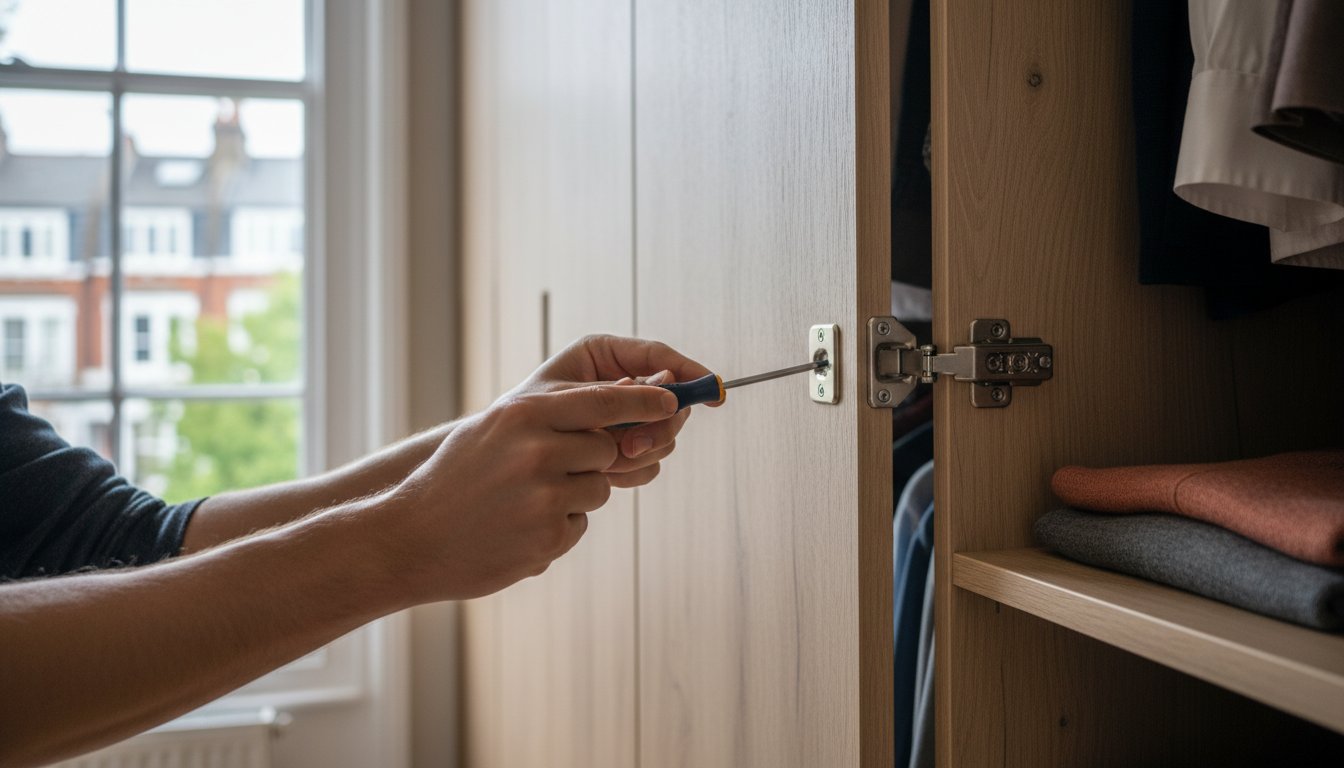
Mastering how to adjust fitted wardrobe doors begins with understanding the concealed hinge, a marvel of modern cabinetry that allows for precision tuning in three dimensions. Most high-end hinged wardrobes utilise these “Euro-style” hinges because they hide the mechanics whilst offering total control over alignment. Before you start, reach for a manual Pozi-drive screwdriver rather than a power drill. Power tools often apply too much torque, which can strip the screw heads or damage the delicate threads within the mounting plate, potentially compromising the integrity of your bespoke furniture.
The secret to a professional finish lies in patience. Always make small, quarter-turn adjustments rather than large rotations. This incremental approach prevents you from over-correcting and losing the door’s balance entirely. Every time you turn a screw, close the door to check the visual impact before proceeding to the next hinge. It’s a rhythmic process of adjustment and verification that ensures a perfect result.
Adjusting the Side-to-Side Gap
If you notice an uneven vertical gap between a pair of Shaker doors, you need to focus on the front-most screw located on the hinge arm. This screw controls the lateral movement. Turning it clockwise moves the door closer to the side of the cabinet carcass, which effectively widens the gap in the centre. Conversely, turning it anticlockwise pushes the door away from the side. This lateral adjustment is essential for ensuring that the vertical lines of your wardrobe remain perfectly parallel with the architectural lines of your room.
Correcting Height and Depth Alignment
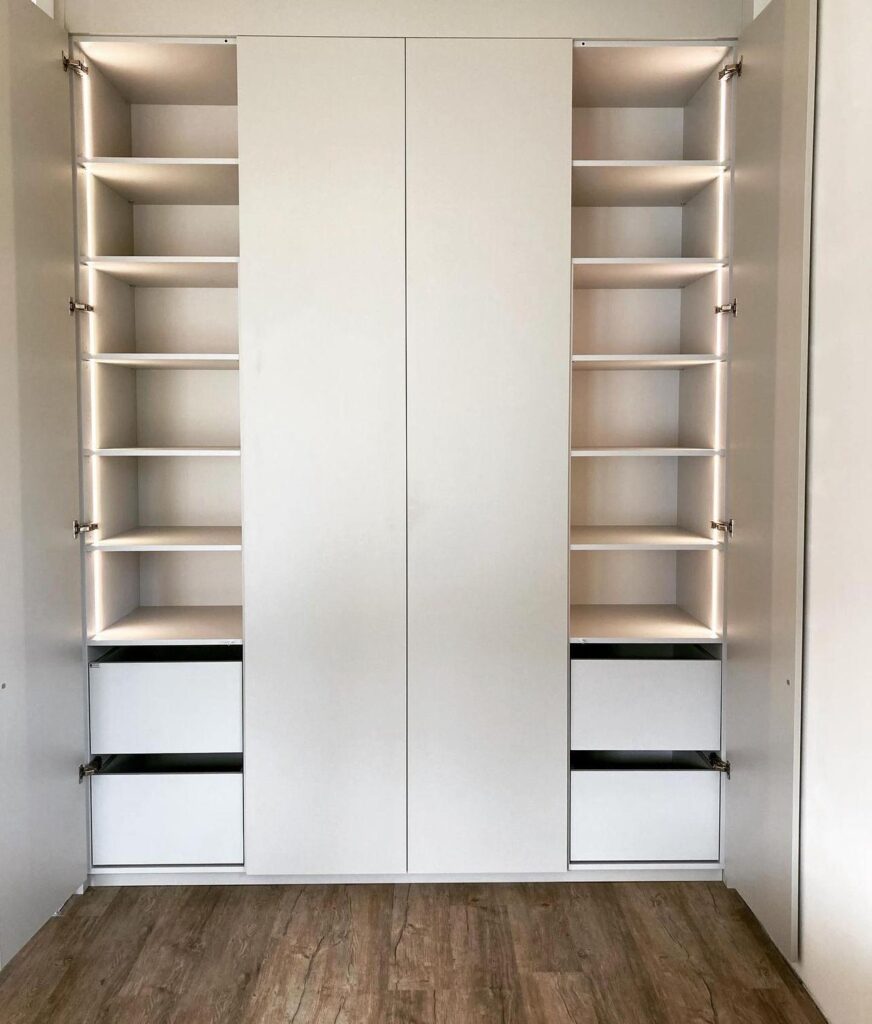
Vertical shifts are managed by the screws on the mounting plate, which is the part of the hinge attached directly to the internal side of the wardrobe. By loosening these screws slightly, you can slide the entire door up or down to eliminate “stair-stepping” where the tops of the doors don’t meet. Once the height is perfectly level, tighten them firmly to secure the position. The rear-most screw on the hinge arm controls the depth. Adjusting this ensures the door sits flush against the carcass when closed, which is vital for preventing dust from entering and maintaining a clean, sleek profile.
Finalise your work by checking the door edge with a spirit level to ensure it’s perfectly plumb. A correctly aligned door shouldn’t just look good; it should feel light and operate silently. If you’re looking for more ways to keep your home organisation at its peak, you might enjoy reading our latest guides on bespoke furniture care. Taking ten minutes twice a year to check these hinges will ensure your investment continues to provide that effortless, luxury experience you expect from a premium installation.
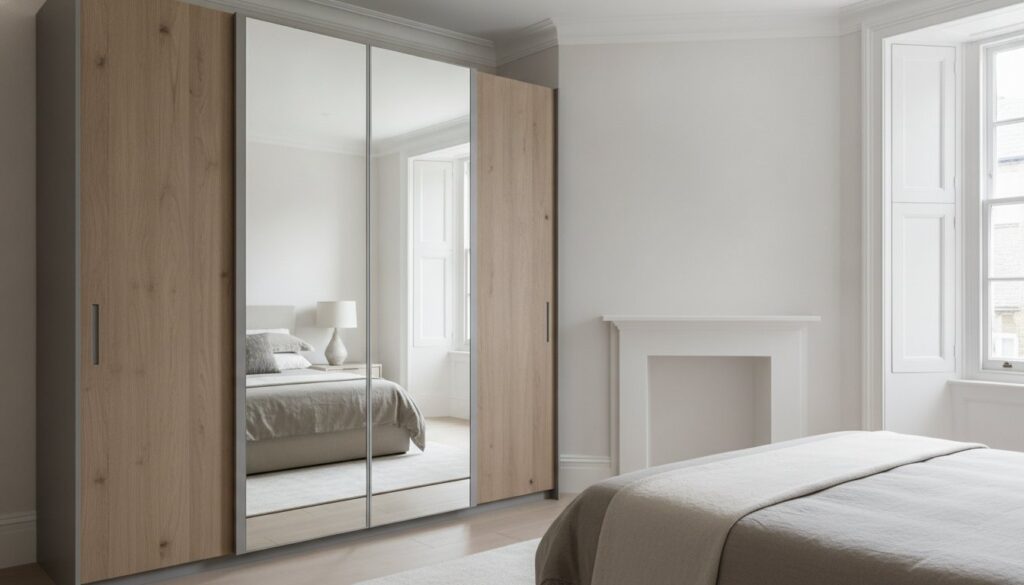
Adjusting Sliding Wardrobe Doors: Tracks and Rollers
Whilst hinged systems are a classic choice, sliding wardrobes offer a sleek, space-saving alternative that defines modern London living. If your door feels heavy or fails to sit square against the wall, it’s likely that the internal rollers have shifted. Many online guides overlook these mechanisms entirely, but learning how to adjust fitted wardrobe doors with sliding hardware is essential for maintaining that effortless, silent glide. These systems typically rely on bottom-rolling hardware that carries the weight of the glass or wood panels, meaning they require occasional tuning to compensate for floor settling or floor-track compression.
Before you reach for your tools, check the anti-jump clips. These small plastic or metal components are designed to keep the door securely locked onto the track. If they’ve become dislodged, the door might feel like it’s “jumping” or catching. Once you’ve ensured the clips are clear, you can focus on the roller housing. Most bespoke sliding systems feature a dedicated adjustment screw located near the bottom of the door frame, often hidden behind a small plastic cap or a strip of bumper wool.
Levelling the Door with Roller Adjustments
Misalignment usually shows up as a wedge-shaped gap between the door edge and the side wall. To fix this, you’ll need to raise or lower one side of the door. Locate the adjustment hole at the side of the bottom door frame and insert your Pozi-drive screwdriver. Turning the screw clockwise will usually raise the door, whilst an anticlockwise turn lowers it. Work in small increments, checking the vertical alignment against the wall after every few turns. Once the door sits perfectly flush, test the glide across the centre to ensure it doesn’t rub against the overlapping panel.
Track Maintenance for Smooth Operation
Even the most precise adjustments won’t help if the tracks are clogged with debris. Dust, pet hair, and carpet fibres can accumulate in the bottom channel, causing the rollers to vibrate or stall. This is particularly common in fitted wardrobes loft installations where attic dust or roof insulation might settle into the hardware over time. Use a vacuum with a narrow crevice tool to clear the tracks monthly. If the movement still feels restricted, apply a small amount of silicone-based lubricant to the rollers. Avoid using heavy oils or WD-40, as these attract more grime and can eventually gum up the mechanism. Maintaining a clean track is a vital but often forgotten part of knowing how to adjust fitted wardrobe doors for long-term reliability.
Professional Tips for a Seamless Wardrobe Finish
Achieving a showroom-standard finish requires more than just knowing which screw to turn. It demands a disciplined approach to the finer details of cabinetry. When you are learning how to adjust fitted wardrobe doors, always establish your foundation by adjusting the bottom hinge first. This creates a stable pivot point that supports the door’s weight whilst you fine-tune the upper sections. If you start at the top, the door’s natural gravity will likely pull your previous work out of alignment before you’ve even finished.
Precision is a two-person job. Even for a seasoned expert, holding a heavy bespoke door perfectly still whilst simultaneously tightening a screw is challenging. Work with a partner who can support the weight and maintain the door’s position. This prevents unnecessary strain on the hinge arm and ensures your adjustments are accurate to the millimetre. Before you assume the door is at fault, check the “plumb” of the wardrobe carcass. If the internal frame isn’t perfectly vertical, the doors will never sit correctly regardless of how many times you tweak the hardware.
The Essential Wardrobe Toolkit
Professional results depend on professional tools. A Pozi #2 screwdriver is non-negotiable for high-quality furniture. Unlike a standard Phillips head, which can slip and “cam-out,” the Pozi-drive design features additional cross-marks that provide a much tighter grip on the screw. Use a long spirit level to check vertical alignment across the entire height of the unit. For added precision, apply a small piece of masking tape to the frame to mark your starting point. This gives you a clear visual reference for how much the door has moved during the adjustment process.
Avoiding Common DIY Missteps
Avoid the temptation of using a power drill. High torque is the enemy of fine furniture; it can easily strip the delicate threads in MDF or timber, turning a simple adjustment into a permanent structural problem. Similarly, never remove all the screws at once. Keep the mounting plates secure and work on one axis at a time to maintain control. If you find that a screw simply spins without tightening, the hinge may have failed or the internal housing might be damaged. Knowing how to adjust fitted wardrobe doors also means recognising when a component has reached the end of its lifecycle and requires a full replacement.
If your doors continue to resist alignment despite your best efforts, it might be time to consult the specialists at Finest Furniture Studio. You can explore our professional maintenance advice to understand if your current storage requires a minor tweak or a more robust structural intervention to restore its original elegance.
When to Upgrade: The Finest Furniture Studio Advantage
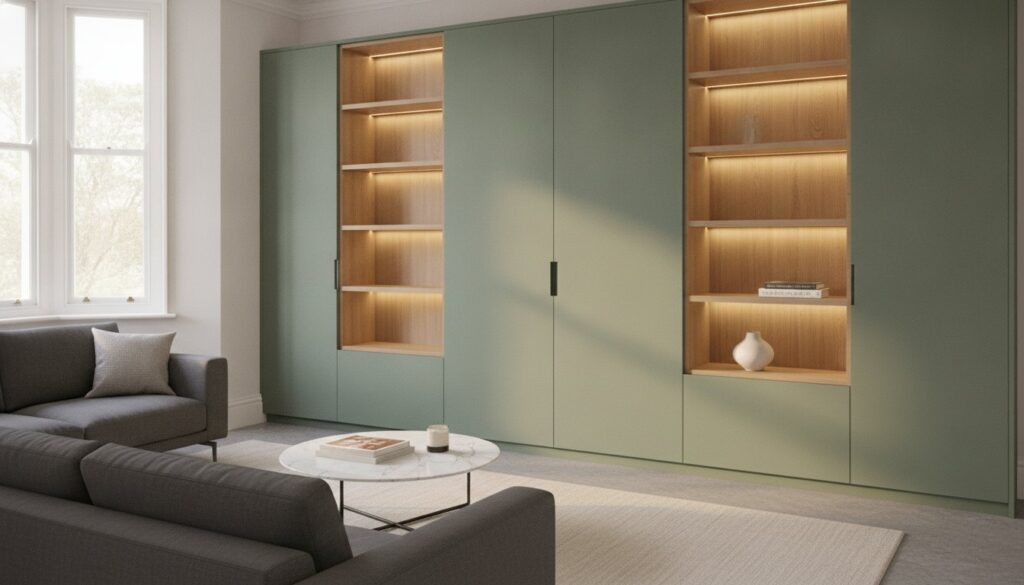
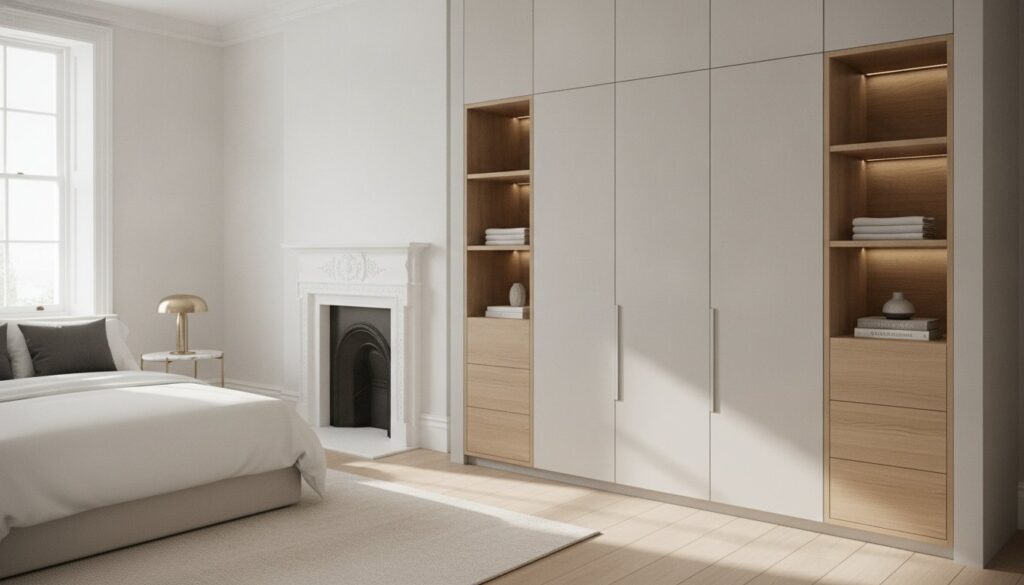
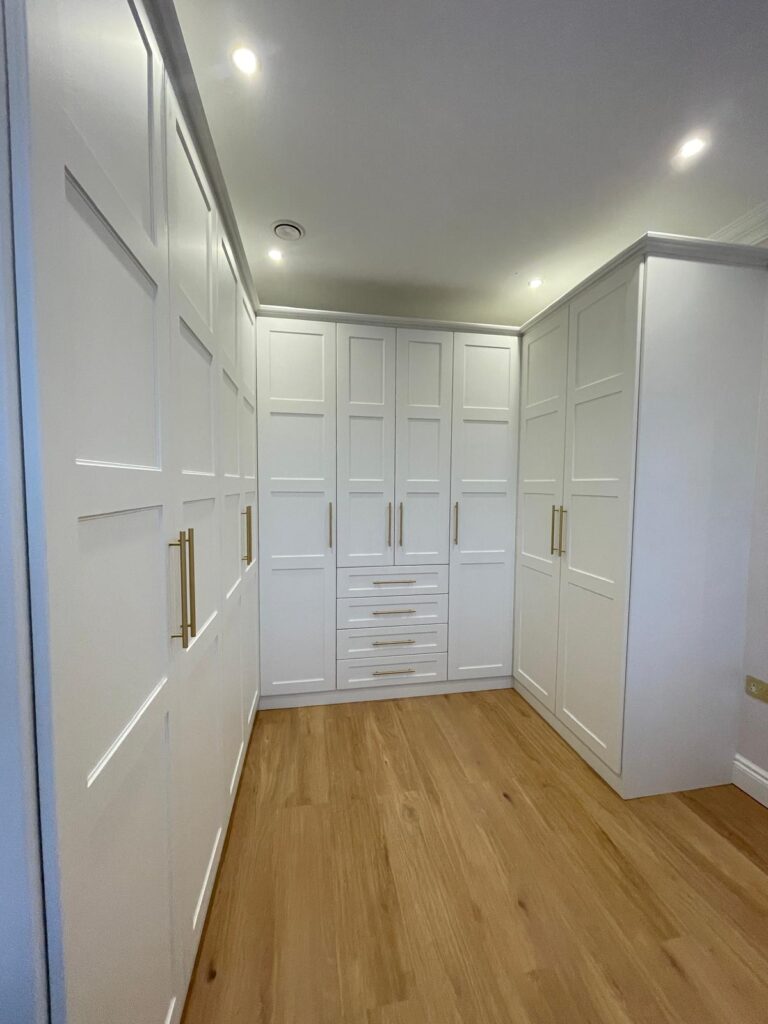
Whilst mastering how to adjust fitted wardrobe doors can extend the life of your furniture, there comes a point where constant maintenance signals a deeper structural flaw. If you find yourself realigning hinges every few months, the issue likely stems from a low-quality high-street carcass that lacks the rigidity to stay square. Standard mass-produced units often use thin back panels and lightweight hardware that struggles under the weight of modern living. In contrast, a bespoke solution provides the structural integrity required to remain perfectly aligned for decades.
At Finest Furniture Studio, we engineer our wardrobes for longevity. We utilise premium, heavy-duty hardware and reinforced carcasses that don’t bow or sag over time. This commitment to craftsmanship is why we provide a 10-year guarantee on all our installations. You deserve the peace of mind that comes from knowing your storage isn’t just a temporary fixture but a lasting investment in your home’s sanctuary. For London homeowners, we balance this high-end quality with an exceptionally brisk turnaround, moving from your initial design to a completed installation in just 7 to 12 days.
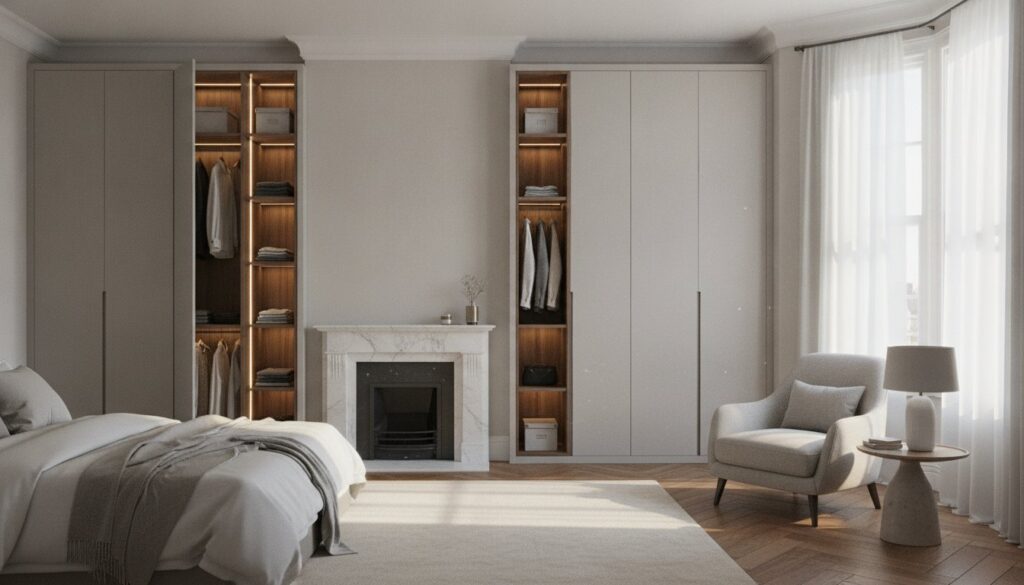
The Benefits of Professional Installation
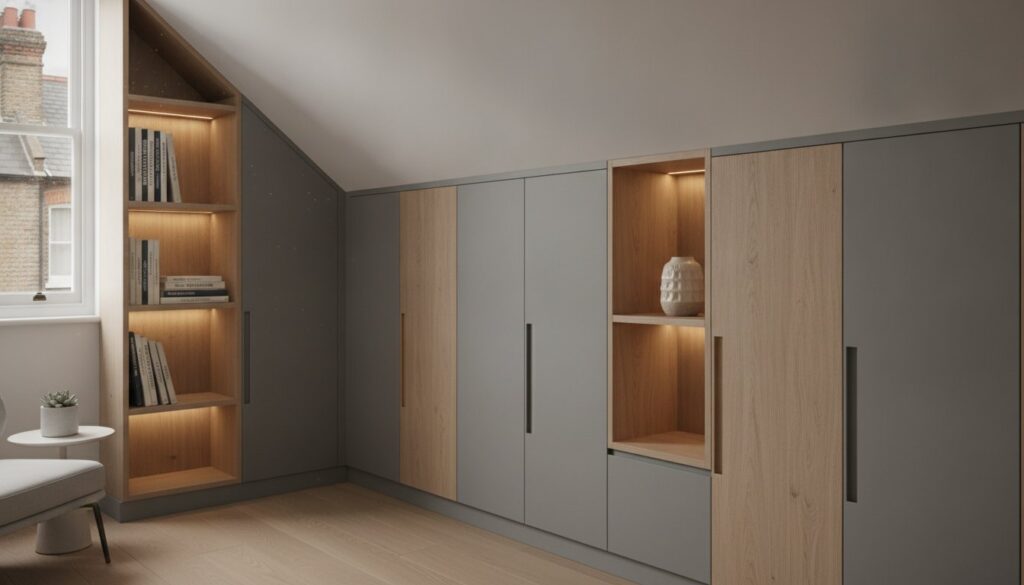
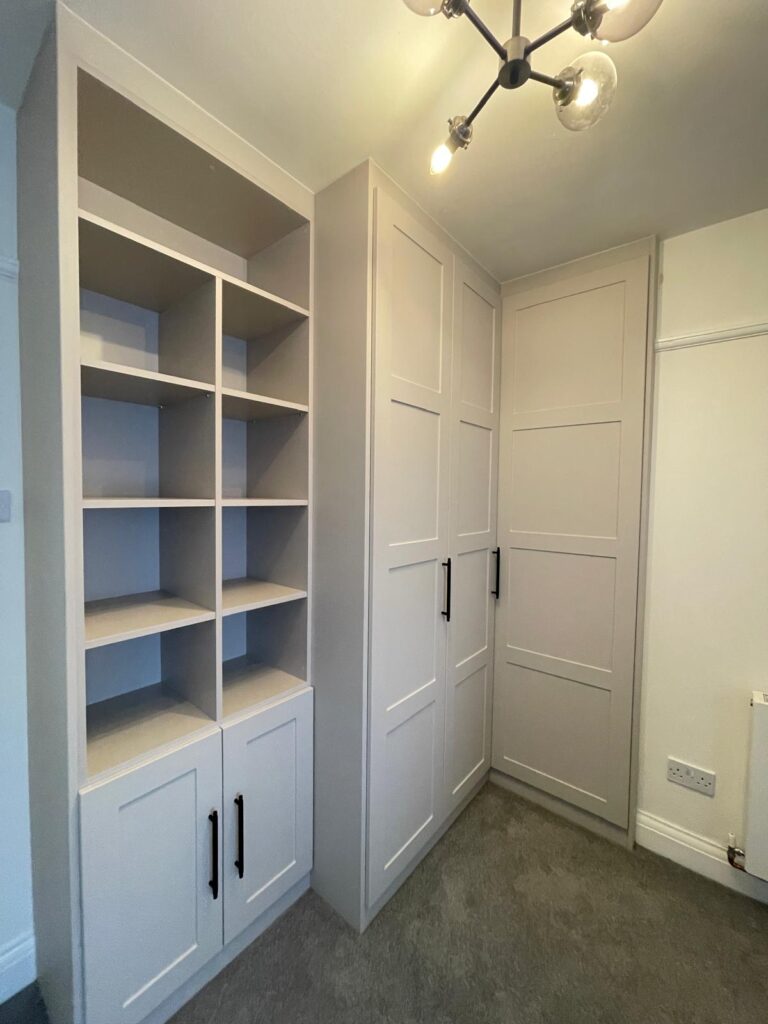
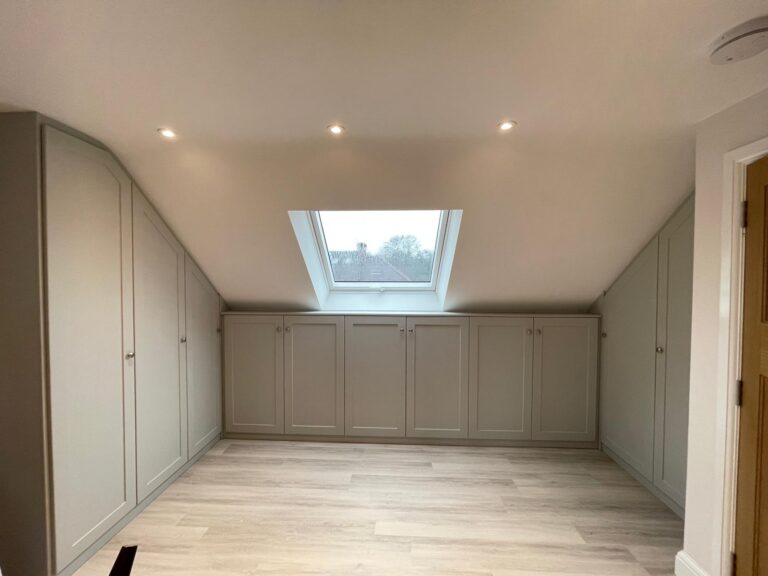
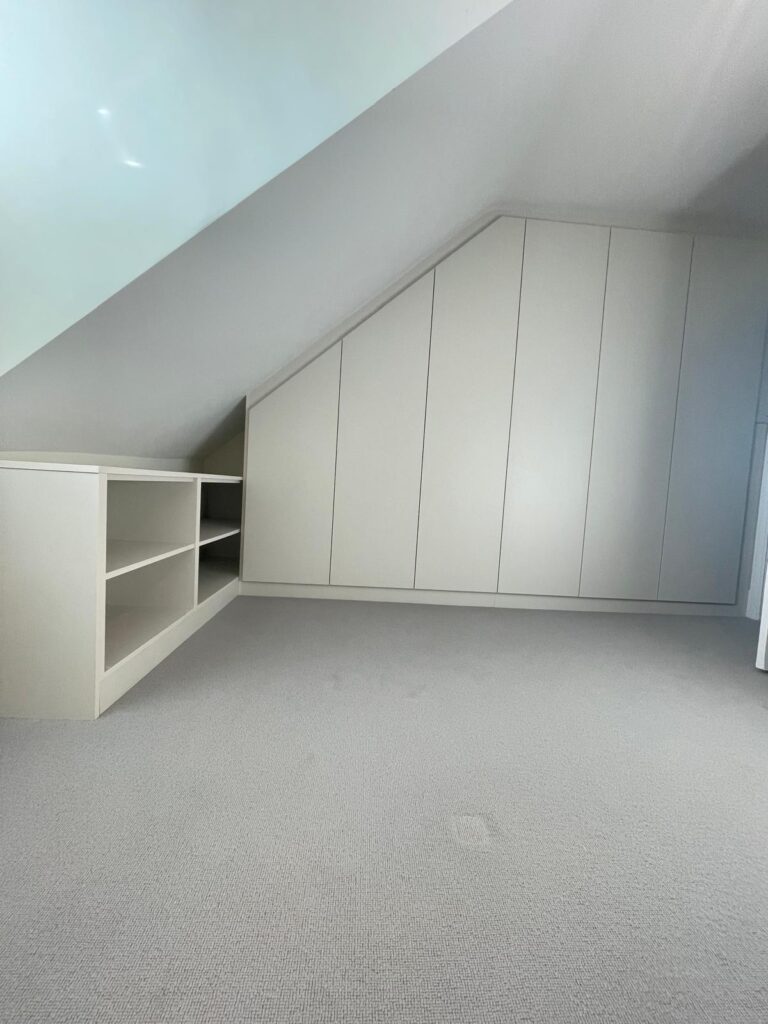
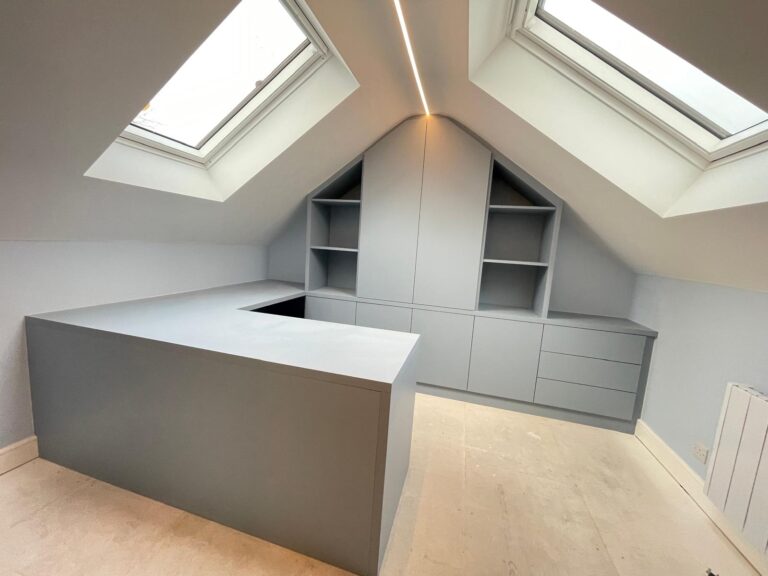
Precision is the hallmark of our service. Our expert artisans ensure every frame is perfectly level from day one, regardless of how much your London property has settled. We specialise in maximising difficult architectural features, such as sloped ceilings in loft wardrobes or the narrow recesses of alcove storage. Unlike the limitations of standard furniture, our bespoke approach ensures every millimetre of space is utilised with a seamless, fully fitted finish that complements your existing decor.
Book Your Free Design Visit
Transforming your bedroom begins with a conversation. We invite you to see your vision come to life through our detailed 3D rendering service, which allows you to visualise your new storage before a single piece of timber is cut. Whether you desire a modern wood-effect finish or a classic Shaker style, we tailor every detail to your personal preference. Our pricing is transparent and designed to offer affordable luxury without unexpected costs.
- Hinged Door Wardrobes: starting from £1,800
- Walk-in Wardrobes: starting from £1,600
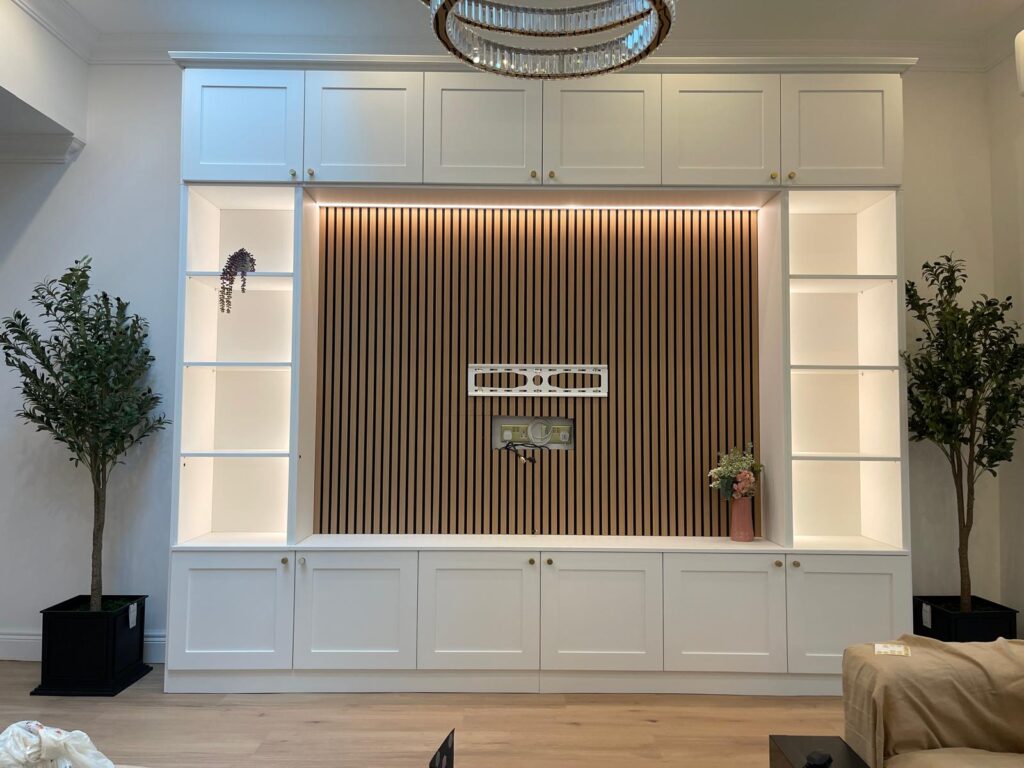
- Media Wall Units: starting from £2,000
Stop struggling with doors that won’t stay shut and start enjoying the fluid experience of a professionally fitted wardrobe. Contact our London office today to begin your home transformation. You can reach our specialist team directly on 07468 150807 to book your free design visit or message us to discuss your specific layout needs. Let us turn your cluttered space into a masterpiece of organisation and style.
Restore the Seamless Harmony of Your Home
Mastering how to adjust fitted wardrobe doors is a valuable skill that preserves the elegance and functionality of your bedroom sanctuary. Whether you are correcting a minor lateral shift in a Shaker hinge or clearing a sliding track in a loft conversion, these small interventions ensure your storage operates with the quiet confidence of a premium installation. By following a structured, incremental approach, you protect your hardware whilst maintaining the crisp, parallel lines that define high-end cabinetry.
If your current furniture continues to struggle despite these efforts, it may be time to invest in a solution engineered for longevity. Finest Furniture Studio offers bespoke wardrobes that combine aesthetic appeal with industrial-grade durability. Our expert artisans serve London and the wider UK, providing a transformative experience with a 7-12 day turnaround from your initial design to final completion. With our 10-year guarantee on all quality, you can enjoy a home that remains perfectly organised and effortless for years to come.
Book a Free Design Visit with Finest Furniture Studio today and take the first step towards a storage solution tailored entirely to your lifestyle.
Frequently Asked Questions
How do I know which screw to turn on my wardrobe hinge?
You can identify the correct screw by its position on the hinge arm. The front-most screw controls the side-to-side gap, whilst the rear screw manages the depth. Screws on the mounting plate allow you to move the door up or down. Always use small, incremental turns to avoid losing the door’s balance entirely.
Why is my sliding wardrobe door jumping off the track?
Obstructions in the track or dislodged anti-jump clips are the primary reasons sliding doors jump. Dust and carpet fibres often accumulate in the bottom channel, creating a bumpy surface that disrupts the rollers. Regular vacuuming and a quick check of the safety clips will usually restore a smooth, effortless glide.
Can I adjust fitted wardrobe doors myself or do I need a professional?
Most homeowners can successfully manage minor realignments using a manual screwdriver. Modern hardware is purposefully designed for easy tuning. However, if the furniture frame appears skewed or the doors are exceptionally heavy, a specialist wardrobe installer in London can provide the precision required to protect your investment.
What tools do I need to fix a sagging wardrobe door?
You only need a Pozi #2 screwdriver and a spirit level to correct a sagging door. It’s vital to use a Pozi-drive rather than a Phillips head to prevent stripping the hardware. A second person is also helpful to support the door’s weight whilst you tighten the mounting plate screws.
How often should I need to adjust my bespoke wardrobe doors?
Bespoke storage solutions rarely need frequent attention after the initial settling phase. You might find a quick check once a year is useful to compensate for seasonal wood expansion. Our premium installations are engineered to withstand daily use whilst maintaining their original, seamless alignment.
Why won’t my fitted wardrobe door stay closed?
Doors that won’t stay closed are often suffering from an incorrect depth adjustment. If the door doesn’t sit flush against the carcass, it won’t engage properly with soft-close buffers. Adjust the rear hinge screw to ensure the door makes full contact with the frame when it’s shut.
What should I do if the screw hole in the wardrobe is stripped?
A stripped hole can be fixed by filling the cavity with a wooden matchstick and wood glue. This simple trick provides the screw with a new surface to grip. If the timber is severely damaged, you might need to move the hinge mounting plate to a fresh section of the carcass.
Is it normal for new fitted wardrobes to need adjusting after a few months?
It’s standard for new furniture to require a minor tune-up as the house settles and the wardrobe is loaded with weight. Mastering how to adjust fitted wardrobe doors during this period ensures your bespoke unit remains perfectly plumb. This minor maintenance is a natural part of owning high-quality, customised cabinetry.