


Bespoke kitchen storage is defined as custom-designed and built storage that fits your exact kitchen dimensions, workflow, and aesthetic preferences. Unlike off-the-shelf units, it treats your kitchen as a unique space rather than a standard template. This guide walks you through a practical, step by step bespoke kitchen storage process: from measuring and planning, through cutting and assembling, to troubleshooting and refining. Whether you are working with a compact galley kitchen in Fulham or a sprawling open-plan layout in Richmond, the methods here apply. Tools like orbital sanders, pocket hole jigs, and spring-loaded bamboo dividers make the process accessible to most homeowners, regardless of prior experience.
What tools, materials, and prep steps do you need first?
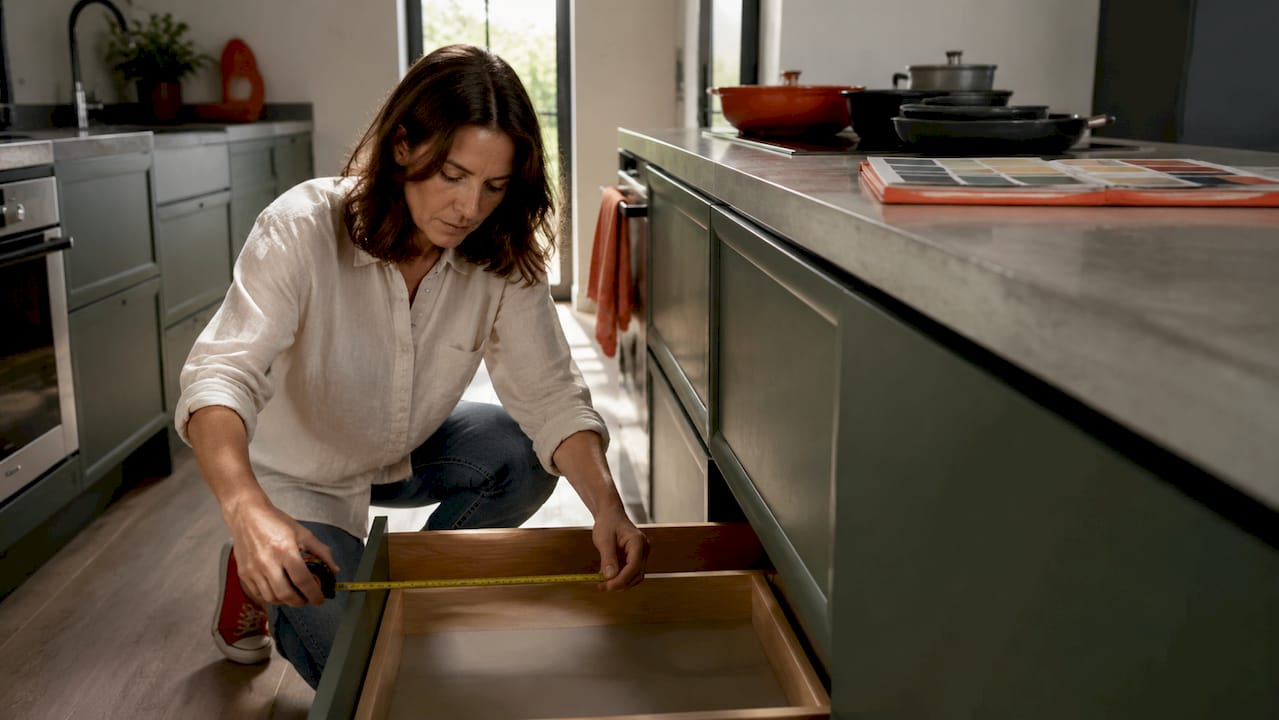
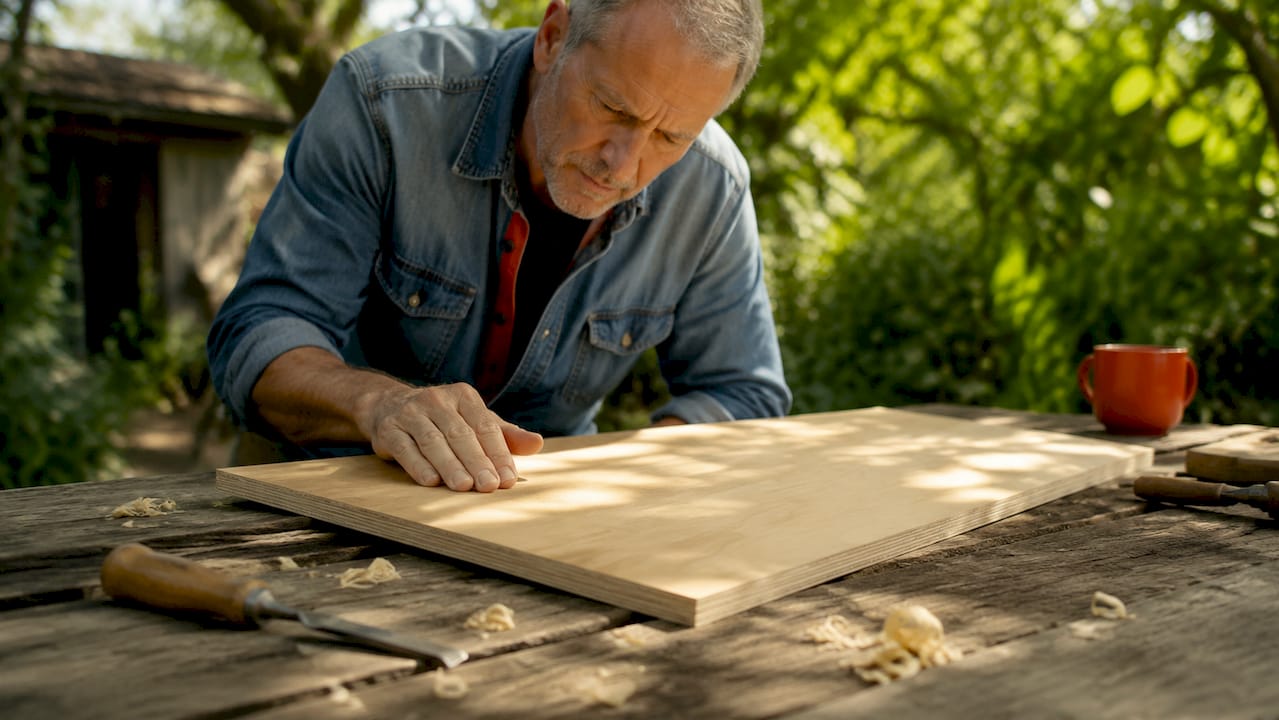
The right preparation separates a storage project that lasts from one that frustrates you within a month. Before you cut a single piece of wood or order a single fitting, you need a clear picture of your kitchen’s dimensions, contents, and workflow.
Measure everything twice
Start with your drawers and cabinets. Measure the internal width, depth, and height of every space you plan to modify. Write these down in a simple notebook or a free tool like Google Sheets. Sketching a rough 2D plan of your kitchen layout takes less than 20 minutes and saves hours of rework later.
Pro Tip: Measure each drawer or cabinet at least twice, and note whether the base is perfectly level. Even a 2mm variance can affect how wooden dividers sit and slide.
Essential tools for the build
Custom DIY shelving projects commonly require the following tools:
- Orbital sander for smoothing cut edges and surfaces
- Impact driver for driving pocket hole screws cleanly
- Pocket hole jig (such as the Kreg Jig K4) for joining wood panels without visible fixings
- Mitre saw for accurate crosscuts on shelving timber
- Tape measure and marking gauge for precise layout lines
If you do not own a mitre saw, most timber merchants in London will cut wood to size for a small fee. This removes the most technical step from the process entirely.
Materials overview
| Material | Best Use | Approximate Cost |
|---|---|---|
| 1/2-inch birch plywood | Drawer inserts, shelf panels | £18–£30 per sheet |
| Maple plywood | Visible surfaces, pegboard inserts | £25–£40 per sheet |
| Spring-loaded bamboo dividers | Quick drawer organisation | Under £30 per set |
| Drawer slides (soft-close) | Pull-out shelves and drawers | £12–£25 per pair |
| Pocket hole screws | Joining panels and frames | £8–£15 per box |
Birch plywood is the workhorse of bespoke kitchen storage builds. It is stable, takes paint and lacquer well, and holds screws reliably. Maple plywood suits visible surfaces where a finer grain matters aesthetically.
Audit and zone your kitchen
Before building anything, empty every drawer and cabinet. Group items by function: baking tools together, everyday cutlery together, pots and pans together. This process is called designated zoning, and it is the single most effective planning step you can take. Zoning tells you exactly how much space each category needs, which directly informs the dimensions of your custom inserts and shelves.
How do you execute the build and installation step by step?
With your measurements confirmed and materials gathered, the build process follows a clear sequence. Homeowners can complete high-quality bespoke kitchen storage projects using simple tools and careful planning, regardless of prior woodworking experience.
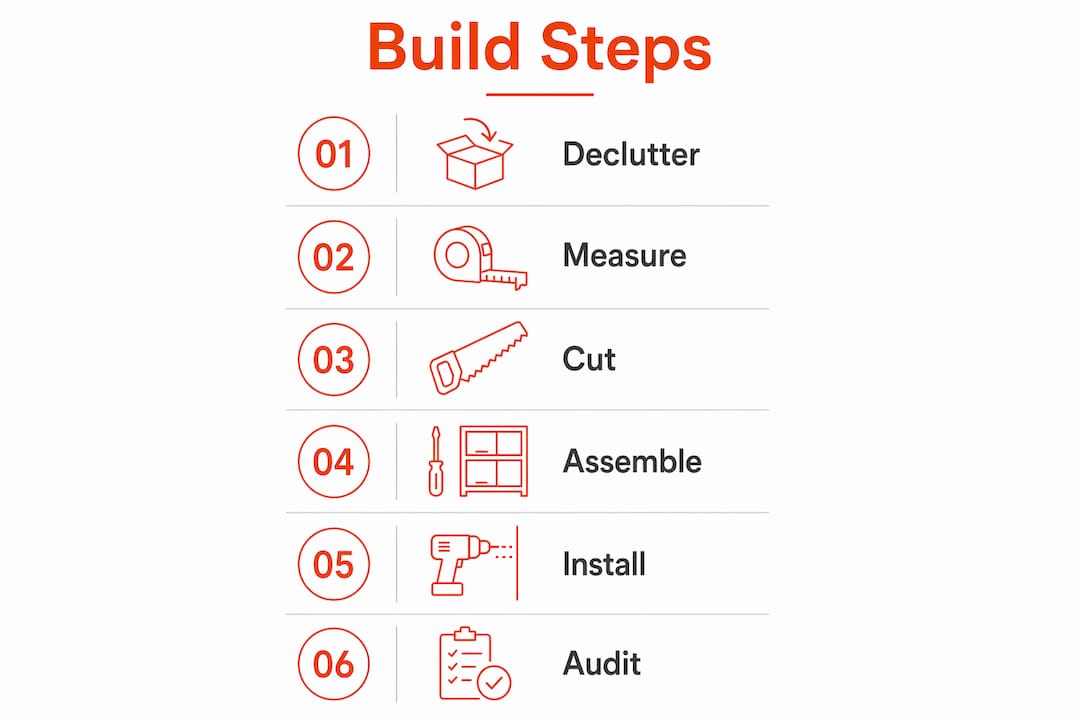
Step-by-step build process
-
Declutter and audit. Remove everything from the target drawers and cabinets. Discard duplicates and items you have not used in 12 months. This gives you an accurate picture of what you are actually storing.
-
Mark your cuts. Using your measurements, mark cutting lines on your birch plywood with a pencil and straight edge. Double-check each mark against your notebook dimensions before cutting.
-
Cut your panels. Use a mitre saw or have your timber merchant cut panels to size. For drawer dividers, you need two long strips (running the full depth of the drawer) and several shorter cross-pieces.
-
Sand all edges. Run an orbital sander along every cut edge. Start with 80-grit paper, then finish with 120-grit. Smooth edges prevent splinters and allow dividers to slide in and out cleanly.
-
Assemble with pocket hole screws. Use a Kreg Jig K4 or similar pocket hole jig to join cross-pieces to long strips. This creates a rigid grid insert that sits inside the drawer without adhesive.
-
Finish the surface. Apply a coat of wood primer, followed by two coats of water-based lacquer. This protects the wood from moisture and food residue, which is critical in a kitchen environment.
-
Install bamboo dividers for quick wins. For drawers you want to reorganise immediately, adjustable bamboo dividers can be installed in under 30 minutes with no drilling. They cost less than £40 and require no permanent alterations to your cabinetry.
-
Build and fit pull-out shelves. Custom pull-out shelves are built using pocket hole screws and soft-close drawer slides. Cut a base panel to the cabinet’s internal width, attach side rails, then mount the drawer slides to both the cabinet interior and the shelf frame. Test the action before final fixing.
-
Configure pegboard inserts. For deep drawers holding pots and pans, custom pegboard organisers made from maple plywood can be ordered to exact dimensions. Production typically takes 14 business days after design approval. Alternatively, cut your own pegboard panel and fit wooden pegs at intervals to suit your cookware.
-
Test and adjust. Place all items back into their designated zones. Check that dividers sit flush, slides operate smoothly, and nothing rocks or catches.
Pro Tip: Cut your wooden divider strips 1–2mm longer than the measured drawer width. This tension fit holds the insert securely without adhesive, and you can remove or reposition it at any time without damaging the cabinet.
Quick reference: build steps at a glance
| Step | Action | Time Required |
|---|---|---|
| 1–2 | Declutter, audit, mark cuts | 1–2 hours |
| 3–4 | Cut and sand panels | 1–2 hours |
| 5–6 | Assemble and finish | 2–3 hours |
| 7 | Fit bamboo dividers | 30 minutes |
| 8–9 | Install pull-outs and pegboard | 2–4 hours |
| 10 | Test, adjust, and finalise | 30–60 minutes |
What are the most common mistakes and how do you fix them?
Even careful builders encounter problems. Knowing the most frequent errors in advance means you can avoid them or correct them quickly.
Measurement errors and overfilling
Imprecise measuring is the most common cause of ill-fitting inserts. A divider that is 3mm too narrow will rattle; one that is 3mm too wide will bow the drawer sides. Always measure the internal dimension at the base of the drawer, not the top edge, as many drawers taper slightly.
Overfilling is equally damaging. A drawer packed beyond its capacity puts stress on slides and joints. The rule is simple: if you cannot close the drawer with one hand, it contains too much.
Awkward spaces and dead corners
Blind corners and under-sink areas defeat standard storage solutions. Rotating lazy Susans and U-shaped pull-outs are the most effective hardware for these spaces. A lazy Susan mounted in a corner cabinet turns dead space into fully accessible storage. U-shaped pull-outs wrap around the plumbing under a sink, recovering space that most homeowners simply ignore. For more ideas on maximising awkward spaces throughout your home, the principles translate directly from kitchen to other rooms.
Common fixes at a glance
- Divider too loose: Cut a replacement strip 2mm longer for a firmer tension fit.
- Drawer slide misaligned: Loosen the mounting screws, realign with a spirit level, and retighten.
- Pegboard pegs pulling out: Switch to metal pegs with locking clips rather than plain wooden dowels.
- Bamboo divider slipping: Clean the drawer base with a dry cloth before fitting. Dust and grease reduce friction.
- Pull-out shelf catching: Check that both slides are mounted at exactly the same height. A 1mm difference causes binding.
Pro Tip: Set a reminder to audit your storage every six months. Household needs shift as children grow, cooking habits change, or new appliances arrive. Adjustable dividers and tension-fit inserts make reconfiguring your layout straightforward, without any new cutting or drilling.
How do bespoke solutions compare to ready-made kitchen storage?
The choice between bespoke and ready-made storage is not purely financial. It involves fit, flexibility, and how long the solution will actually serve your household.
Comparison: bespoke vs. ready-made storage
| Factor | Bespoke / DIY | Ready-Made |
|---|---|---|
| Cost per drawer | £15–£80 DIY; £50–£200 professional | £10–£50 |
| Installation time | 1–8 hours depending on complexity | 15–30 minutes |
| Fit to exact dimensions | Perfect fit guaranteed | Approximate at best |
| Design flexibility | Unlimited | Limited to available sizes |
| Long-term adaptability | High (adjustable inserts) | Low (fixed dimensions) |
| Aesthetic integration | Matches existing cabinetry | Generic appearance |
Professional bespoke drawer organisers cost £50–£200 each, but spring-loaded dividers achieve 80–90% of the same utility for under £50. That gap matters for London homeowners managing renovation budgets across multiple rooms.
When ready-made storage is sufficient
Ready-made organisers work well in standard-sized drawers where precision fit is less critical. A cutlery tray in a 600mm drawer, for instance, rarely needs custom dimensions. The problem arises in older London properties, particularly Victorian terraces in areas like Chiswick, Barnes, or Putney, where cabinet dimensions are irregular and off-the-shelf products simply do not fit.
Bespoke solutions are not only for large kitchens. They are often most valuable in compact or awkwardly proportioned spaces where every centimetre counts. The principles of maximising vertical space apply equally to tall kitchen larder units and full-height cabinets.
Pro Tip: Combine bespoke wooden inserts for your most-used drawers with select ready-made organisers for lower-priority storage. This approach balances cost and customisation without requiring a full DIY build throughout the entire kitchen.
Key takeaways
Bespoke kitchen storage succeeds when precise measurement, designated zoning, and the right materials combine with a clear, sequential build process.
| Point | Details |
|---|---|
| Measure before everything | Record internal drawer and cabinet dimensions at the base, not the top edge, for accurate fits. |
| Zone by function first | Group items by use before building anything; this defines the dimensions you actually need. |
| Tension fit over adhesive | Cut dividers 1–2mm oversized for a secure, removable fit that protects your cabinetry. |
| Bespoke beats ready-made in awkward spaces | Lazy Susans and U-shaped pull-outs recover dead corners that standard products cannot reach. |
| Audit and adapt regularly | Revisit your storage layout every six months as household needs and cooking habits evolve. |
What i have learned after seeing hundreds of kitchen storage projects
The most common mistake I see homeowners make is starting with the hardware rather than the habit. They buy beautiful bamboo dividers, install them carefully, and then fill the drawer with the same random assortment of items as before. The storage looks tidier for about a week. Then it reverts.
The designated zoning step is not optional. It is the entire foundation. When you decide that the drawer nearest the hob holds only cooking utensils, and you never put anything else in it, the physical storage almost organises itself. The insert just reinforces a decision you have already made.
I also think people underestimate how much a kitchen changes over time. A household with young children needs very different storage from the same household five years later. This is why I consistently recommend tension-fit and adjustable solutions over anything permanent. A fixed wooden grid glued into a drawer is a commitment. A tension-fit insert you can reconfigure in ten minutes is an asset.
The other thing worth saying plainly: starting small builds confidence faster than any tutorial. Fit a set of bamboo dividers in one drawer this weekend. See how it changes the way you use that space. That single experience will tell you more about what your kitchen actually needs than any amount of planning on paper.
— Aureliu
Bespoke storage for your london home: what finest furniture studio offers
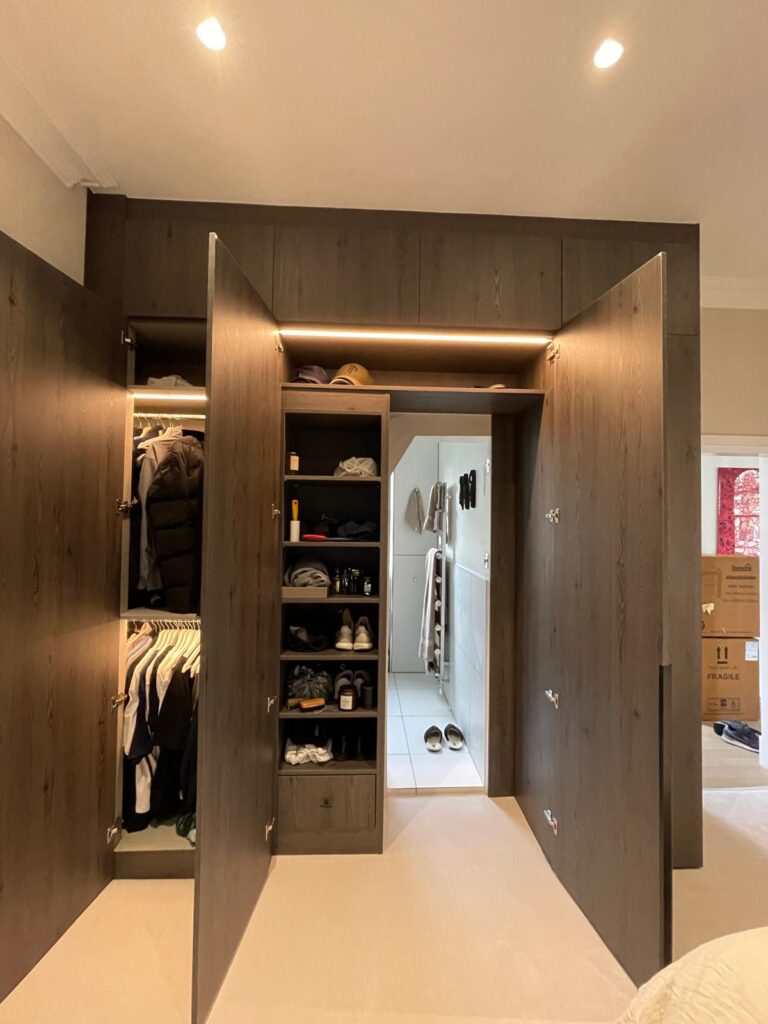
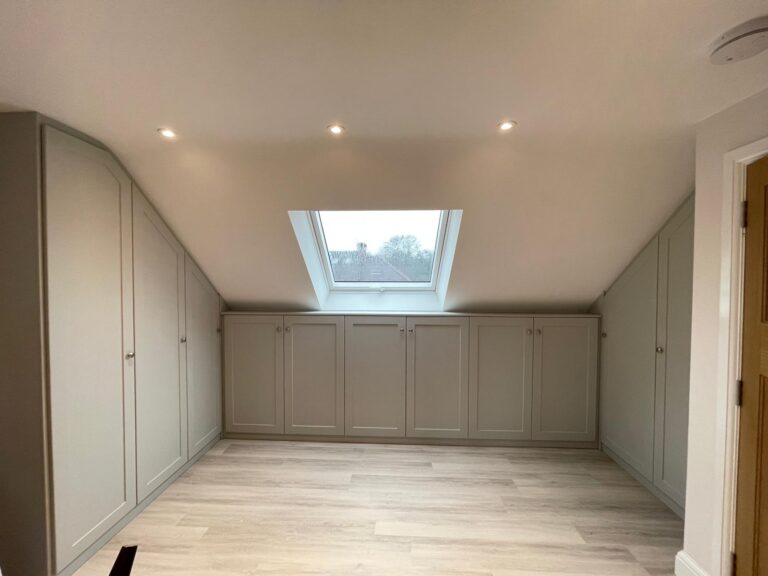
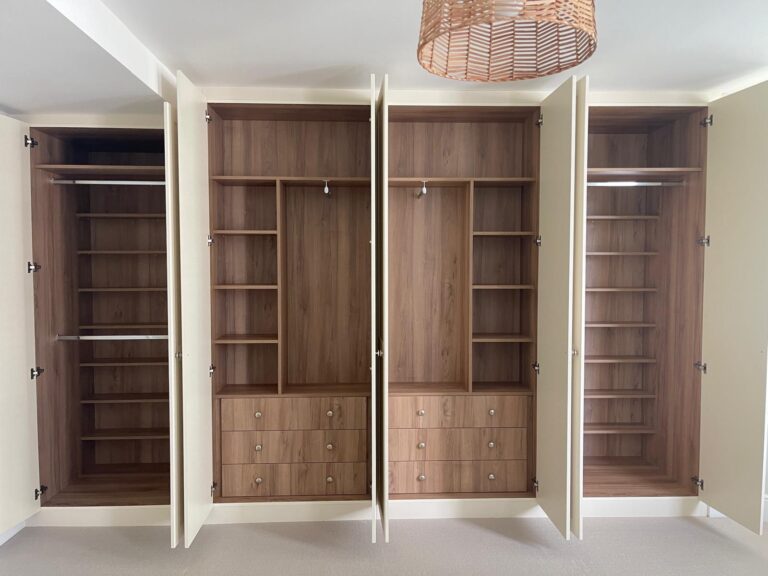
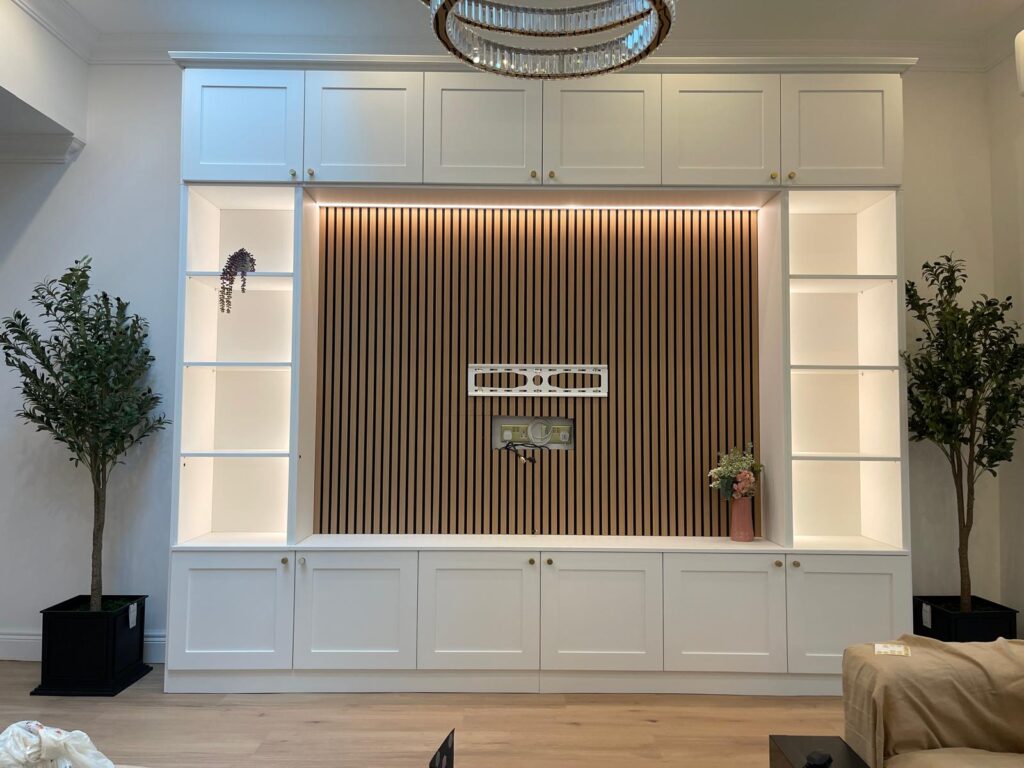
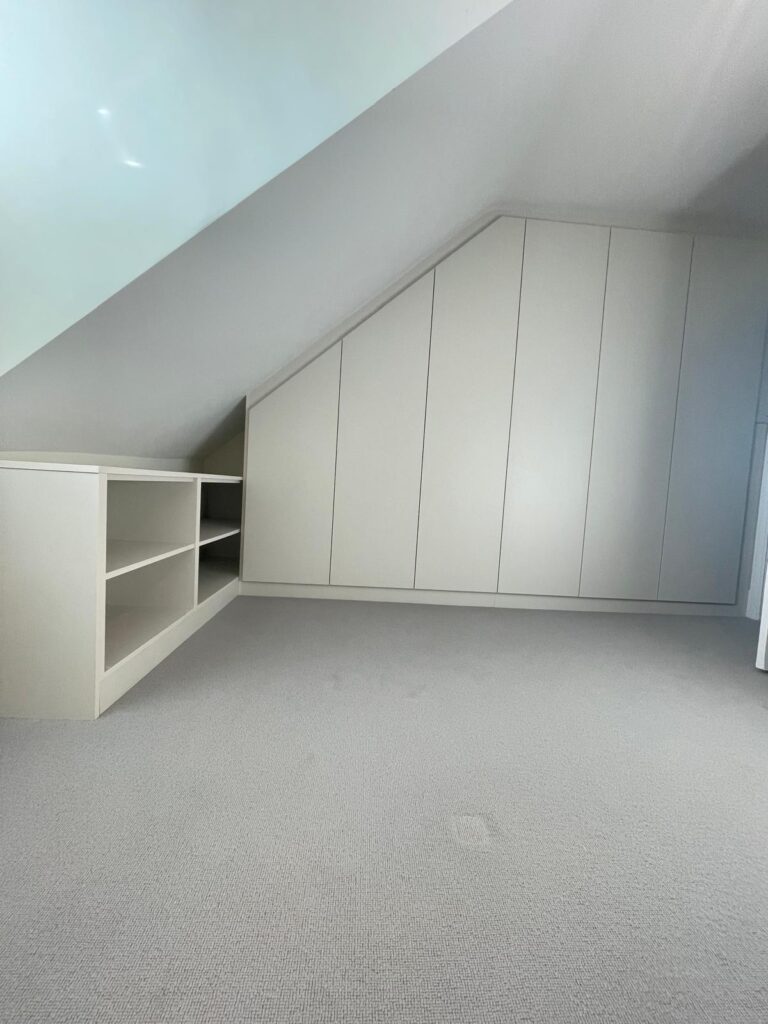
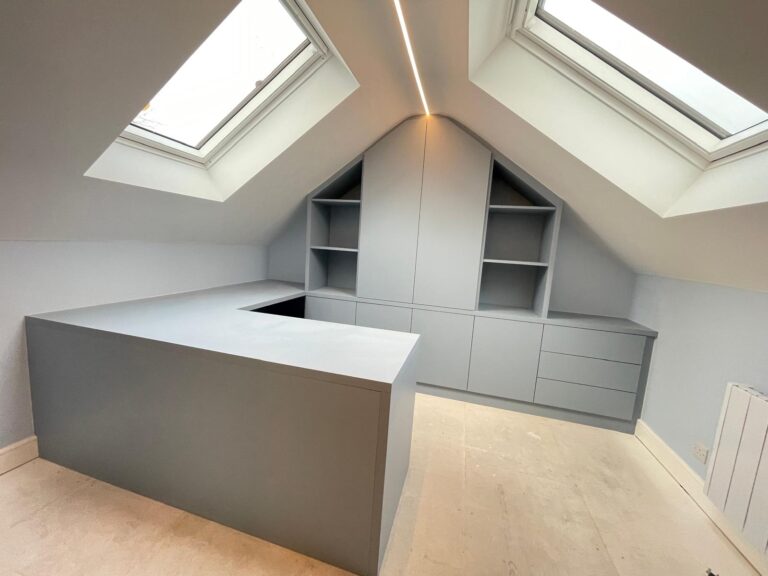
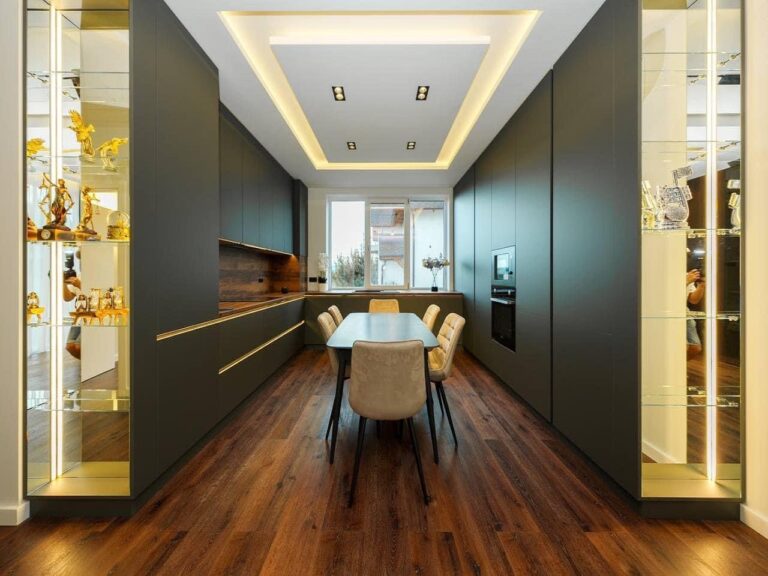
If your kitchen project has revealed a broader need for custom storage throughout your home, Finest Furniture Studio designs and installs bespoke fitted wardrobes, TV media walls, and tailored storage solutions across London, including Richmond, Wimbledon, Fulham, Chelsea, Chiswick, and Putney.

Every project begins with a free design visit, and installation is completed within 7–12 days. We also remove and dispose of any existing furniture, so the process is straightforward from start to finish. Our work carries a 10-year quality guarantee. Whether you need a bespoke fitted wardrobe in West London or a media wall that doubles as a storage solution, we design each piece around your exact space and lifestyle. Call us on 07468 150807 or WhatsApp, or visit us at 124 City Road, Kemp House, London, EC1V 2NX.
FAQ
What does bespoke kitchen storage actually mean?
Bespoke kitchen storage refers to custom-designed and built storage solutions made to fit your exact kitchen dimensions, contents, and aesthetic. Unlike ready-made products, bespoke storage is designed around your specific space rather than adapted to it.
How long does a DIY bespoke kitchen storage project take?
A single drawer insert takes 2–4 hours from cutting to fitting. A full kitchen project covering multiple drawers and pull-out shelves typically takes one to two weekends, depending on the number of units and finishing required.
Can i install bespoke storage without drilling or permanent changes?
Yes. Adjustable bamboo dividers install in under 30 minutes with no drilling and no permanent alterations, making them ideal for rented properties or homeowners who want flexibility.
What is the most cost-effective bespoke kitchen storage method?
Spring-loaded bamboo dividers deliver 80–90% of the utility of professional bespoke inserts at a fraction of the cost. For a more permanent solution, DIY birch plywood inserts with a tension fit offer professional-level results for £15–£80 per drawer.
How do i handle awkward corners and under-sink spaces?
Rotating lazy Susans and U-shaped pull-outs are the most effective solutions for blind corners and under-sink areas. Both are available from kitchen hardware suppliers and can be fitted without professional installation in most standard cabinet configurations.