


Measuring for fitted furniture is the process of capturing precise dimensions and spatial details of your room so that bespoke cabinetry fits perfectly without gaps, clashes, or costly on-site adjustments. Accurate measurement for custom furniture requires a tolerance of ±3–5 mm, which means even a small error compounds across a full wall of fitted wardrobes. At Finest Furniture Studio, we see measurement mistakes as the single most avoidable cause of installation delays. This guide gives you a complete fitted furniture measurements guide, from tools and preparation through to delivery access, so your bespoke furniture fits first time.
How to measure for fitted furniture: tools and preparation
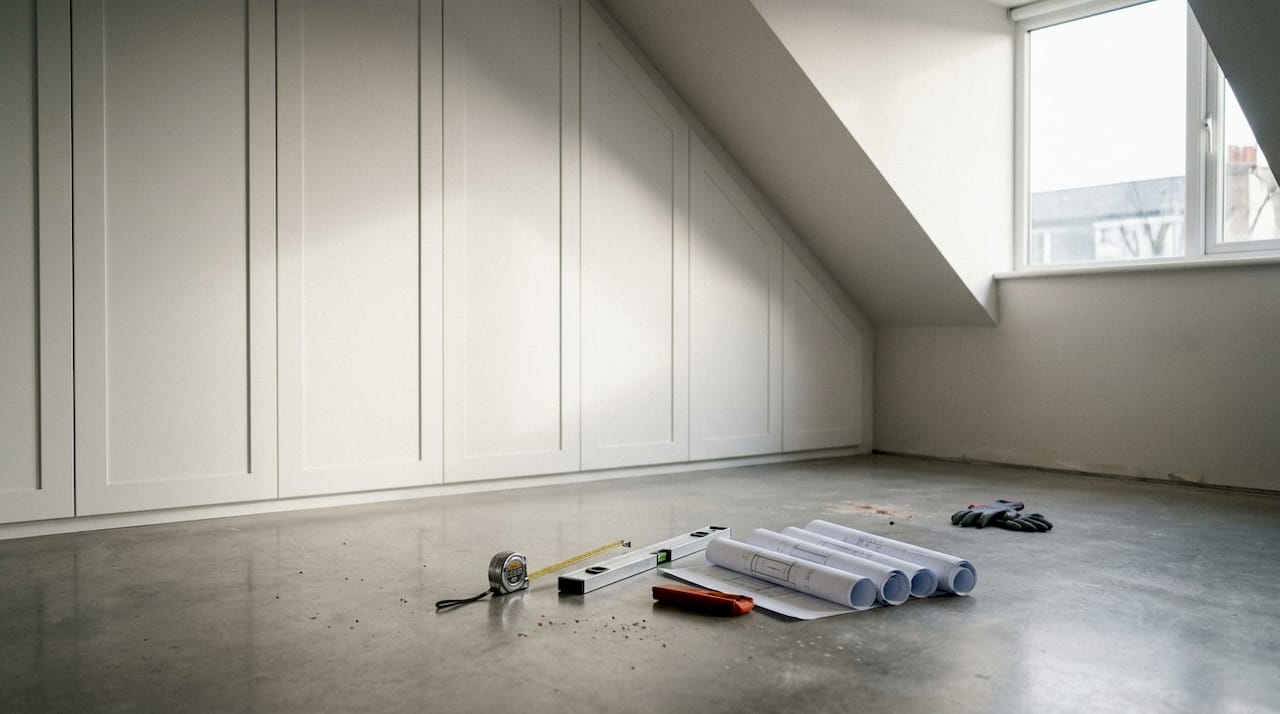
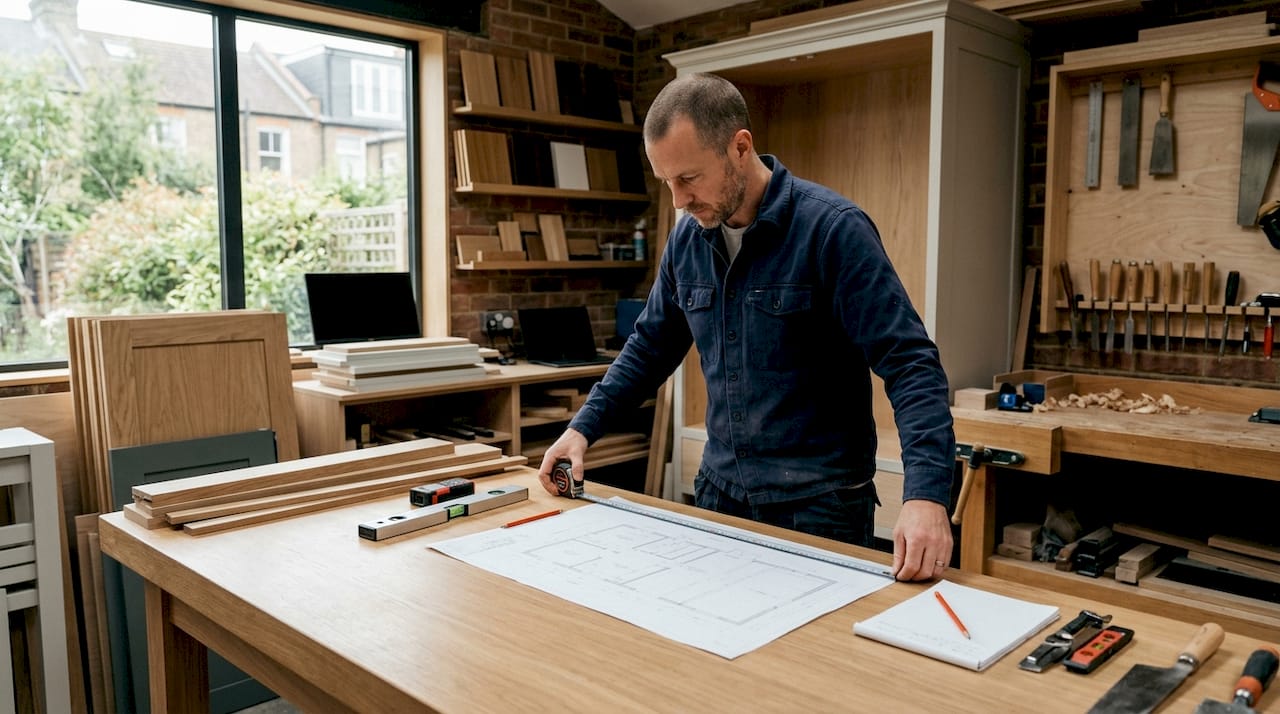
The right tools make the difference between a measurement you can trust and one that causes problems at installation. Collect everything before you start, because switching between tools mid-survey introduces errors.
Recommended tools
- Metal tape measure (5 m minimum): more rigid than fabric tapes and will not stretch over long spans.
- Laser distance meter: gives readings to within 1–2 mm and is ideal for measuring across large rooms without a second pair of hands.
- Spirit level (1.2 m): checks whether walls and floors are truly flat and vertical.
- Notepad and pencil: record every dimension immediately. Do not rely on memory.
- Painter’s tape: marks furniture footprints and clearance zones on the floor before you commit to a layout.
- Camera or smartphone: photographs walls, sockets, and obstacles to support communication with your designer.
Always record dimensions in millimetres. Centimetres and metres introduce rounding errors that accumulate across multiple measurements. A reading of 2,347 mm is unambiguous; “about 235 cm” is not.
Preparation tasks
Clear the room of loose furniture and obstructions before you begin. You need unobstructed access to every wall, corner, and floor area. Identify the furniture footprint type you are planning: a full wall of built-in wardrobes, an alcove unit, or a loft wardrobe each requires a different set of reference points. Mark the intended furniture position on the floor with painter’s tape so you can visualise clearances before measuring.
| Tool | Primary use | Accuracy |
|---|---|---|
| Metal tape measure | Width, height, depth | ±1–2 mm |
| Laser distance meter | Long spans, room diagonals | ±1–2 mm |
| Spirit level | Wall and floor flatness | Visual check |
| Painter’s tape | Marking footprints and clearances | N/A |
| Smartphone camera | Documenting obstacles and finishes | N/A |
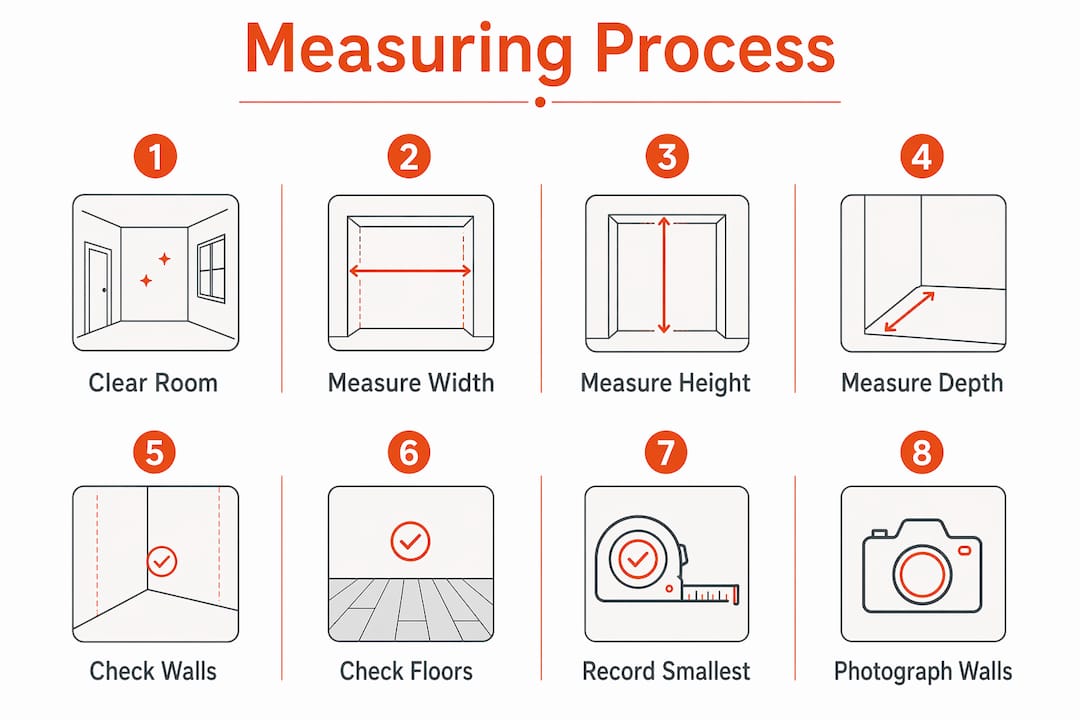
How to measure your room accurately for fitted furniture installation
Measuring a room for bespoke furniture is not a single measurement. It is a systematic survey that captures every dimension at multiple points, because walls bow, floors slope, and ceilings are rarely perfectly level.
Step-by-step measurement process
-
Measure the width at three heights. Take a reading at floor level, at mid-height (roughly 1,000–1,200 mm), and at ceiling level. Manufacturers use the smallest value to ensure the unit fits in the tightest part of the space. Record all three readings.
-
Measure the height at three positions. Measure floor to ceiling at the left side, the centre, and the right side of the intended furniture run. Again, record the smallest figure. Ceilings in older London properties, particularly in Richmond, Wimbledon, and Chiswick, frequently vary by 10–20 mm across a single wall.
-
Measure the depth. Measure from the back wall to the usable room space. Deduct the projection of any skirting boards or architraves. Failure to account for skirting offsets can prevent fitted furniture from sitting flush against the wall, requiring on-site modification that adds cost and time.
-
Identify and measure fixed features. Note the exact position and dimensions of every socket, light switch, pipe, radiator, and ventilation grille. Measure their distance from the nearest corner and their height from the floor. Radiators in particular affect depth: a wardrobe cannot project further than the face of the radiator without blocking heat flow.
-
Measure all doors and windows. Record the width and height of each opening, plus the depth of any window sill. Allow at least 10–20 mm clearance for door hardware, and check that a fully open door does not swing into the planned furniture footprint.
-
Mark and measure circulation clearances. A primary walkway requires 90 cm of clear space; a secondary walkway requires 60 cm. Use painter’s tape to mark these zones on the floor and confirm the furniture layout still allows comfortable movement.
-
Measure room diagonals. Measure corner to corner in both directions. If the two diagonal readings differ by more than 10 mm, the room is not square. This affects how corner units and full-wall runs are designed and built.
-
Assess floor slopes. Place your spirit level on the floor in several positions. Record any slope with a wedge measurement: how many millimetres does the floor drop over one metre? This figure goes directly to the manufacturer so the base of the unit can be scribed or shimmed accordingly.
Pro Tip: Photograph every wall from corner to corner before you begin sketching. Include a tape measure in the shot for scale. These images give your designer at Finest Furniture Studio an instant visual reference that no sketch can fully replace.
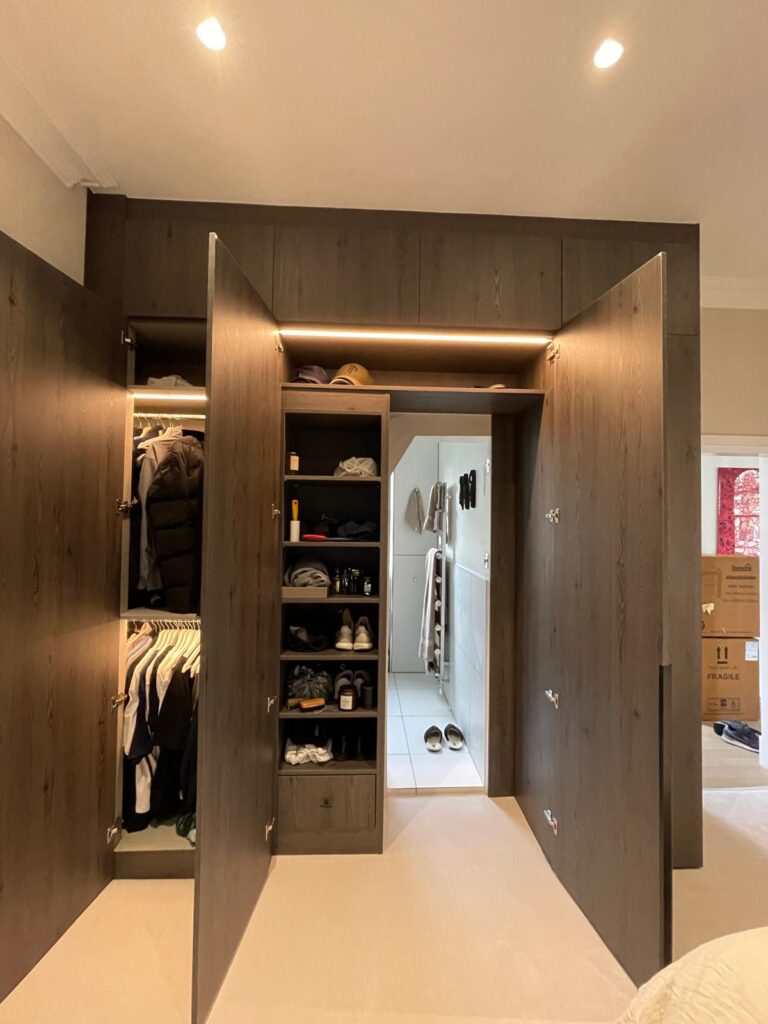
Measuring is about more than footprint. Fixed obstructions like radiators, sockets, and door swings all affect how a fitted wardrobe or media wall can be positioned and how deep it can be built. Capturing these details at the survey stage prevents expensive design changes later.
How do you deal with irregular walls and uneven floors?
Irregular spaces are the norm in London homes, not the exception. Properties in Barnes, Hammersmith, and Putney frequently have walls that bow outward by 15–20 mm, floors that slope toward an external wall, and ceilings that follow the pitch of a loft conversion. Standard measuring techniques applied once at a single point will not capture these variations.
The solution is to measure at multiple points and always record the smallest dimension. Manufacturers request the smallest measurements from multiple positions so that cabinetry fits in the tightest part of the space. This is the single most important rule in any fitted furniture measurements guide.
Checking walls and floors with a spirit level
Use a spirit level and plumb line to verify that walls are vertical and floors are flat. These checks are critical in older buildings where structural movement may have shifted walls out of plumb by several degrees. Hold the spirit level vertically against the wall at three points along its length. Note any gap between the level and the wall surface, and record the maximum deviation in millimetres.
For floors, place the spirit level in multiple directions across the room. A slope of more than 5 mm per metre is significant and must be communicated to the manufacturer. Fitted wardrobes built without this information will rock or leave visible gaps at the base.
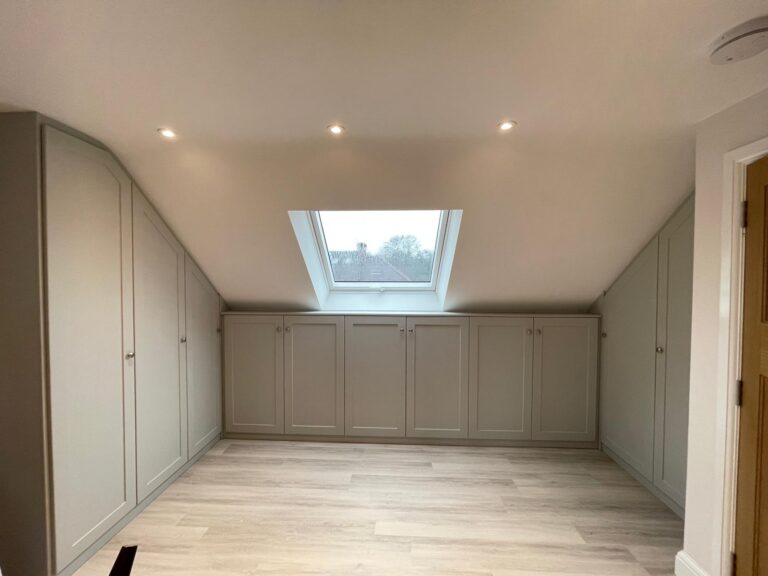
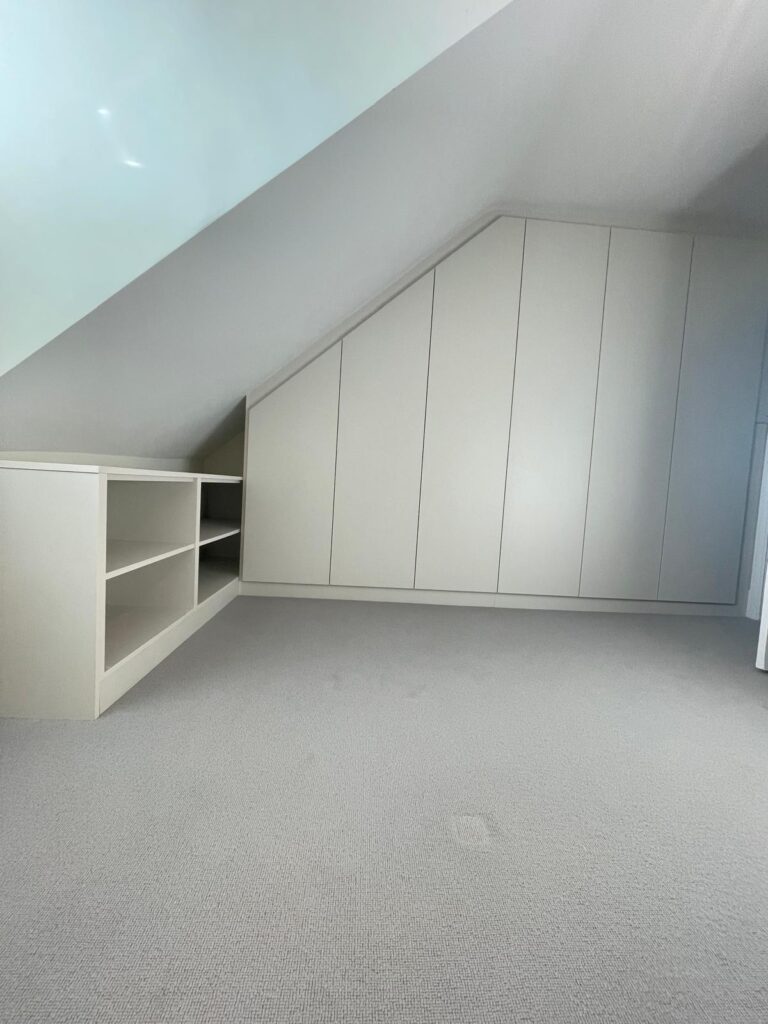
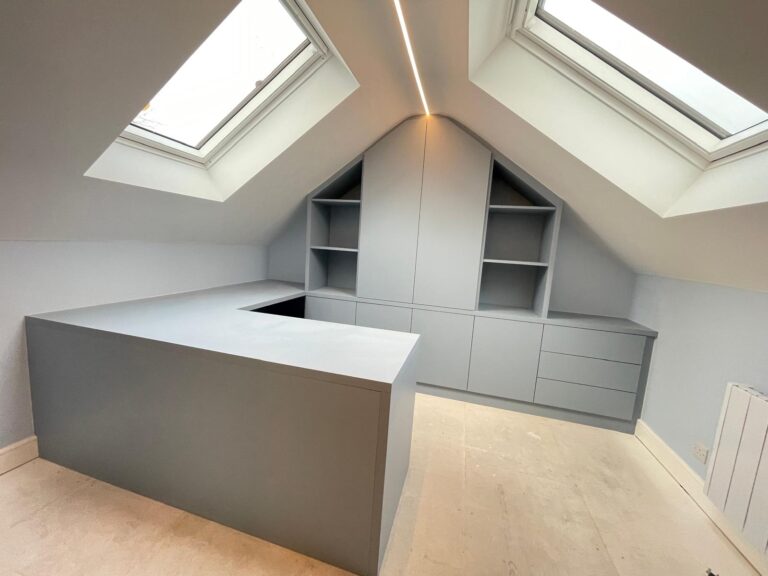
Measuring alcoves, bay windows, and sloped ceilings
Alcoves require width measurements at the top, middle, and bottom, plus a depth measurement at each side and the centre. Bay windows introduce angled walls that must be measured with a protractor or angle finder to capture the exact degree of the turn. Sloped ceilings in loft conversions require a series of height measurements taken every 300–500 mm along the slope, so the manufacturer can build a stepped or angled top panel.
- Record the height at the lowest usable point of the slope.
- Record the height at the highest point within the furniture footprint.
- Measure the horizontal distance between those two points.
- Note the angle if possible, or provide all three measurements and let the designer calculate it.
Pro Tip: For sloped or irregular profiles, create a cardboard contour template by cutting the shape of the wall or ceiling and tracing it onto paper. Post or photograph this template alongside your measurements. It removes all ambiguity about the profile shape.
Homeowners often underestimate the true complexity of their room dimensions. A space that looks square to the eye can be 20–30 mm narrower at one end than the other. Capturing that variation at the survey stage is what separates a fitted wardrobe that slides in cleanly from one that requires hours of on-site scribing.
You can read more about how a professional survey improves outcomes in our guide to wardrobe measurement surveys.
How to measure for furniture delivery and installation access
A wardrobe that fits the room perfectly is useless if it cannot reach the room. Measuring the delivery path is a step that homeowners routinely skip, and it is one of the most common causes of delivery failure or damage to bespoke furniture.
Bespoke fitted furniture is often manufactured in large panels or pre-assembled carcasses. These sections must travel through your front door, along hallways, around stairwells, and through bedroom doorways before they reach their final position. A panel that is 2,400 mm tall cannot navigate a stairwell with a 2,100 mm ceiling without being tilted, and tilting requires additional horizontal clearance.
Delivery access checklist
- Front door: measure clear width (door open, handle removed if necessary) and clear height.
- Hallway: measure the narrowest width and note any protruding radiators, coat hooks, or light fittings.
- Stairwell: measure the width at the tightest point, the height at the lowest point (often where the stairwell turns), and the diagonal clearance at each landing.
- Bedroom doorway: measure clear width and height with the door fully open.
- Lift (if applicable): measure internal width, depth, and height, plus the door opening width.
- Tight corners: measure the turning radius available at each corner, including any step height changes.
Allow at least 10–20 mm of clearance beyond the panel dimensions at every point. This accounts for protective packaging that remains on the panels during transit. Communicate any access restrictions to Finest Furniture Studio before the design is finalised. Our team can often adjust panel sizes or specify on-site assembly to work around a difficult stairwell or narrow hallway.
Common pitfalls include ignoring the height of a stair handrail that reduces effective clearance, and forgetting that a hallway narrows at a radiator. Sketch your delivery route and annotate every restriction. Share that sketch with your installer alongside your room measurements.
Key takeaways
Accurate measurement for fitted furniture requires recording the smallest dimension at multiple points across every wall, floor, and ceiling, then communicating every obstruction and access restriction to the manufacturer before production begins.
| Point | Details |
|---|---|
| Use millimetres throughout | Record all dimensions in millimetres to avoid rounding errors that compound across a full wall. |
| Measure at multiple points | Take width, height, and depth readings at three positions each and always use the smallest value. |
| Account for every obstruction | Record skirting boards, sockets, radiators, and door swings with exact positions and depths. |
| Check walls and floors with a spirit level | Identify bowing walls and sloping floors before production so the manufacturer can compensate. |
| Survey the delivery route | Measure every doorway, hallway, and stairwell to confirm panels can reach the room without damage. |
Why I always tell homeowners to measure twice and sketch once
I have seen hundreds of bespoke wardrobe projects across London, from loft conversions in Ealing to alcove wardrobes in Chelsea, and the pattern is consistent. The projects that run smoothly are the ones where the homeowner took time to measure carefully, photograph everything, and communicate clearly with the design team. The projects that hit problems almost always trace back to a single skipped step: a skirting board not accounted for, a stairwell not measured, or a wall assumed to be square.
The most common mistake I see is measuring width once at eye level and calling it done. Walls in Victorian and Edwardian properties, which make up a large proportion of homes in Wimbledon, Twickenham, and Fulham, bow and taper in ways that are invisible to the naked eye. A single measurement gives you a single data point. Three measurements give you the truth.
My honest advice is this: if your space is straightforward, a careful DIY survey using the steps in this guide will serve you well. If your space has a sloped ceiling, an alcove with irregular walls, or a loft conversion with angled corners, book a professional site survey. The cost of a survey is a fraction of the cost of an on-site modification or, worse, a remade panel. At Finest Furniture Studio, our free design visit includes a full site survey, so you never have to guess.
One more thing: do not skip the delivery route. I have seen a beautifully made wardrobe arrive at a Putney terrace only to spend two hours in the hallway while the team worked out how to navigate a tight stairwell turn. That delay was entirely preventable with a five-minute measurement exercise before the order was placed.
— Aureliu
Finest Furniture Studio: bespoke fitting from survey to installation
Getting your measurements right is the foundation of a successful fitted furniture project. Finest Furniture Studio works with homeowners across Richmond, Wimbledon, Putney, Chelsea, Kingston, and Central London to design and install bespoke wardrobes, TV media walls, loft wardrobes, and alcove storage that fits every room precisely.
We offer a free design visit that includes a full professional site survey, so you do not need to worry about capturing every dimension yourself. Our fitters complete installation within 7–12 days, and every piece of furniture carries a 10-year quality guarantee. We also take away and dispose of your old wardrobe at no extra charge. For bespoke fitted wardrobes in West London or a fitted wardrobe quote tailored to your space, contact us today.
07468 150807 or WhatsApp | 124 City Road, Kemp House, London, EC1V 2NX
FAQ
What tolerance is acceptable when measuring for fitted furniture?
The standard tolerance for fitted furniture measurements is ±3–5 mm. Always record the smallest dimension taken across multiple points to stay within this range.
Should I measure in millimetres or centimetres?
Measure in millimetres. Centimetres introduce rounding errors that accumulate across a full wall run and can cause fitted furniture to be built too wide or too narrow.
How many times should I measure each dimension?
Measure width at three heights (floor, mid, ceiling), height at three positions (left, centre, right), and depth at multiple points. Always use the smallest reading for each dimension.
Do I need to measure the delivery route as well as the room?
Yes. Measuring the entire delivery path, including doorways, hallways, stairwells, and any lifts, is critical to avoid delivery failure or damage to bespoke furniture panels.
What should I do if my walls are not square or my floor slopes?
Use a spirit level to measure the deviation and record it in millimetres per metre. Provide this figure to your manufacturer so the base and top panels can be scribed or angled to compensate. For complex spaces, a professional site survey from Finest Furniture Studio removes all guesswork.