


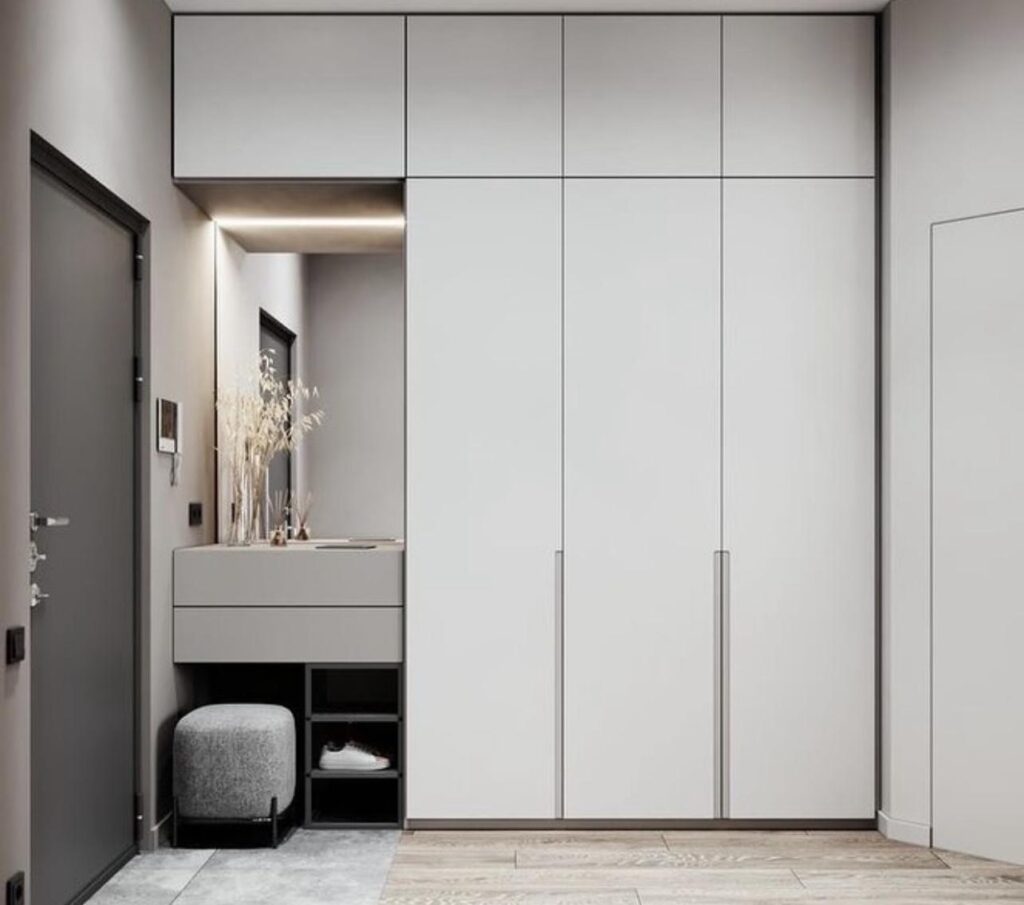
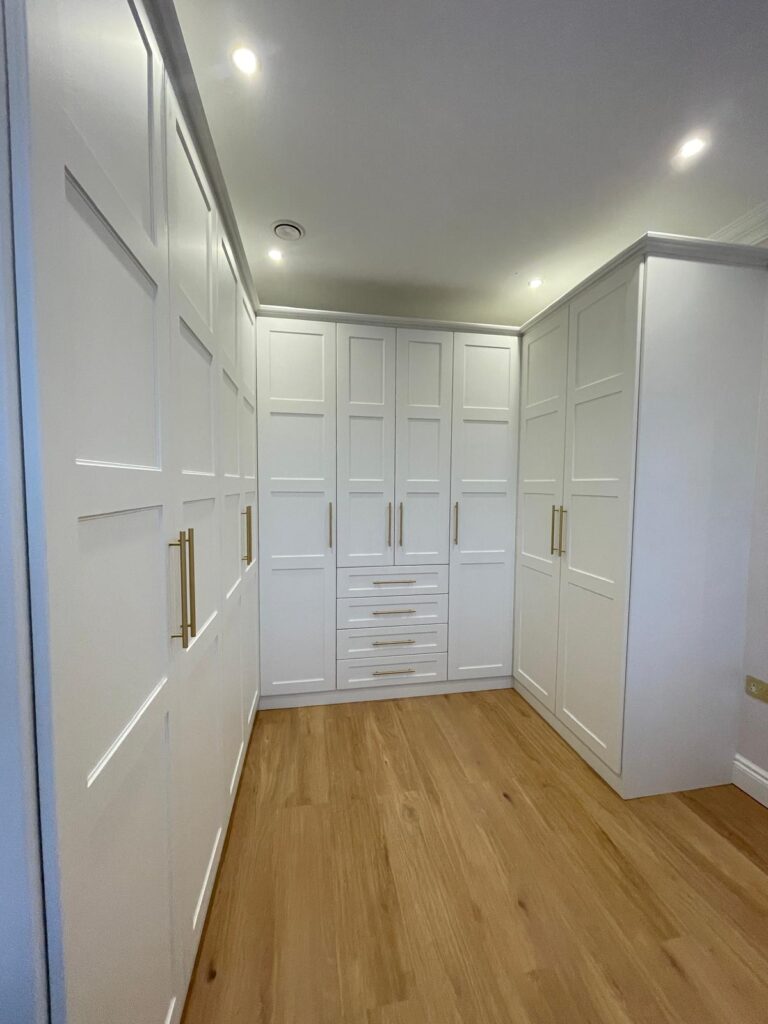
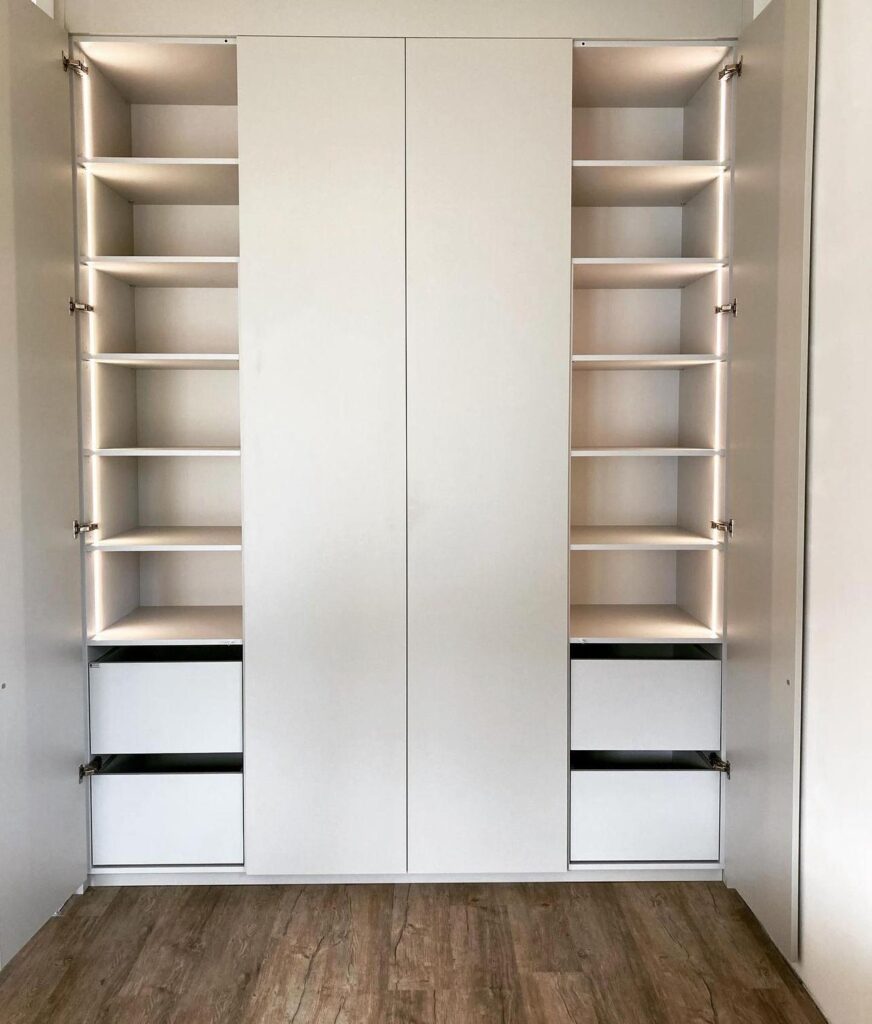

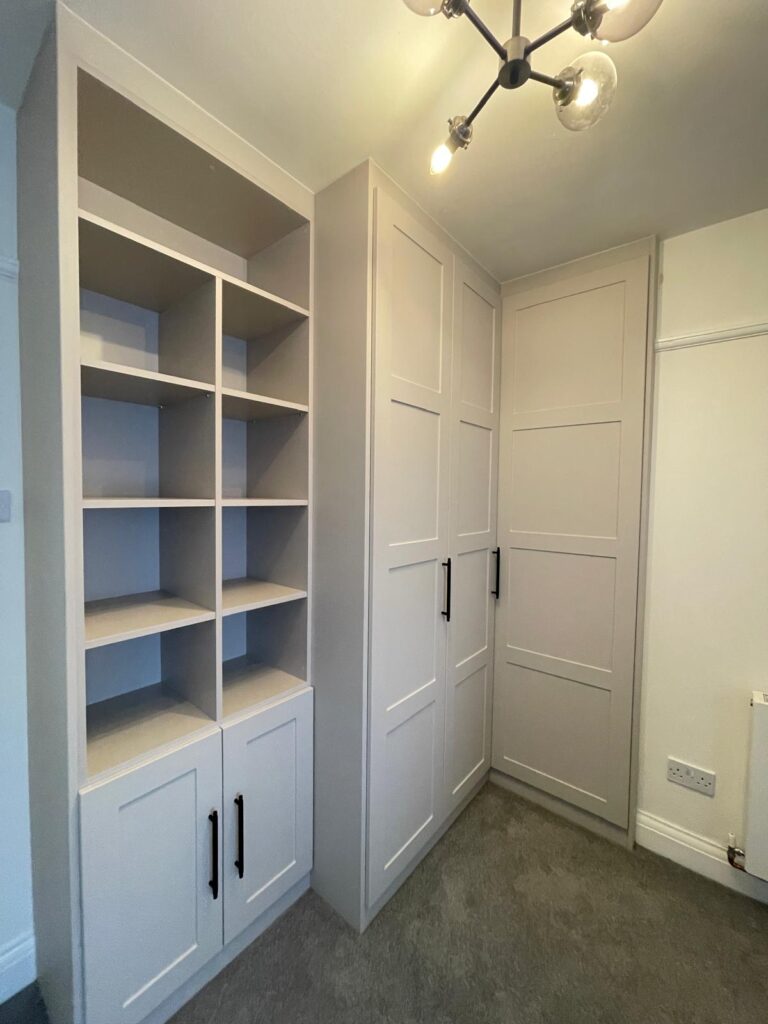
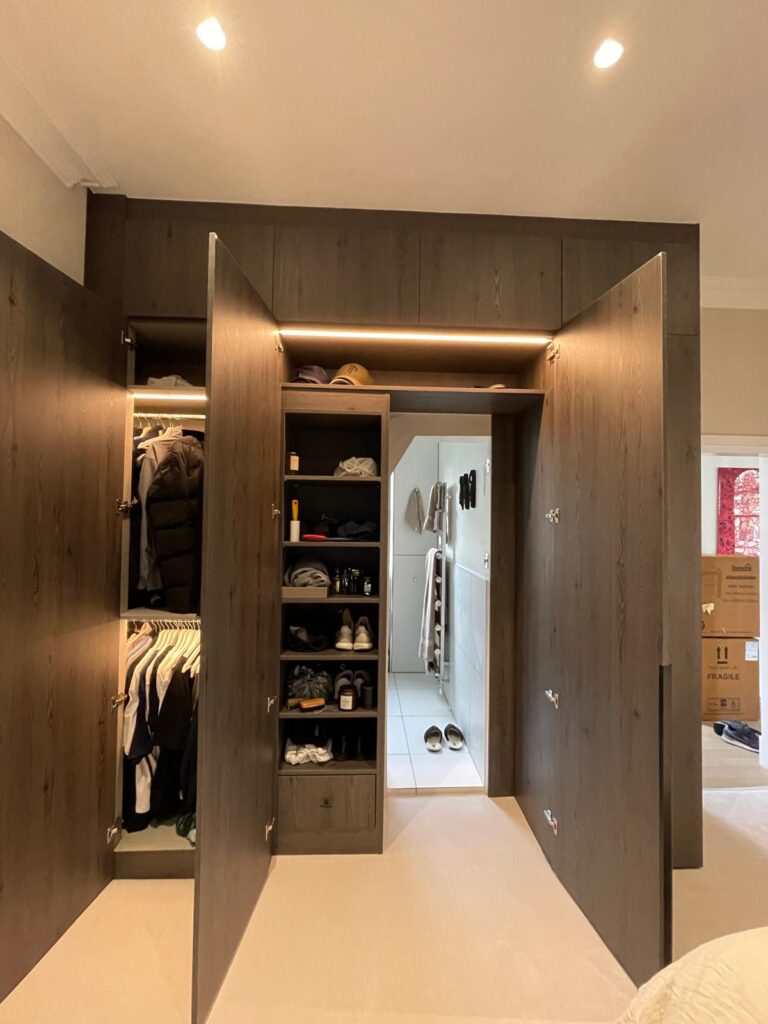


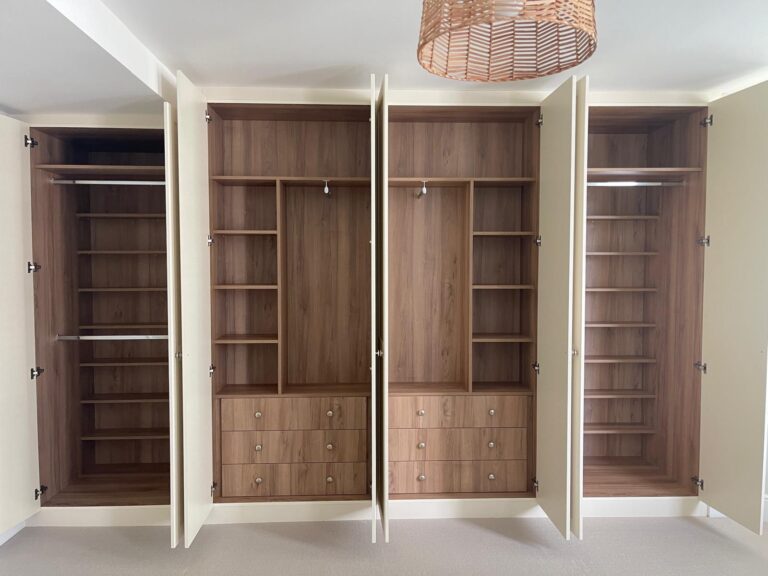
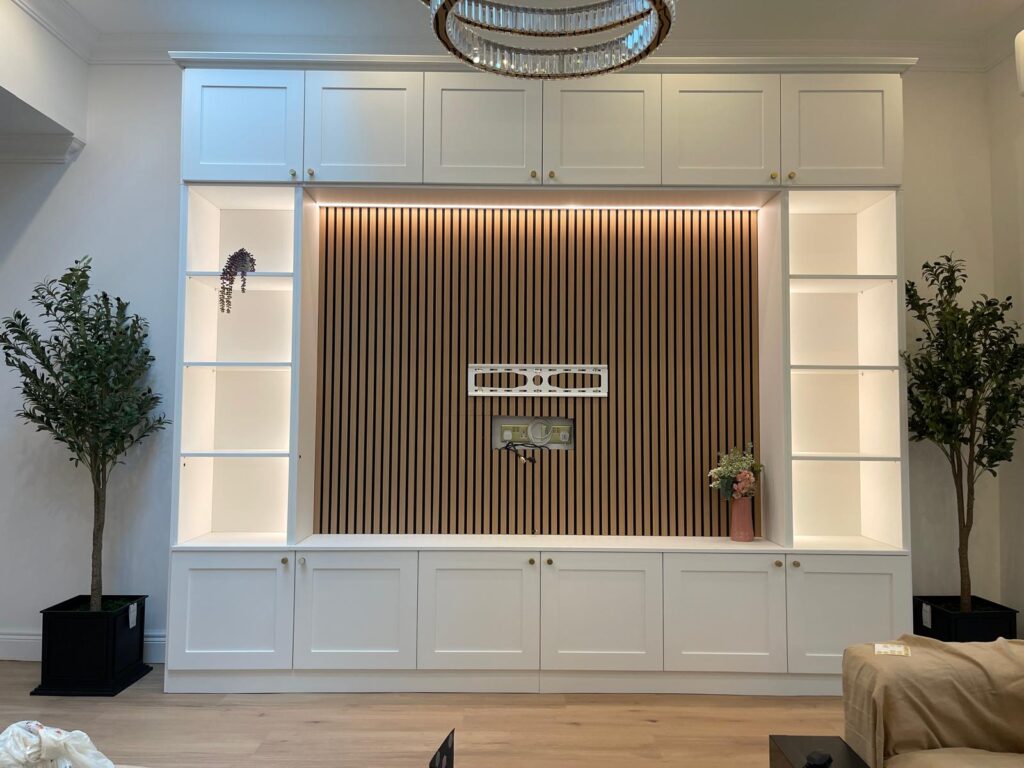



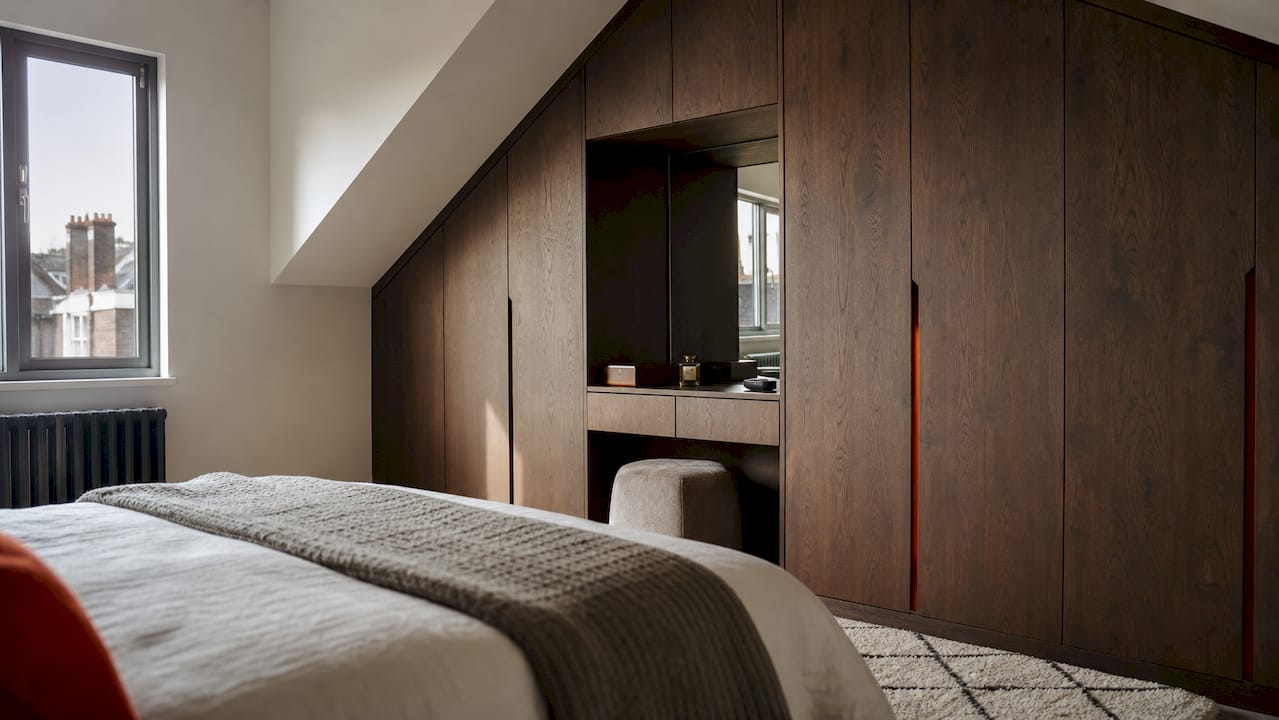
Fitted furniture installation is defined as the process of designing, manufacturing, and fixing custom-built joinery directly to the walls, floors, and ceilings of a specific room. In London, this process demands a higher level of precision than anywhere else in the UK, because the city’s housing stock ranges from Victorian terraces in Wimbledon and Dulwich to modern flats in Wandsworth and Barnet, each presenting its own structural challenges. Finest Furniture Studio completes most installations within 7–12 days and backs every project with a 10-year guarantee, a standard that is genuinely rare in the fitted furniture services market. This guide covers everything you need to know: preparation, design, the step-by-step fitting process, and the mistakes that cost homeowners time and money.
What does fitted furniture London installation actually involve?
Fitted furniture installation in London is a specialist trade, not a standard assembly job. The industry term is “bespoke joinery installation,” and it differs from flat-pack fitting in one fundamental way: every component is manufactured to the exact dimensions of your room, not to a standard catalogue size. That distinction matters enormously in London homes, where walls bow, floors slope, and ceiling heights vary within the same room.
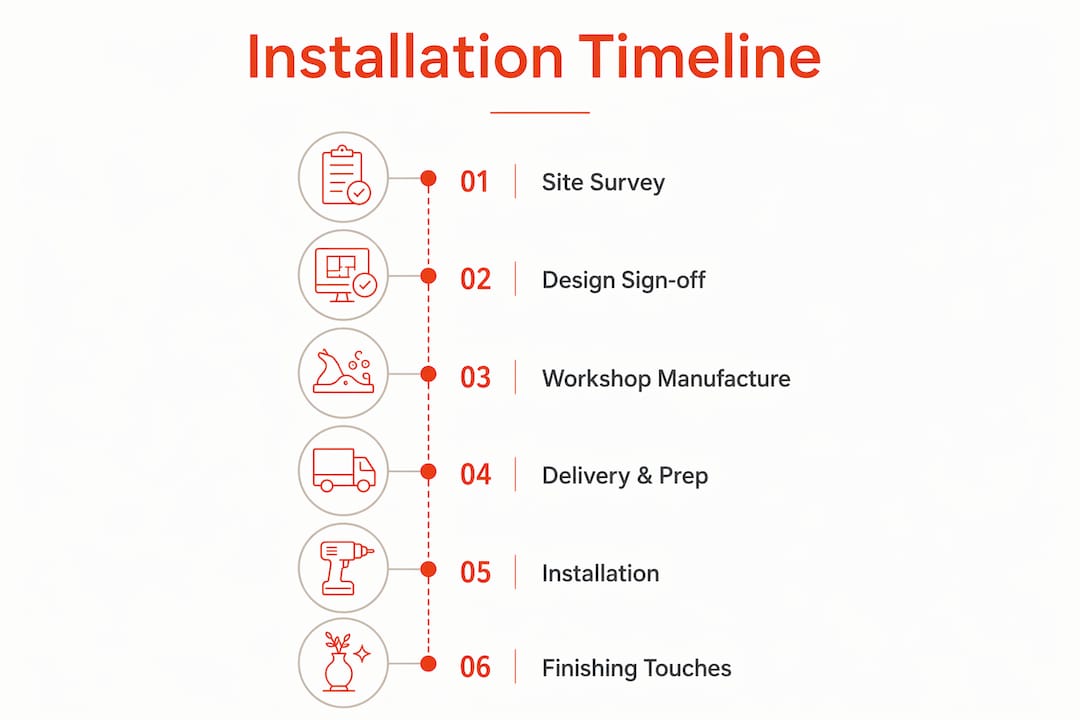
A professional installation covers three distinct phases. The first is the site survey, where a craftsman takes precise measurements and assesses structural conditions. The second is manufacture, where components are built in a controlled workshop environment. The third is the on-site fit, where panels, carcasses, doors, and hardware are fixed permanently in place. Bespoke joinery lead times typically run from 6 to 16 weeks between design approval and installation, depending on project complexity. Planning your timeline early prevents the frustration of a finished room waiting on delayed furniture.
What preparations are essential before bespoke furniture installation?
Preparation is the single biggest factor separating a successful installation from a costly remediation job. London homes present specific challenges that standard measuring guides do not address.
Measuring beyond the basics
Accurate measurement in London properties must account for walls that are rarely straight, floors that slope, and ceilings that bow. A basic tape measure reading from corner to corner is not sufficient. A thorough site survey records multiple height measurements across the full width of a wall, checks for alcove depth variations caused by chimney breasts, and identifies any pipes or cables concealed behind plasterwork. In period properties across Richmond, Hampstead, and Muswell Hill, these variations can exceed 20mm across a single wall. That gap, if ignored, produces a fitted wardrobe with visible gaps or doors that will not close properly.
Coordinating with other trades
Major fitted joinery projects depend on coordination with other site trades, including decorators, electricians, and flooring contractors. Fitted wardrobes should be installed before final floor finishes are laid if the design calls for floor-to-ceiling panels, but after plastering and first-fix electrics are complete. Getting this sequence wrong forces expensive rework. If you are planning a media wall with integrated lighting or a fitted kitchen installation in London, the electrician must complete first-fix wiring before the furniture arrives on site.
Pre-installation checklist
Work through these points before your installation date:
- Confirm all wall surfaces are dry, sound, and free from loose plaster.
- Identify the location of all electrical sockets, light switches, and data points within the installation zone.
- Measure every doorway, stairwell, and corridor on the delivery route to confirm furniture panels can reach the room.
- Agree a site protection plan with your installer, covering floor coverings and adjacent furniture.
- Confirm whether skirting boards and architraves will be removed or scribed around.
- Check that heating is stable, as extreme temperature changes affect timber movement during fitting.
Pro Tip: Involve your installer in a pre-survey visit at least four weeks before the scheduled fit date. This gives the workshop time to adjust manufacturing drawings if site conditions differ from initial measurements.
How do you choose design and materials for fitted furniture?
Design choices made at the planning stage determine how your fitted furniture performs for the next decade. Getting them right requires more than selecting a door colour from a brochure.
Design considerations specific to London properties
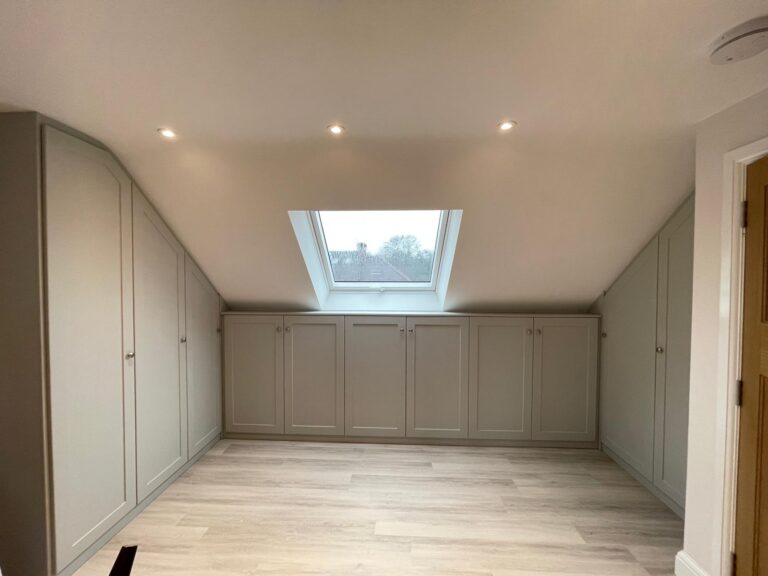
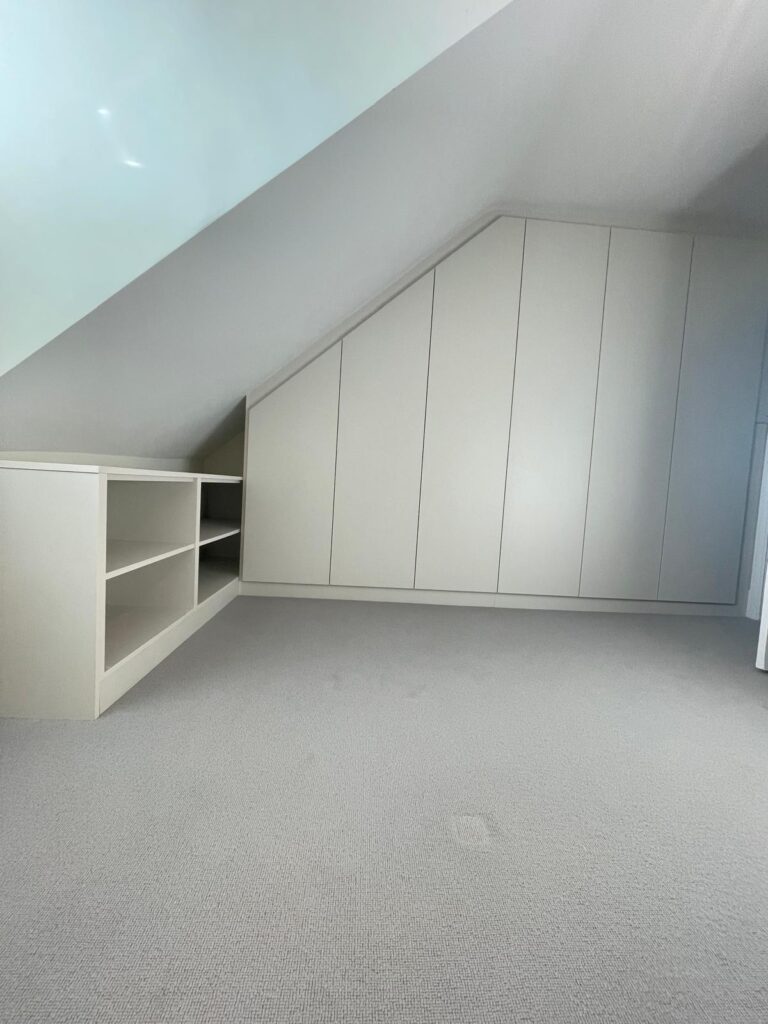
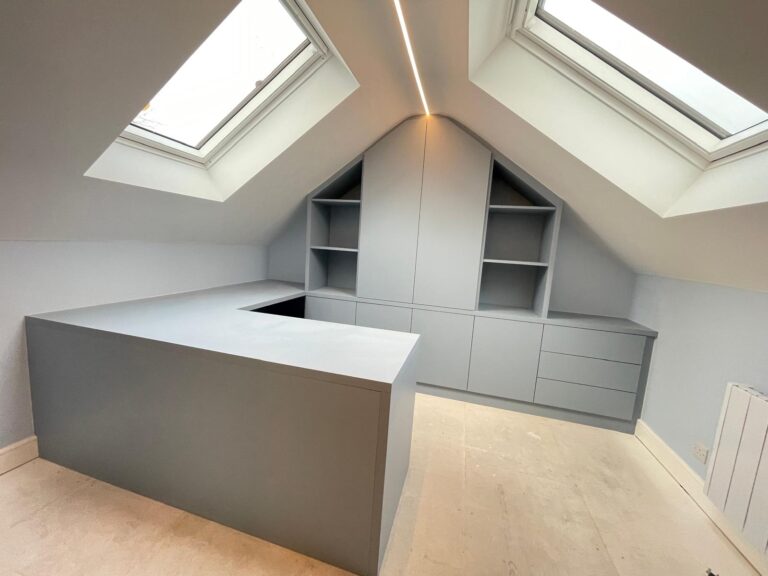
London homes present architectural features that directly affect how fitted furniture is designed. Chimney breasts in Victorian and Edwardian properties in Chiswick, Putney, and Ealing create alcoves on either side that are rarely symmetrical. A well-designed alcove wardrobe accounts for this asymmetry and uses it as a feature rather than a problem. Loft conversions in Twickenham and Teddington introduce sloped ceilings that standard furniture cannot address. Bespoke sloped wardrobes are manufactured to follow the exact roof pitch, recovering storage space that would otherwise be wasted. For awkward corner spaces, L-shaped configurations make the most of every available square metre.
Choosing materials that last
The best material for fitted wardrobes depends on your budget, the room’s humidity levels, and the finish you want. The most common options are:
- Moisture-resistant MDF: Ideal for painted finishes. Holds a crisp edge and takes paint well, but requires a stable environment.
- Veneered MDF or plywood: Gives the appearance of real wood with greater dimensional stability than solid timber.
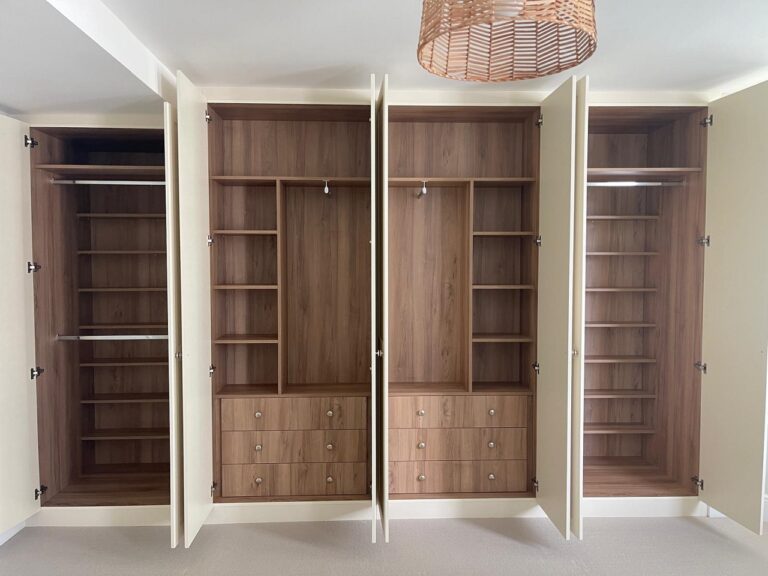
- Solid timber: Best for traditional Shaker-style fitted wardrobes in period homes across Wimbledon and Kingston upon Thames. Requires more maintenance but offers unmatched longevity.
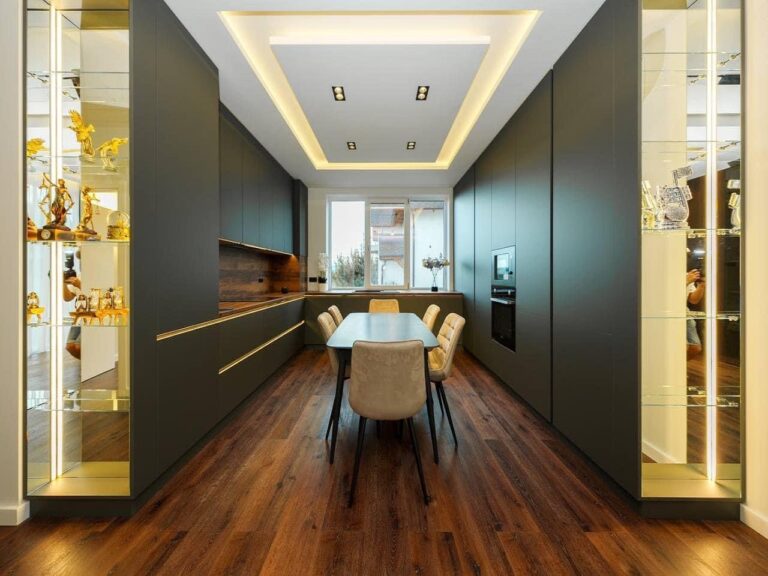
- Lacquered board: Popular for modern, high-gloss media walls and contemporary fitted wardrobes in Wandsworth and Fulham.
Hardware quality is equally important. Soft-close hinges and drawer runners from established European manufacturers outperform budget alternatives by a significant margin. They also reduce wear on the carcass over time, which matters when your furniture carries a 10-year guarantee.
Why technical drawings matter more than 3D renders
Clients should request technical drawings including sectional and setting-out information, because 3D renders can conceal structural or hardware issues that are not visible on screen. A render shows you what the finished wardrobe looks like. A technical drawing shows you how it is built, where fixings go, and how it interacts with the wall behind it. Experienced designers prioritise detailed technical drawings for exactly this reason.
Pro Tip: Ask your furniture maker to show you a sample door and drawer front in the actual finish you have chosen. Photographs and digital swatches rarely capture the true colour or texture accurately.
Step-by-step: the fitted furniture installation process
Understanding the installation sequence helps you manage your home during the works and set realistic expectations for each day.
1. Delivery and site preparation
Delivery logistics require careful planning. The installation team measures access routes including front doors, stairwells, and any lift dimensions before the furniture leaves the workshop. Panels for floor-to-ceiling wardrobes in a first-floor bedroom of a Victorian terrace in Bromley or Beckenham may need to be carried vertically up a narrow staircase. The team lays protective coverings on floors and stairs before any components enter the property.
2. Setting out and positioning
The installer marks the wall with a spirit level and laser to establish a true vertical and horizontal datum. This step compensates for sloping floors and bowing walls. All subsequent fixing positions are taken from this datum, not from the floor or ceiling, which are rarely level in older London properties.
3. Fixing carcasses and panels
Carcasses are fixed to the wall using appropriate fixings for the wall type, whether solid brick, timber stud, or dot-and-dab plasterboard. Hollow-wall fixings are used where stud positions do not align with the design. Each carcass is checked for level and plumb before the next is attached. This sequential checking prevents cumulative errors that become visible once doors are hung.
4. Fitting doors, drawers, and hardware
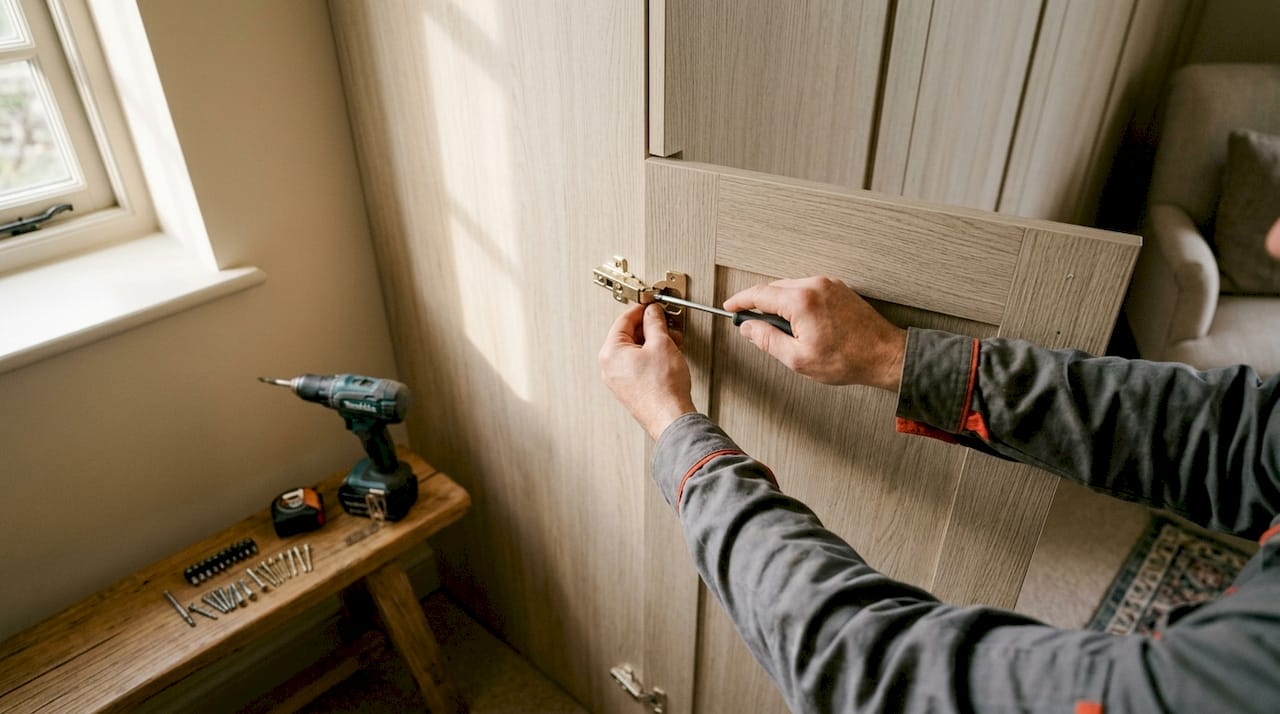
Doors are hung and adjusted for gap consistency. Soft-close mechanisms are set to the correct tension. Drawer boxes are fitted and runners adjusted for smooth, even operation. Mirrored panels, where specified, are fitted last to reduce the risk of damage during earlier stages.
5. Scribing and finishing
Scribing is the process of cutting a panel to follow the exact profile of an uneven wall or ceiling. It is one of the most skilled parts of the installation and the detail that separates a professional fit from a DIY attempt. Once scribing is complete, any exposed edges are finished with matching lipping or beading. The installer then carries out a full snagging check, testing every door, drawer, and hinge before leaving site.
Typical installation timeline
| Phase | Typical duration |
|---|---|
| Site survey and design sign-off | 1–2 weeks |
| Workshop manufacture | 6–16 weeks |
| On-site installation | 1–3 days |
| Snagging and final inspection | Half a day |
Most fitted wardrobe installations in London take 1–3 days on site. That figure reflects a standard bedroom wardrobe. Larger projects covering multiple rooms or a full fitted kitchen installation in London will take longer.
Common mistakes during fitted furniture installation in London
Knowing what goes wrong on other projects protects your own. These are the errors that cause the most disruption and expense.
- Skipping the professional site survey. Relying on measurements taken by the homeowner rather than a trained surveyor is the most common cause of components that do not fit on delivery day.
- Ignoring architectural quirks. Chimney breasts, alcoves, and sloped ceilings in London period properties require specific design solutions. A generic wardrobe design applied to an asymmetric alcove will always look wrong.
- Choosing on-site finishing over workshop finishing. Workshop finishing is superior to on-site finishing because controlled ventilation and drying conditions produce a harder, more even surface. Paint applied on-site in a dusty room rarely achieves the same quality.
- Failing to verify installer credentials. Professional bespoke furniture makers provide proof of public liability insurance and client references. Requesting both before signing a contract is standard practice, not excessive caution.
- Rushing the snagging process. Snagging is not a formality. It is the stage where misaligned doors, stiff drawers, and uneven gaps are corrected at no extra cost. Signing off before snagging is complete removes your leverage to have defects fixed.
Protecting your home during installation is also worth planning in advance. Agree with your installer which areas of the house are in use, where tools and components will be stored overnight, and how dust will be managed. This is particularly relevant if you are integrating fitted furniture within a wider home improvement project that involves multiple trades working simultaneously.
Pro Tip: Ask your installer for a written snagging list at the end of each installation day. This creates a clear record of outstanding items and prevents disputes about what was agreed.
A reliable furniture fitter in West London will welcome these questions rather than resist them. Transparency about process and accountability is the mark of a professional operation.
Key takeaways
Professional fitted furniture installation in London requires precise site surveys, workshop-quality finishing, and coordinated trade sequencing to deliver results that last a decade or more.
| Point | Details |
|---|---|
| Survey before manufacture | Always commission a professional site survey to capture wall, floor, and ceiling variations before production begins. |
| Request technical drawings | Technical drawings reveal structural and hardware details that 3D renders routinely conceal. |
| Sequence trades correctly | Electrics and plastering must be complete before fitted furniture arrives on site to avoid costly rework. |
| Verify installer credentials | Confirm public liability insurance and request client references before signing any contract. |
| Use workshop finishing | Furniture finished in a controlled workshop environment produces a harder, more durable surface than on-site painting. |
What I have learned from London’s most demanding installations
By Aureliu
London homeowners often come to us having already had one difficult experience with a fitted furniture provider. The pattern is almost always the same: a provider who relied on a sales representative with a laptop rather than a craftsman who understood the site. Beware providers who rely solely on sales reps with laptops rather than experienced craftsmen who thoroughly understand site conditions. A beautiful 3D render means nothing if the person producing it has never stood in a Victorian terrace in Putney and understood what a bowing chimney breast does to a wardrobe design.
The second pattern I see repeatedly is homeowners who treat value engineering as a conversation to avoid. It is not. Early communication about value engineering leads to projects that balance budget with design integrity, helping avoid costly changes mid-process. Discussing joinery complexity and material choices at the start of a project, rather than after manufacture has begun, is where real savings are made without compromising the finished result.
My honest view is that the 10-year guarantee is the most undervalued part of a bespoke furniture installation. Homeowners focus on the upfront cost and the design. The guarantee is what tells you whether the provider believes in their own work. A company that offers a decade of cover on both product and installation is making a statement about the quality of their materials, their hardware, and their fitting team. That is the standard worth holding every provider to.
— Aureliu
Finest Furniture Studio: bespoke fitted furniture across London
Finest Furniture Studio designs and installs custom fitted wardrobes across London, covering Wimbledon, Richmond, Kingston upon Thames, Chiswick, Putney, Twickenham, Ealing, Wandsworth, Hampstead, Barnet, and beyond. Every project begins with a free design visit, where we assess your space, discuss your storage requirements, and produce a detailed proposal tailored to your home.
We take away and dispose of your old wardrobe as part of the service, so you are not left managing waste removal. Installations are completed within 7–12 days of manufacture, and every project carries our 10-year guarantee on both product and fitting. Whether you need a built-in wardrobe for a loft conversion, an alcove solution for a period property, or a walk-in dressing room for a larger bedroom, we build it to fit your exact space. Call us on 07468 150807 or WhatsApp us to arrange your free design visit. Our studio is at 124 City Road, Kemp House, London, EC1V 2NX.
FAQ
How long does fitted furniture installation take in London?
Most fitted wardrobe installations in London take 1–3 days on site. Larger projects covering multiple rooms will take longer, and manufacture typically adds 6–16 weeks before the installation date.
What guarantee should I expect from a fitted furniture service?
A 10-year guarantee on both product and installation is the benchmark for professional fitted furniture services in London. Finest Furniture Studio offers this as standard on every project.
Why do London homes need a specialist site survey?
London properties, particularly Victorian and Edwardian terraces, have walls that bow, floors that slope, and ceiling heights that vary. A specialist site survey captures these variations so that furniture is manufactured to fit the actual room, not a theoretical one.
What is the difference between bespoke joinery and flat-pack fitting?
Bespoke joinery installation means every component is manufactured to the exact dimensions of your room. Flat-pack fitting uses standard catalogue sizes that rarely align perfectly with London’s older housing stock.
Should fitted furniture be installed before or after decorating?
Fitted furniture should be installed after plastering and first-fix electrics, but before final floor finishes and decorating. This sequence allows the installer to scribe panels accurately and the decorator to finish walls and skirting boards cleanly around the completed furniture.