
Table of Contents
- The 7-Day Wardrobe Fitting: What It Actually Means
- Fitted Wardrobe Installation Timeline: Breaking Down the Process
- Wardrobe Installation Preparation Checklist: Get Ready Before Day One
- Bespoke Furniture Lead Times: Why Timescales Vary
- Hidden Delays and Installation Obstacles
- Making the 7-Day Timeline Work for Your Home
- Conclusion
Last Updated: August 12, 2026
The 7-Day Wardrobe Fitting: What It Actually Means
When you hear "7-day wardrobe fitting," you’re probably imagining a quick weekend project. The reality is more nuanced. At Finest Furniture Studio, we’ve helped homeowners understand what a 7-day fitting actually entails, and it’s rarely as straightforward as the phrase suggests.
The 7-day timeline refers to the installation phase alone, not the entire process from initial consultation to walking into your finished space. This distinction matters enormously. Many homeowners assume they’ll contact a provider on Monday and have a fully functional fitted wardrobe by the following Sunday. What actually happens is more structured, and understanding the real timeline helps you plan your home renovation properly.
A 7-day wardrobe fitting is realistic, but only if the groundwork has already been laid. Design consultation, measurements, manufacturing, and delivery all happen before installation day arrives. The "7 days" is the final sprint, not the whole race. This guide breaks down what each phase involves, where delays commonly occur, and how to set realistic expectations for your own project.
Fitted Wardrobe Installation Timeline: Breaking Down the Process
The complete fitted wardrobe installation timeline typically spans 6-12 weeks from initial contact to completion. Understanding each phase prevents frustration and helps you plan your home around the work.
Design consultation and measurements
Your journey begins with a design consultation, which usually takes 1-2 weeks to schedule. During this visit, a designer assesses your space, discusses your storage needs, and takes precise measurements. This isn’t a quick tape-measure job, proper measurements for bespoke furniture require attention to ceiling height, wall angles, electrical outlets, and any structural quirks.
The consultation itself typically lasts 1-2 hours. The designer will ask detailed questions about how you use the space, what you’re storing, and your aesthetic preferences. They’ll photograph the room from multiple angles and note any obstacles, radiators, skirting boards, uneven walls, or sloping ceilings. This information feeds directly into the design phase.
After the consultation, the design team creates detailed 3D renderings and specifications. This stage takes 1-2 weeks. You’ll review the designs, request modifications, and approve the final specification before manufacturing begins. This back-and-forth is crucial, it’s your last chance to catch any issues before expensive materials are cut and assembled.
Manufacturing and delivery
Once you’ve approved the design, manufacturing begins. Bespoke furniture lead times vary considerably depending on the manufacturer’s current workload, the complexity of your design, and material availability. Standard lead times range from 4-8 weeks. A simple wardrobe with straightforward dimensions might take 4 weeks; a complex design with multiple internal configurations could take 8 weeks or longer.
During manufacturing, your wardrobe components are precision-cut, assembled, finished, and packaged. Quality manufacturers perform multiple quality checks throughout this process. Your components will be carefully packaged to prevent damage during transport.
Delivery typically takes 1-2 weeks after manufacturing is complete. The delivery company will contact you to schedule a specific time slot. Most deliveries require access to your bedroom or the relevant space, and items need to be carefully unloaded and positioned near where they’ll be installed.
Installation day itself
This is where the "7-day" claim becomes relevant. Professional installation typically takes 1-7 days depending on the complexity of your wardrobe. A straightforward single wardrobe in a simple rectangular room might take just 1-2 days. A complex multi-section installation with internal fittings, shelving adjustments, and custom features could take 5-7 days.
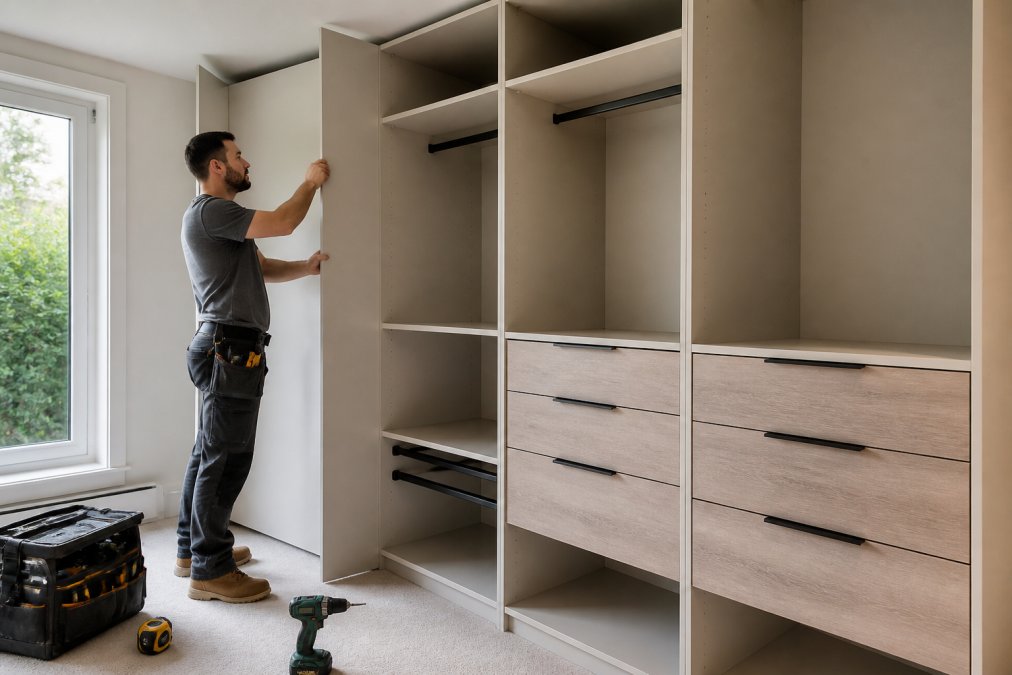
Installation involves assembling the frame, securing it to walls and ceiling, installing internal components, fitting doors, adjusting hinges, and final quality checks. Professional installers work methodically to ensure everything is perfectly aligned, secure, and functioning smoothly. Rushing this phase compromises the structural integrity and longevity of your wardrobe.
Wardrobe Installation Preparation Checklist: Get Ready Before Day One
Proper preparation before installation begins dramatically reduces delays and ensures the process runs smoothly. This checklist helps you prepare your space and manage the logistics.
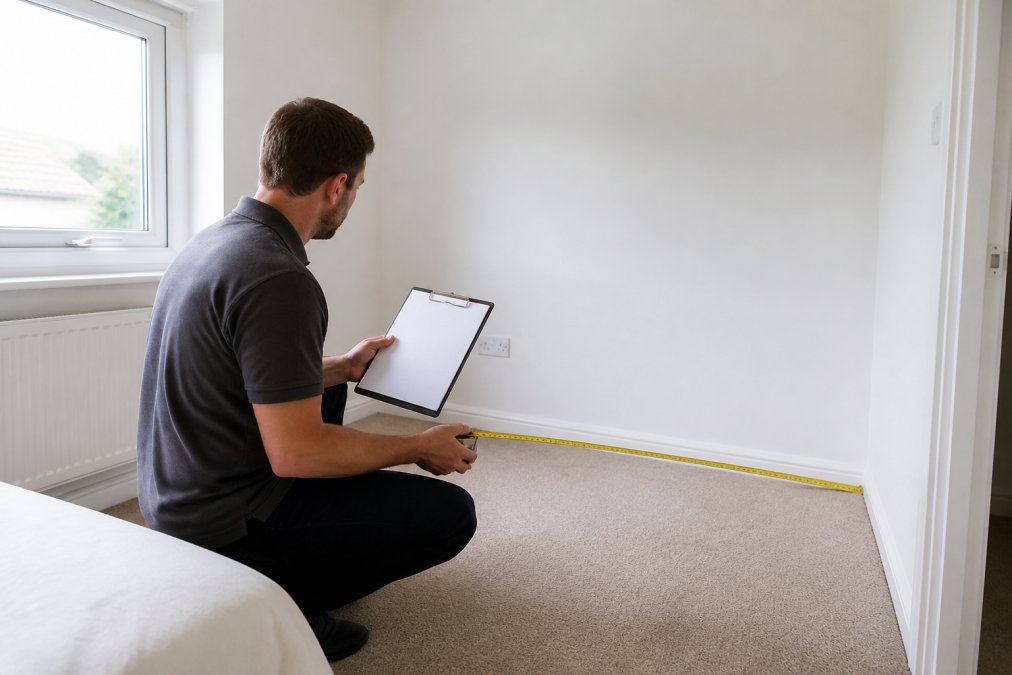
Clear the space completely. Remove all furniture, clothing, and personal items from the area where your fitted wardrobe will be installed. This includes items stored on shelves, in drawers, or hanging in the existing wardrobe. The installation team needs completely clear access to walls, ceilings, and the floor. If you leave items in place, you’ll be charged additional labour to move them, and installation will be delayed.
Protect your flooring. Even careful installers can scratch or damage flooring during the installation process. Lay down protective covering, cardboard, plywood, or professional floor protection, before work begins. This is particularly important if you have hardwood, laminate, or polished concrete floors.
Arrange temporary storage. You’ll need somewhere to store your clothing while the wardrobe is being installed. Depending on the installation timeline, this could be 1-7 days. Consider using spare wardrobes, storage boxes, or temporarily relocating items to another room. Plan this before installation begins, scrambling to find storage mid-project creates stress and delays.
Ensure wall access and stability. Your installer needs to access walls, ceilings, and any structural elements. Remove wall hangings, mirrors, and shelving in the installation area. If your walls are particularly fragile (plasterboard partition walls, for example), discuss this with your installer beforehand, they may need to use different fixing methods or take additional precautions.
Check electrical and plumbing. Confirm the location of any electrical outlets, light switches, radiators, or pipes in or near your installation area. Your installer needs to avoid drilling into these. If your wardrobe design requires relocating outlets or addressing existing services, arrange this well before installation begins, it adds significant time and cost.
Measure doorways and access routes. Confirm that wardrobe components can physically reach your bedroom. Measure doorways, stairwells, and any tight corners on the route from the delivery vehicle to your room. If access is genuinely difficult, discuss this with your provider before delivery, they may need to use alternative delivery methods or disassemble components further.
Plan your schedule. Installation requires access to your space during working hours, typically 8am-5pm Monday to Friday. Arrange to be home or ensure someone is present during installation. The installer may need to ask questions about your preferences, and you’ll want to be available for final checks.
Document existing conditions. Take photographs of the space before work begins. This creates a record of the existing condition and is useful if any damage occurs during installation.
Bespoke Furniture Lead Times: Why Timescales Vary
Not all bespoke furniture lead times are equal. Understanding what drives variation helps you plan realistically and avoid disappointment.
Manufacturing lead times depend primarily on the manufacturer’s current order book. During peak seasons, typically spring and autumn when homeowners are planning renovations, lead times extend. A manufacturer quoting 4 weeks in January might quote 8 weeks in March. Booking early in the year, or during quieter months, can reduce your overall timeline considerably.
Design complexity significantly impacts manufacturing time. A straightforward wardrobe with standard components, simple finishes, and no internal customization takes less time than a complex design with multiple sections, integrated shelving, custom lighting, or intricate internal configurations. Your designer can give you a realistic estimate based on your specific design.
Material availability also affects lead times. If your chosen finish or internal components are in stock, manufacturing can begin immediately after your design is approved. If materials need to be ordered from suppliers, manufacturing is delayed until those materials arrive. Discussing material availability during the design phase helps you understand potential delays.
The manufacturer’s quality standards matter. Reputable manufacturers don’t rush production to meet artificial deadlines, they manufacture to their quality standards, which sometimes means longer lead times. A manufacturer offering suspiciously short lead times may be cutting corners on quality or taking on more orders than they can properly handle.
Some manufacturers offer expedited manufacturing at a premium cost. If you’re working to a tight deadline, this option exists, but expect to pay significantly more. Expedited fitting typically costs 20-40% extra and may only reduce your timeline by 1-2 weeks, depending on the manufacturer’s capacity.
Hidden Delays and Installation Obstacles
Even well-planned projects encounter unexpected obstacles. Understanding common delay triggers helps you anticipate problems.
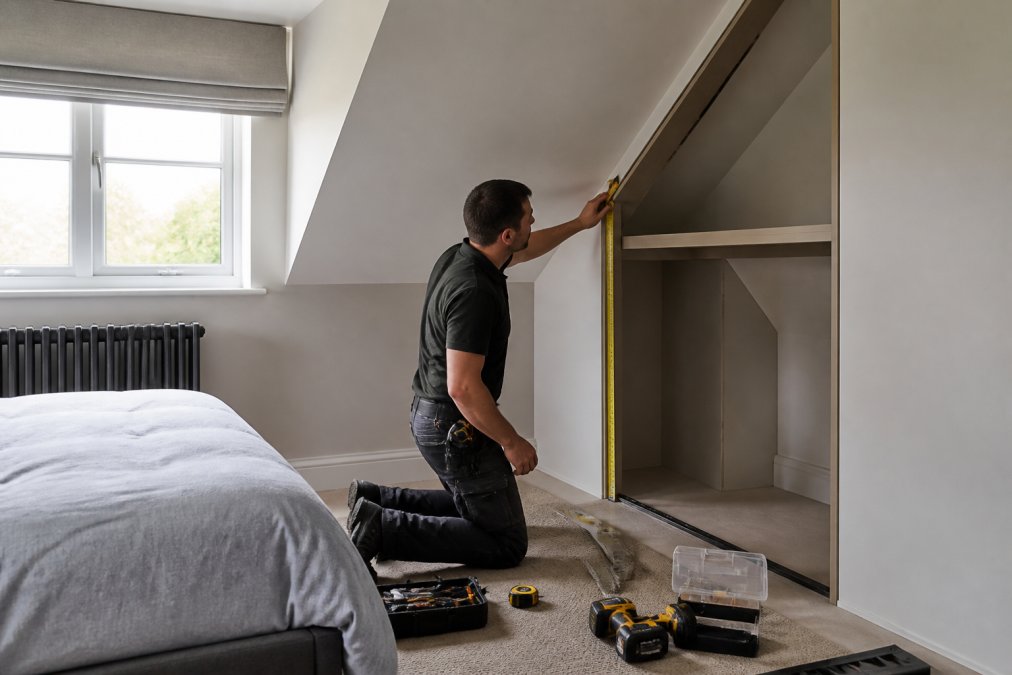
Structural issues discovered during installation. Once installers begin work, they sometimes discover problems invisible during the design consultation. Uneven walls, hidden pipes, or structural damage require problem-solving mid-project. These discoveries can add 1-3 days to your installation timeline as your installer adapts the installation method or your provider arranges specialist input.
Delivery damage or missing components. Occasionally, components arrive damaged or incomplete. If this occurs, your installation is delayed while replacements are manufactured and delivered. Quality providers prioritize resolving this quickly, but it typically adds 1-2 weeks to your timeline.
Access difficulties on installation day. Narrow staircases, tight doorways, or difficult building layouts sometimes prevent standard delivery and installation methods. Your installer may need to use alternative techniques, removing door frames, using different assembly sequences, or even disassembling components further. This adds 1-3 days to installation.
Poor wall or ceiling condition. If your walls or ceiling are in poor condition, damp, crumbling plaster, or structural movement, your wardrobe cannot be securely installed until these issues are resolved. This is a genuine safety concern. You’ll need to address the underlying problem before installation can proceed, which adds weeks to your timeline.
Electrical or plumbing conflicts. If your design conflicts with existing services, you’ll need to arrange for an electrician or plumber to relocate them. This adds cost and timeline, typically 1-2 weeks depending on the complexity of the work and the availability of tradespeople.
Seasonal delays. During winter, particularly in northern regions, poor weather can delay deliveries. Heavy snow or flooding can make access impossible. Summer holidays can delay both manufacturing and installation as staff take leave. Planning around these seasonal factors helps you avoid frustration.
Underestimated complexity. Sometimes, a space that appears straightforward during consultation reveals unexpected complexity during installation. Sloping ceilings, alcoves with unusual dimensions, or structural quirks require problem-solving. Experienced installers handle this professionally, but it takes time.
Making the 7-Day Timeline Work for Your Home
A realistic 7-day fitting is achievable if you approach it strategically. Here’s how to maximize the chance of staying on schedule.
Start with a thorough consultation. Invest time in the design consultation phase. The more detailed and accurate your measurements and specifications, the fewer surprises occur during installation. A designer who takes 2 hours during consultation often saves you a week during installation.
Choose a manufacturer with proven delivery performance. Ask potential providers about their typical lead times and what percentage of projects complete on schedule. Providers who can demonstrate consistent performance are more reliable than those offering suspiciously short timescales.
Build in buffer time. If you’re working to a deadline, moving house, returning from abroad, or hosting an event, add 2-3 weeks buffer to your planned timeline. This protects you if unexpected delays occur. A project that completes early feels like a bonus rather than a project that completes late feeling like a failure.
Prepare your space thoroughly. Complete all preparation tasks before installation begins. Clear the space completely, protect your flooring, arrange temporary storage, and address any structural or service issues beforehand. Every preparation task you complete reduces the chance of delays during installation.
Communicate proactively. Stay in regular contact with your provider throughout the process. Confirm delivery dates, installation dates, and any potential issues well in advance. If problems emerge, address them immediately rather than hoping they’ll resolve themselves.
Understand what "7 days" actually means. Recognize that this refers to installation time only, not total project time. Your complete timeline from initial consultation to finished wardrobe typically spans 8-14 weeks. Planning around this realistic timeline prevents disappointment.
Consider your lifestyle during installation. Installation is disruptive. Your bedroom will be inaccessible, and you’ll need somewhere to store your clothing. Factor this into your decision about when to schedule installation. Installing during a quiet period in your schedule is far less stressful than rushing the process.
The "7-day wardrobe fitting" is realistic, but it’s the final phase of a longer journey. At Finest Furniture Studio, we’ve found that homeowners who understand the complete timeline, prepare their spaces thoroughly, and maintain realistic expectations have the smoothest experiences and the highest satisfaction with their fitted wardrobes. The investment in proper planning pays dividends in reduced stress and a finished wardrobe that performs beautifully for years. Book a free design visit to discuss your specific timeline and get a realistic project schedule tailored to your space and needs.
Frequently Asked Questions
Is 7-day wardrobe fitting actually realistic for most homes?
A 7-day wardrobe fitting is realistic when your space is straightforward, structural work isn't needed, and you've prepared properly beforehand. However, homes with sloping ceilings, understairs alcoves, or electrical obstacles often require longer timescales. The 7-day timeline refers to the installation phase itself, not the full project from design to completion. Most homeowners should budget 2-3 weeks total when accounting for design consultation, measurements, and manufacturing. Discuss your specific space during a free design visit to get an accurate estimate.
What should I prepare before my fitted wardrobe installation begins?
Clear the room completely and remove any items from walls, shelves, or hanging space. Ensure the installer has access to electrical outlets and water sources if needed. Check for structural issues like damp, loose plaster, or uneven walls beforehand, these can delay fitting. Measure doorways and hallways to confirm the wardrobe components can be moved through. If you have pets or children, arrange alternative care for installation day. Confirm the final measurements match your original consultation, and take photos of the existing space for your records.
What factors cause delays in bespoke wardrobe fitting projects?
Structural issues like uneven walls, sloping ceilings, or damp patches require remedial work before installation can proceed. Electrical rewiring, plumbing conflicts, or asbestos surveys add weeks to the timeline. Delivery delays from manufacturers, especially during peak seasons, can push back the installation date. Unexpected building code compliance issues or planning permission requirements also extend timescales. Poor pre-fitting preparation, such as failing to clear the room or discovering hidden damage, causes on-site delays. Always disclose any known structural problems during your design consultation so realistic timescales can be set.
How does the bespoke furniture lead time affect my overall project timeline?
Bespoke furniture lead times typically range from 3-6 weeks after your design is finalised, depending on complexity and current manufacturing schedules. This period is separate from the 7-day installation window. Your total project timeline runs from initial design consultation through to final installation completion. Lead times may extend during peak seasons (spring and summer) or if your design requires custom finishes, special materials, or non-standard dimensions. Simpler, more straightforward designs with standard components may be manufactured faster. Ask your designer for a confirmed lead time when you approve your design, and plan your project schedule accordingly.
This article was written using GrandRanker

