


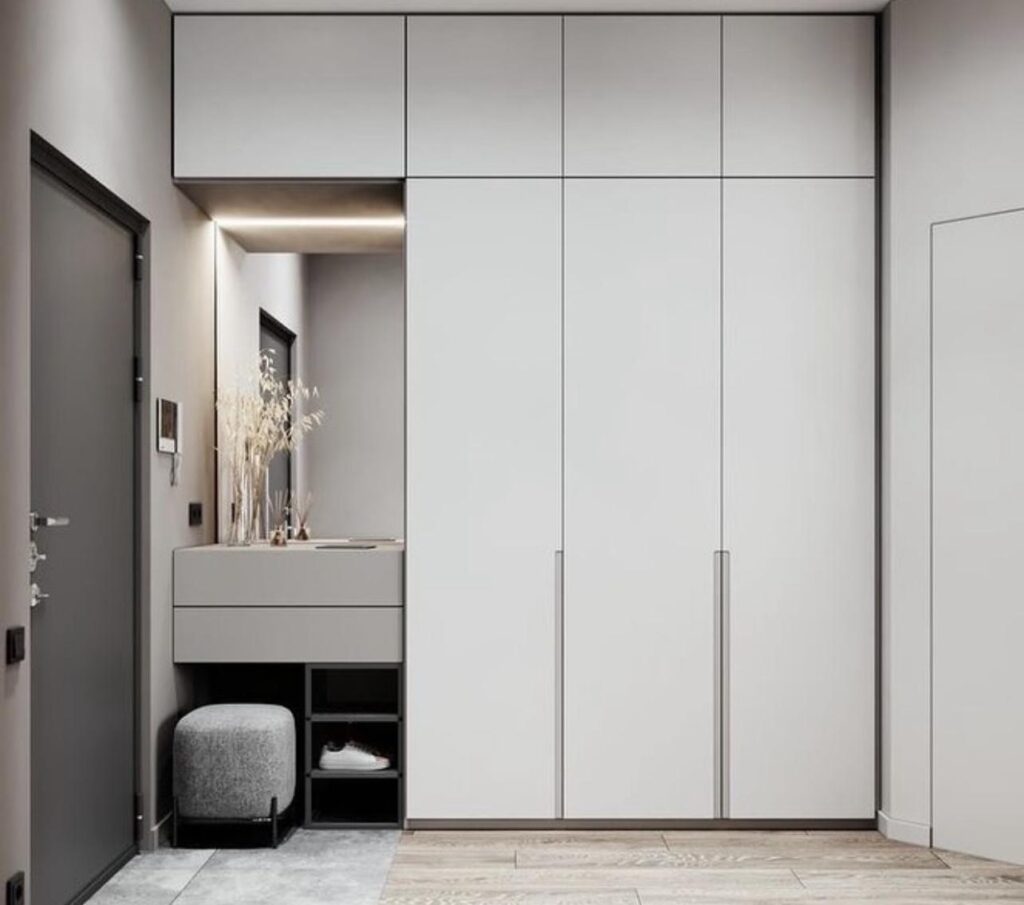
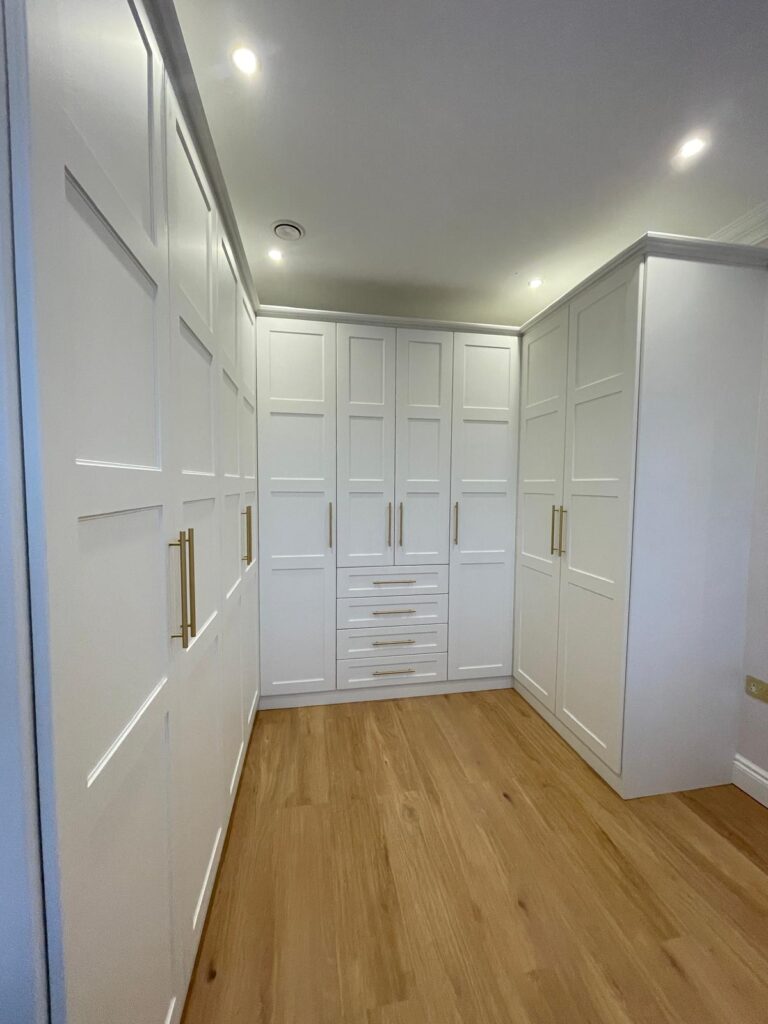
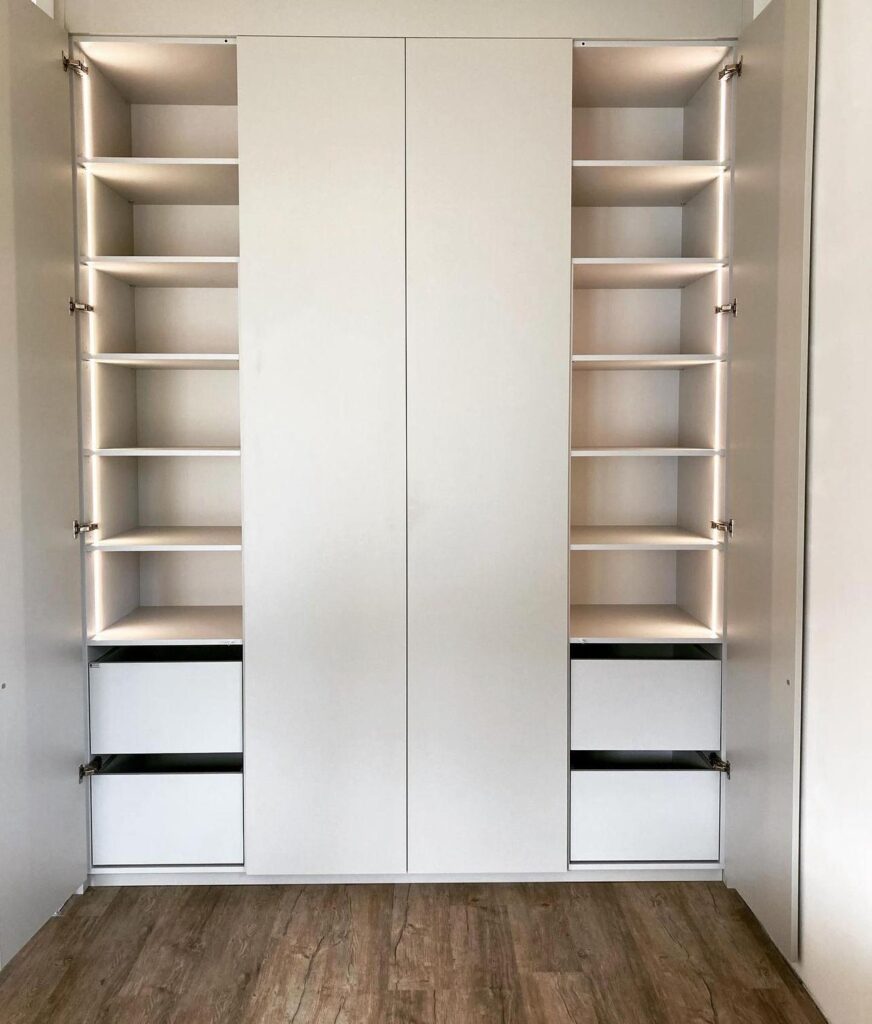

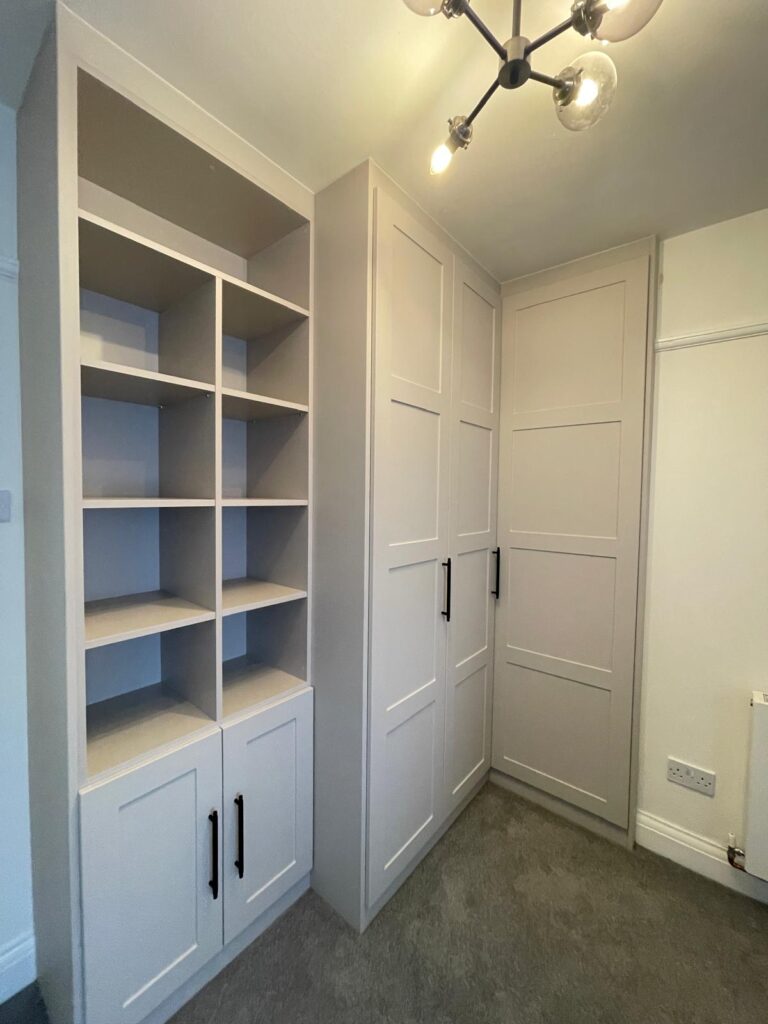
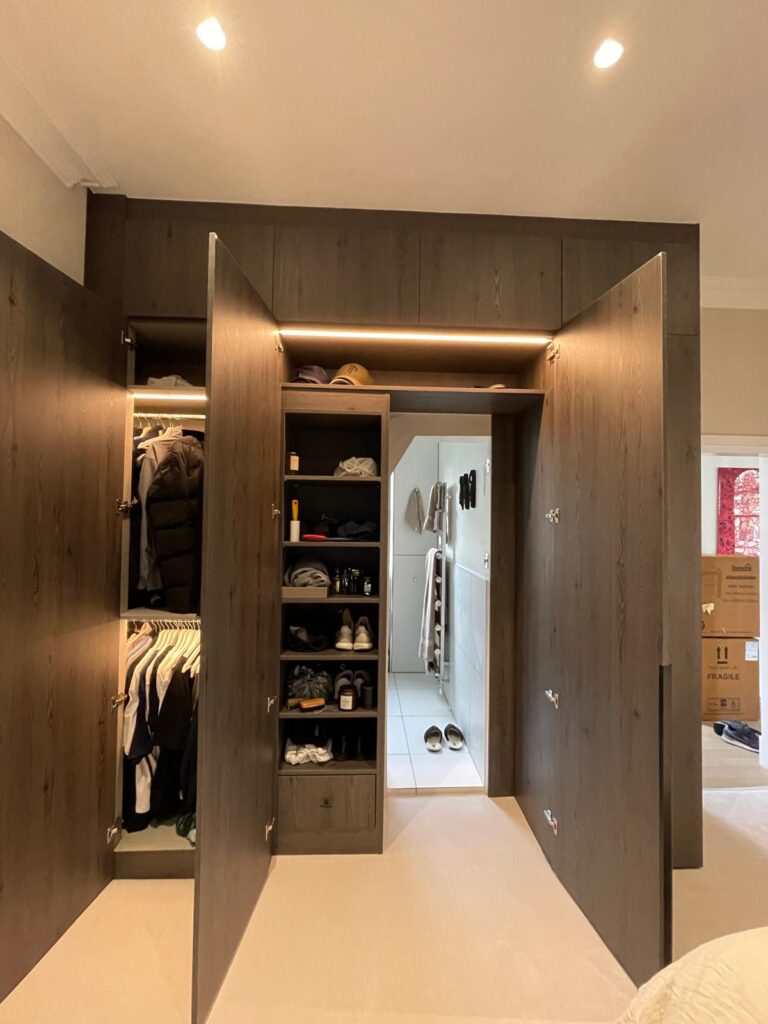

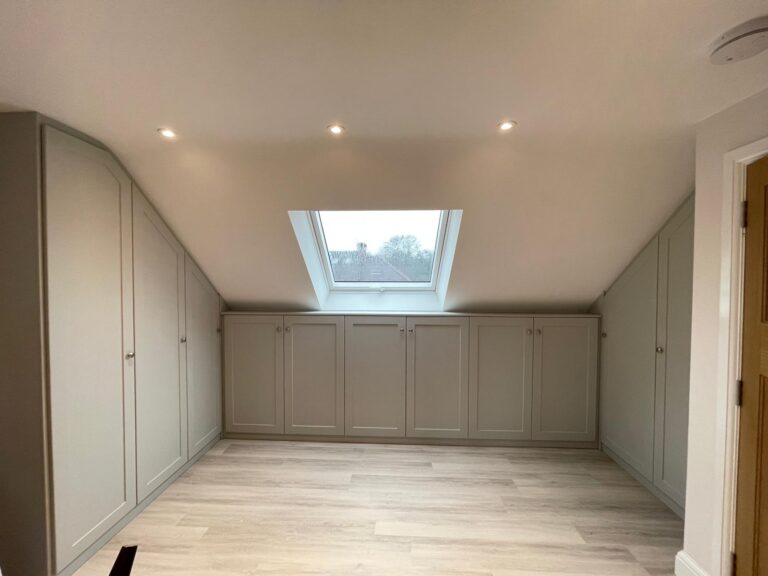

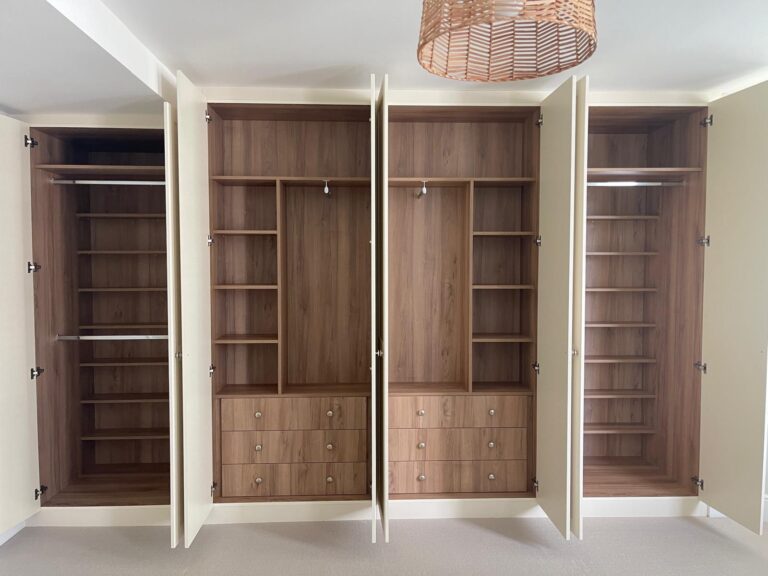
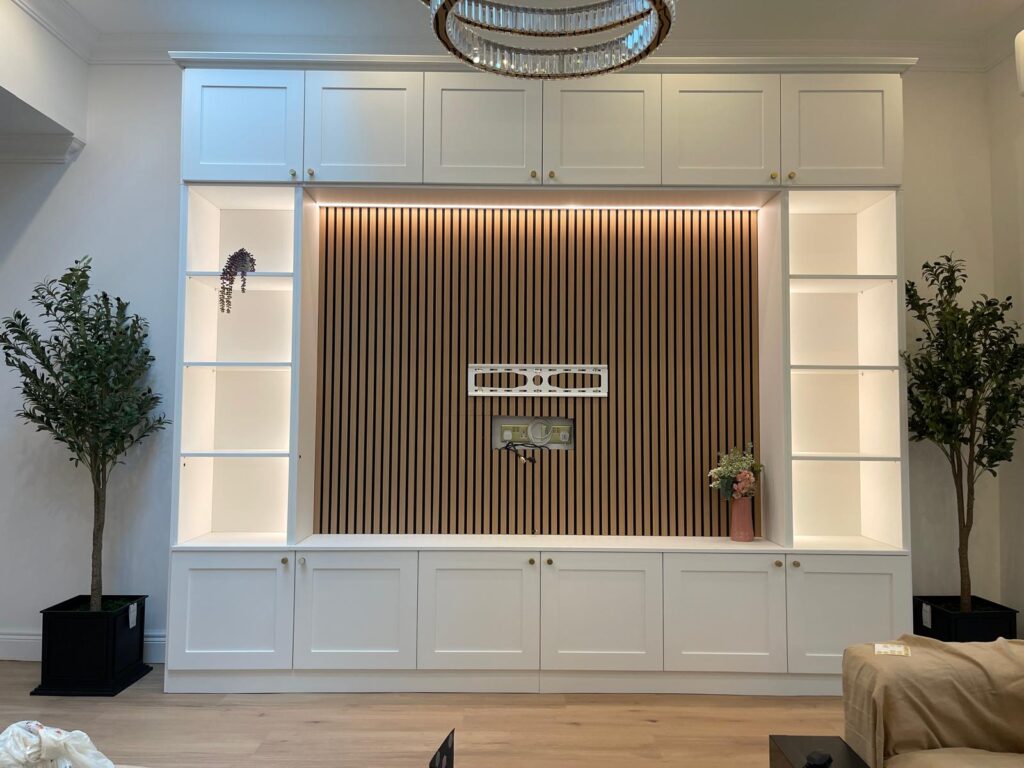

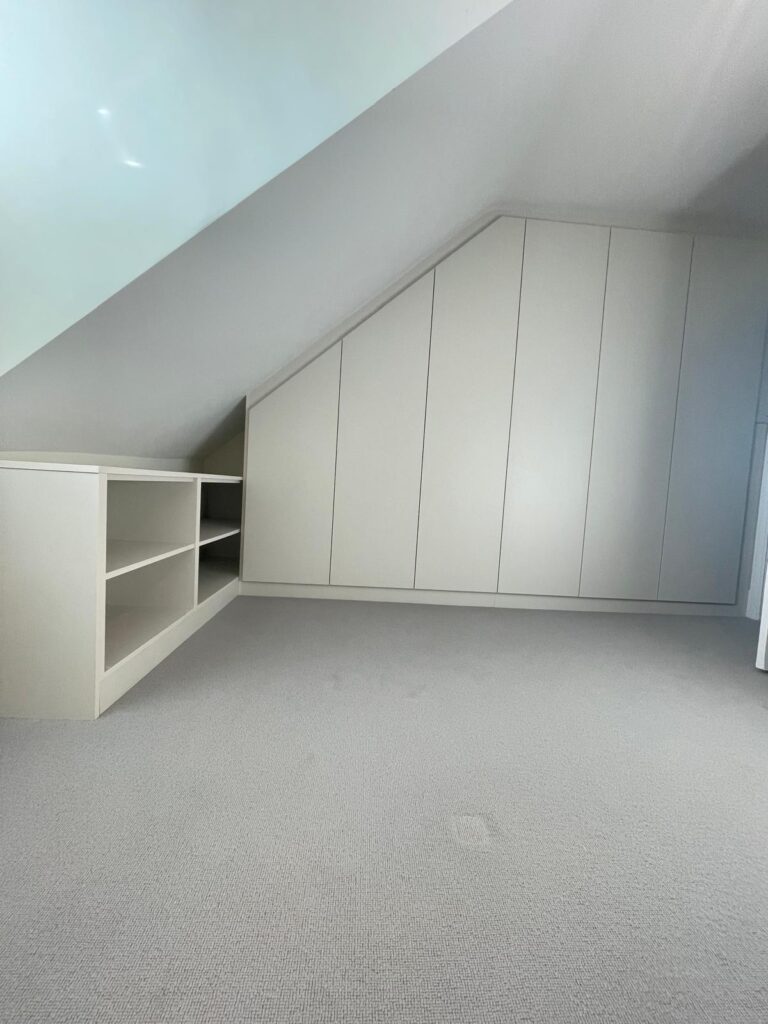

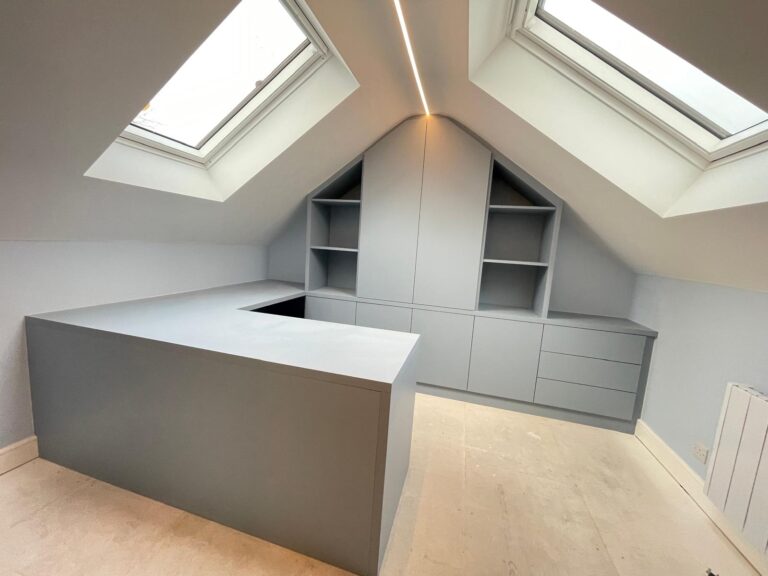
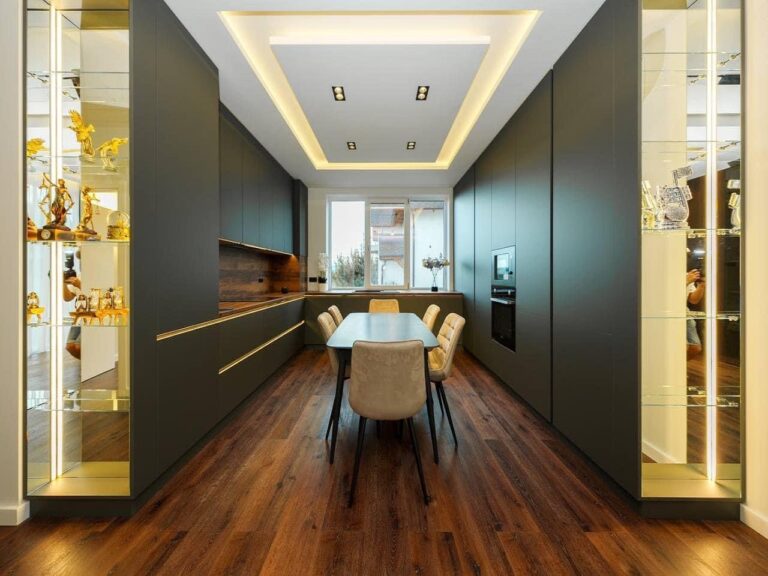
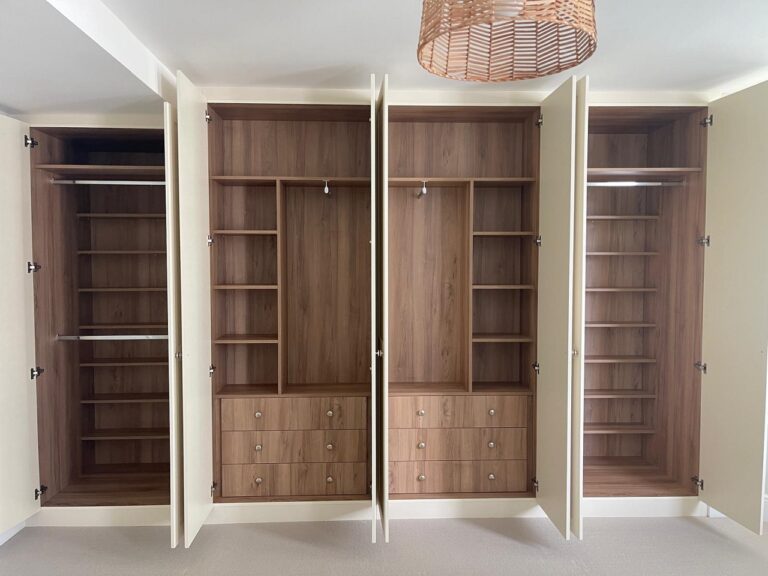


Bespoke wardrobe concealed lighting is defined as the planned integration of automated, high-quality LED systems within custom joinery to deliver precise illumination, visual clarity, and aesthetic refinement. Unlike surface-mounted strip lights added after installation, true concealed lighting is built into the wardrobe structure during manufacture, with cable routes, driver housings, and aluminium profiles all hidden from view. The industry term for this approach is integrated furniture lighting, and it relies on three core components: CRI 90+ LEDs for accurate colour rendering, low-voltage power supplies sized with headroom, and sensor-driven automation. At Finest Furniture Studio, we design every bespoke wardrobe with lighting integration considered from the first sketch, not as an afterthought. The result is a wardrobe that functions like a boutique dressing room and looks entirely uncluttered.
What are the essential components of bespoke wardrobe concealed lighting?
Integrated wardrobe lighting relies on four hardware categories working together. Understanding each one helps you specify the right system and avoid costly mistakes during installation.
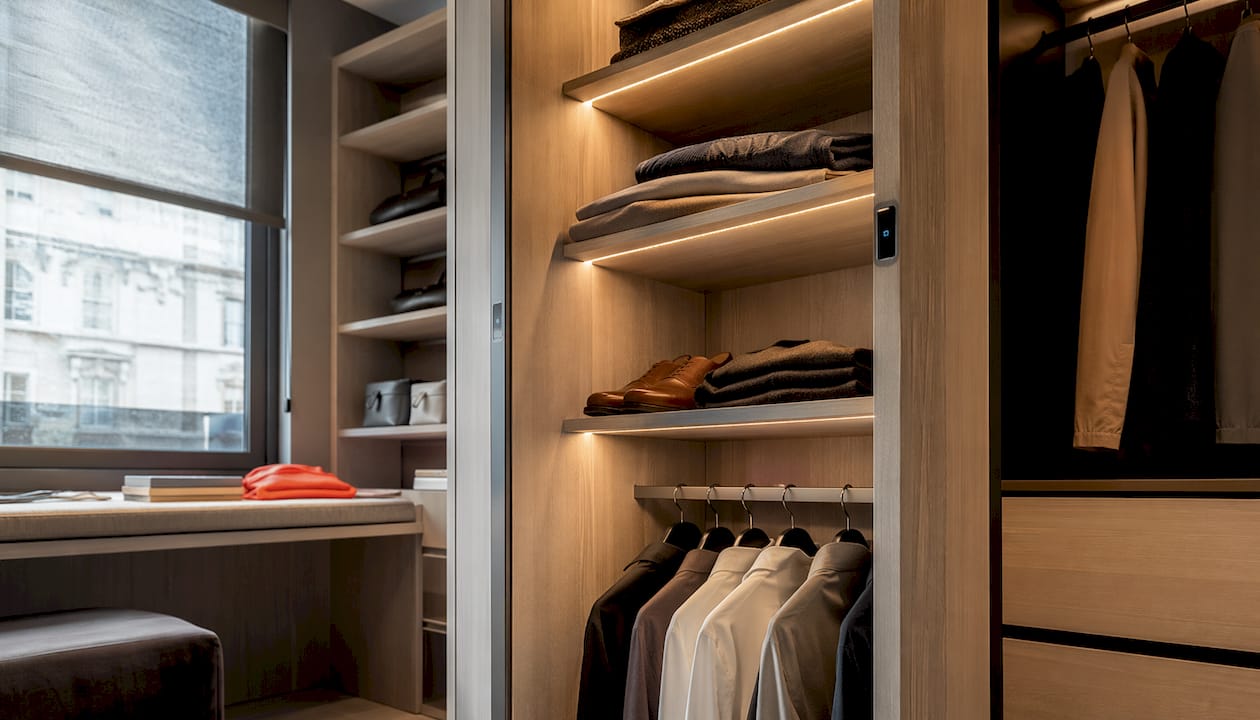
LED types and their best applications
Three LED formats suit bespoke wardrobe interiors. Strip LEDs are the most versatile, running along shelf undersides, hanging rail tops, and door frames. Puck lights work well in deep shoe compartments or drawers where a strip would be impractical. Linear profiles with diffusers produce the most polished result, hiding the LED chip entirely behind a frosted lens and casting even, shadow-free light across clothing.
Colour temperature matters as much as format. Warm-white LEDs at 2700–3000K with a CRI of 90 or above give the most accurate colour rendering. Without CRI 90+, navy suits can appear black and charcoal grey can read as brown, which defeats the purpose of a well-organised wardrobe.
Power supplies, profiles, and sensors
| Component | Specification | Purpose |
|---|---|---|
| LED power supply | 12V or 24V DC, sized with 20% headroom | Prevents overheating and extends driver life |
| Aluminium profile | Recessed into 16mm grooves | Hides strip, protects LEDs, diffuses light |
| Door-contact sensor | 12V DC, triggers on door open | Instant activation when wardrobe opens |
| PIR motion sensor | 12V DC, 60–96W capacity | Detects ongoing presence, keeps light on |
| Frosted diffuser | Fits standard aluminium profiles | Eliminates hotspots and visible LED dots |
Sensor switches for furniture operate at 12V DC and support 60–96W, which covers several linear metres of LED strip in a single wardrobe bay. That capacity is sufficient for most fitted wardrobes in London homes, including larger walk-in configurations in Richmond or Wimbledon.
Combining door-contact and PIR sensors gives the most reliable automation. Door-contact sensors trigger instantly when you open the wardrobe, while PIR sensors detect ongoing movement and keep the light active while you are dressing. Using both eliminates the frustration of lights cutting out mid-task.
Pro Tip: Specify a 24V system over 12V when your LED run exceeds three metres. Voltage drop on long 12V runs causes the far end of the strip to appear noticeably dimmer than the near end.
The role of lighting in home design extends well beyond visibility. In bespoke wardrobes, layered illumination creates a sense of depth and luxury that standard overhead bedroom lighting simply cannot replicate.
How to plan concealed lighting integration during wardrobe design
Planning integrated lighting during the design phase is the single most important decision you will make. Retrofitting lighting into a finished wardrobe almost always means visible surface-mounted strips, exposed wiring, and bulky components that compromise the bespoke aesthetic you paid for. The time to specify lighting is before the joinery is cut, not after it is installed.
A structured planning process covers six areas:
-
Map your lighting zones. Identify which areas need illumination: shelf undersides, hanging rails, drawer interiors, shoe compartments, and mirror surrounds. Each zone may require a different LED format and lux level. Target 200–400 lux for general ambient light and 500–750 lux for dressing zones where you need to assess clothing clearly.
-
Route cables during manufacture. Ask your cabinet maker to cut cable channels into panels before assembly. Channels should run from each lighting zone to a central driver housing, typically positioned at the top of the wardrobe or inside a dedicated service void. Cables fed through finished panels require drilling, which risks splitting veneers and leaves visible entry points.
-
Size and position the driver housing. The power supply generates heat. Position it in a ventilated void with at least 50mm of clearance on all sides. Drivers sized with 20% headroom run cooler and last significantly longer than drivers running at full rated load.
-
Coordinate with your lighting specialist early. Bring your lighting specification to the cabinet maker before manufacturing begins. Decisions about profile groove depth, sensor mounting positions, and cable exit points all affect the joinery dimensions. Changes after cutting are expensive and sometimes impossible without remaking panels.
-
Plan for service access. Drivers and connectors occasionally need replacing. Build a removable panel or access hatch into the driver housing location so that future maintenance does not require dismantling the entire wardrobe.
-
Confirm electrical compliance. The 230V mains connection from the driver to your home supply must be completed by a qualified UK electrician. Low-voltage wiring within the wardrobe is safe for a competent installer, but the mains side requires a Part P-compliant professional. This applies to every bespoke wardrobe installation across London, whether in Ealing, Kingston upon Thames, or Twickenham.
Pro Tip: Ask your cabinet maker to machine aluminium profile grooves at 16mm depth during manufacture. Recessed profiles at this depth sit flush with the panel face, making the light source completely invisible when the wardrobe is closed.
Step-by-step installation of integrated wardrobe lighting
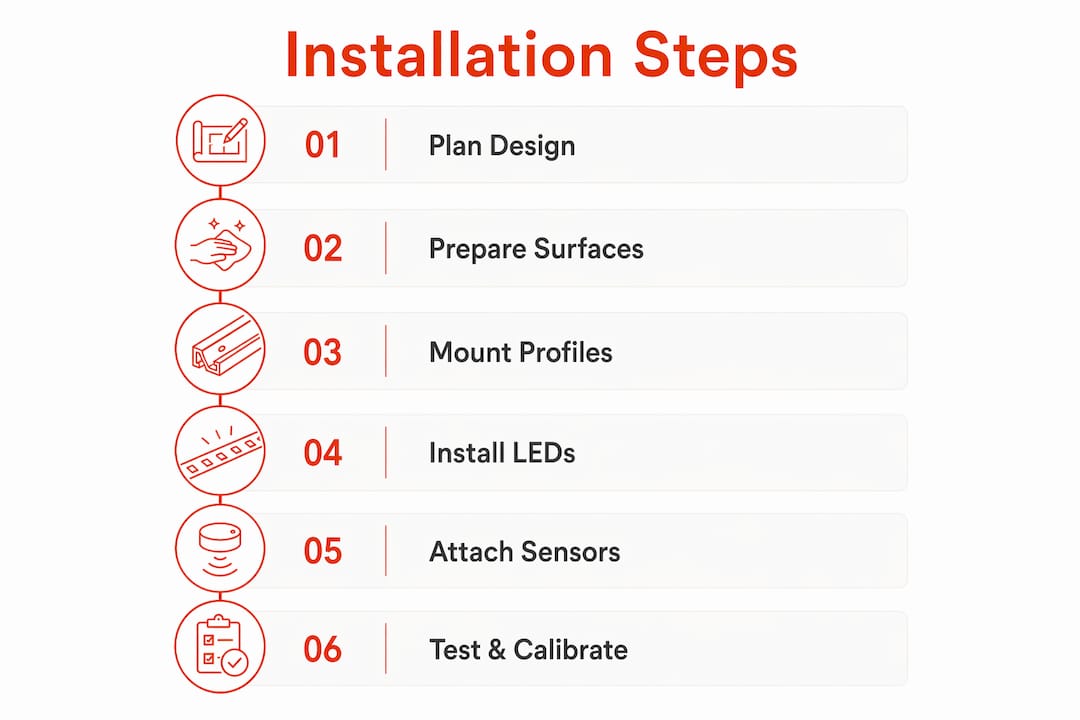
A methodical installation sequence prevents the most common errors: uneven illumination, loose connections, and sensor misfires. The steps below assume the wardrobe has been manufactured with pre-cut cable channels and profile grooves.
Preparing surfaces and mounting profiles
Clean every surface that will receive an LED strip or adhesive mount with isopropyl alcohol and allow it to dry fully. Adhesive strips mounted on uncleaned surfaces peel away within weeks. Press the aluminium profile firmly into its groove and secure with the supplied clips or screws at 300mm intervals.
Installing LED strips
Cut LED strips only at the marked cut points, which appear every 50mm on most 12V strips. Feed the strip into the profile channel, starting from the end closest to the driver. Connect strips to each other using solderless plug-and-play connectors rather than soldering inside the wardrobe. Soldered joints inside enclosed spaces are difficult to inspect and harder to replace.
Key installation checks:
- Verify polarity before powering up. Reversed polarity on LED strips causes no illumination and can damage the driver.
- Keep connector joints accessible where possible, ideally near a service panel.
- Do not bend strips around corners tighter than 90mm radius. Use corner connectors instead.
- Leave 100mm of slack cable at each driver connection to allow for future adjustments.
Mounting and wiring sensors
Door-contact sensors mount on the wardrobe frame, with the magnet on the door itself. Position the sensor at mid-height on the door frame for reliable triggering. PIR sensors mount inside the wardrobe, typically at the top rear panel, angled to cover the full interior. Connect both sensor types to the driver’s sensor input terminals using the low-voltage wiring already routed through the cable channels.
Testing and calibrating automation
Power up the system and open the wardrobe door. The lights should activate within half a second. Adjust the PIR sensor’s time-delay setting to between 30 and 90 seconds. A 30-second delay suits a quick clothing retrieval. A 90-second delay suits a full dressing routine. Motion-sensor lighting prevents lights being left on unnecessarily, which extends LED lifespan and reduces energy consumption. Test the door-contact sensor by opening and closing the wardrobe ten times in succession to confirm consistent triggering.
Statistic callout: Professional furniture sensor switches handle 60–96W at 12V DC. A typical bespoke wardrobe with three lighting zones uses well under 40W total, leaving substantial capacity for future additions.
Troubleshooting common issues and optimising performance
Even well-planned installations encounter problems. The issues below account for the majority of post-installation complaints from homeowners across London.
-
Uneven illumination. Bright spots at the LED chip positions indicate the diffuser is missing or incorrectly seated. Refit the frosted diffuser and check that it clips fully into the profile. If hotspots persist, the LED density (LEDs per metre) may be too low for the profile type. Upgrade to a higher-density strip.
-
Visible wiring. Wires appearing at panel joints indicate that cable channels were not cut deep enough during manufacture. Re-route cables behind a surface-mounted trunking strip painted to match the wardrobe interior, or commission a panel remake if aesthetics are critical.
-
Sensor false triggers. PIR sensors can activate from heat sources outside the wardrobe, such as radiators or direct sunlight through a window. Reposition the sensor away from the wardrobe opening or reduce its sensitivity using the adjustment dial on the sensor body.
-
Flickering LEDs. Flickering almost always indicates a loose connector or an undersized driver. Check all plug-and-play connectors for full engagement. If the driver is running at or above its rated load, replace it with a unit that has the correct 20% headroom.
-
Short LED lifespan. LEDs failing within two years point to heat build-up around the driver. Improve ventilation in the driver housing or relocate the driver to a larger void.
Pro Tip: Add a dimmer-compatible driver from the outset, even if you do not plan to use dimming immediately. Retrofitting a dimmable driver later requires rewiring the entire low-voltage circuit. The upfront cost difference is small.
Upgrading to smart control is straightforward once the low-voltage circuit is in place. A Zigbee or Z-Wave compatible driver replaces the standard unit and connects to platforms such as Apple HomeKit or Google Home. This allows scene-based control, scheduling, and remote monitoring, all of which align with the direction of smart home aesthetics in 2026.
Key takeaways
Integrated wardrobe lighting delivers its full benefit only when planned during the design phase, specified with CRI 90+ LEDs, and automated with combined door-contact and PIR sensors.
| Point | Details |
|---|---|
| Plan during manufacture | Route cables and cut profile grooves before assembly to avoid visible wiring. |
| Specify CRI 90+ LEDs | Warm-white LEDs at 2700–3000K render clothing colours accurately and prevent mismatches. |
| Size drivers with headroom | A 20% capacity buffer prevents overheating and extends driver lifespan significantly. |
| Combine sensor types | Door-contact sensors trigger instantly; PIR sensors maintain light during dressing. |
| Use a qualified electrician | The 230V mains connection requires a Part P-compliant professional under UK regulations. |
Why I think most wardrobe lighting projects get the planning backwards
Having worked on bespoke wardrobe projects across Wimbledon, Richmond, Putney, and Chiswick, I have seen the same mistake repeated: homeowners finalise the joinery design, approve the finish, and then ask about lighting as a final detail. By that point, the options are limited. You can add surface-mounted strips, but they will never look as refined as a flush-integrated profile. You can drill cable channels, but you risk splitting veneers on expensive panels.
The wardrobes I am most proud of are the ones where lighting was part of the conversation on day one. The cabinet maker machines the profile grooves, the electrician confirms the mains connection point, and the lighting specialist selects the LED density and colour temperature before a single panel is cut. That coordination takes an extra hour at the design stage and saves days of remedial work after installation.
I also think the industry undersells the practical value of sensor automation. Homeowners often see it as a luxury feature. I see it as a functional necessity. A wardrobe you open at 6:30 AM in a dark bedroom needs to illuminate instantly and switch off automatically. Manual switches require you to remember to turn them off, and they always get left on. Sensor-driven lighting solves a real daily frustration.
The direction of travel is clearly towards smart, scene-based control integrated with whole-home systems. Finest Furniture Studio already specifies dimmable, smart-compatible drivers as standard on walk-in wardrobe designs because retrofitting smart capability later is always more disruptive than building it in from the start. If you are commissioning a bespoke wardrobe now, specify smart-ready drivers. You may not use the feature immediately, but you will be glad it is there.
— Aureliu
Finest Furniture Studio: bespoke wardrobe lighting built in from day one
At Finest Furniture Studio, we integrate concealed lighting into every bespoke wardrobe design from the initial consultation. Our cabinet makers machine profile grooves and cable channels during manufacture, and we coordinate directly with qualified electricians to handle the mains connection. The result is a wardrobe where the lighting is invisible until the door opens.
We serve homeowners across Wimbledon, Richmond, Kingston upon Thames, Ealing, Twickenham, Putney, Chiswick, and surrounding London areas. Installations typically complete within 7–12 days, and every wardrobe carries our 10-year guarantee. We also remove and dispose of your existing wardrobe as part of the service. For a free design visit, explore our bespoke wardrobe guide for West London or call us on 07468 150807.
FAQ
What is bespoke wardrobe concealed lighting?
Bespoke wardrobe concealed lighting is the planned integration of LED systems within custom joinery, with all wiring, drivers, and profiles hidden inside the wardrobe structure. It differs from surface-mounted lighting by being built in during manufacture rather than added afterwards.
What CRI rating do wardrobe LEDs need?
Wardrobe LEDs require a CRI of 90 or above to render clothing colours accurately. Below CRI 90, dark colours such as navy and charcoal can appear identical under artificial light.
Do I need an electrician for wardrobe lighting?
The low-voltage wiring within the wardrobe can be completed by a competent installer, but the 230V mains connection to the driver must be carried out by a Part P-qualified electrician under UK building regulations.
How do door-contact and PIR sensors differ?
Door-contact sensors trigger the moment the wardrobe opens, providing instant illumination. PIR sensors detect ongoing movement inside the wardrobe and keep the light active while you are dressing, making the two sensor types complementary rather than interchangeable.
Can concealed wardrobe lighting be retrofitted?
Retrofitting is possible but produces a less refined result. Surface-mounted strips and exposed wiring are the typical outcome when lighting is added to a finished wardrobe. Planning integrated lighting during the design phase is the only way to achieve a fully concealed installation.