
Table of Contents
- Why a Sloping Ceiling Wardrobe Is Worth Building Yourself
- What You’ll Need Before You Start
- Step 1: Measure the Sloped Ceiling Angle and Vertical Heights
- Step 2: Plan the Internal Storage Layout for an Angled Wardrobe
- Step 3: Build the Wardrobe Carcass and Plinth
- How to Scribe Wardrobe Panels to Sloped Ceilings
- Fitting Doors and Maximising Vertical Storage
- DIY Wardrobe Internal Storage Ideas for Awkward Spaces
- When to Bring In a Professional
- Frequently Asked Questions
Last Updated: October 2, 2026
Why a Sloping Ceiling Wardrobe Is Worth Building Yourself
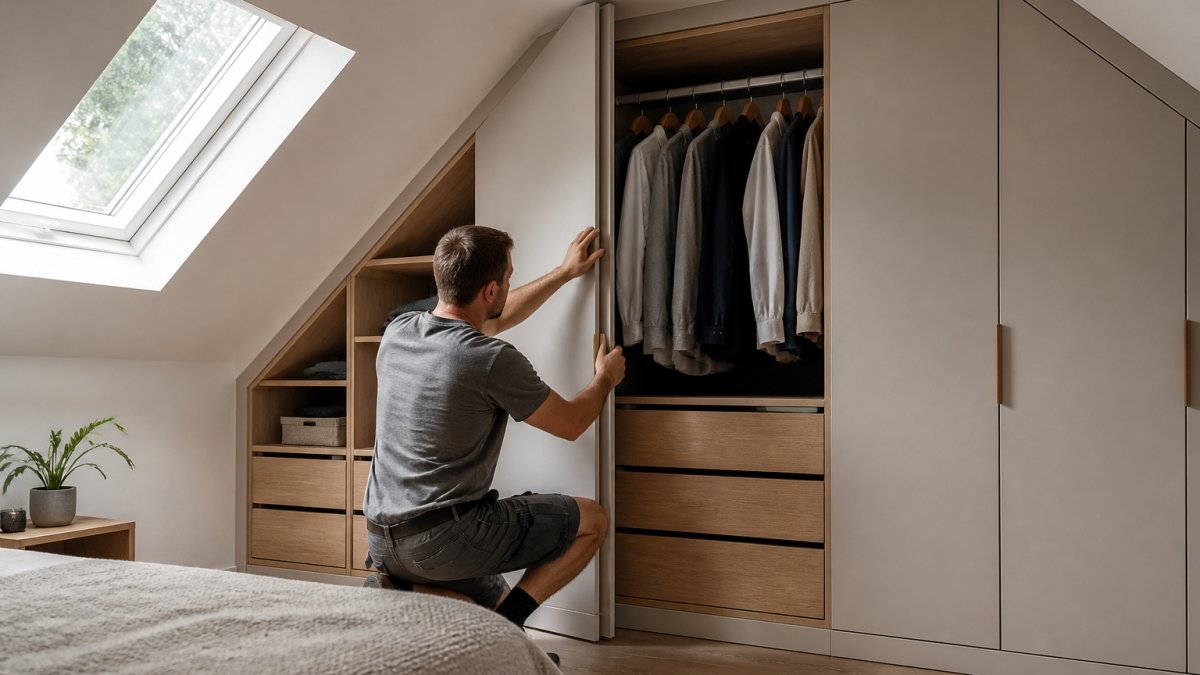
A DIY fitted wardrobe sloping ceiling guide matters most where standard units cannot go. Attic rooms, loft conversions and understairs nooks waste floor space because off-the-shelf carcasses are square and ceilings are not. This guide covers measuring, building and scribing a wardrobe that follows the angle.
The payoff is real. One documented DIY project took a single day, from 07:30 to 15:30, to install a complete sloped ceiling wardrobe (DIY project documentation). That is eight hours of work for storage that would otherwise be dead space.
But first, here is what most guides get wrong.
They treat the slope as a problem to hide behind a fascia panel. Done properly, the slope becomes part of the design. The wardrobe follows the roofline, and you gain usable depth at the tall end.
When DIY makes sense and when it doesn’t
Build it yourself if you have a simple rectangular footprint, one clear slope, and basic carpentry confidence. Buy bespoke if the room has multiple angles, uneven walls, or you want a flawless painted finish. A common mistake is underestimating scribe work on old walls: plaster never runs true, and every error shows at the ceiling line.
What You’ll Need Before You Start
Gather everything before you cut a single panel, missing tools mid-build stall projects for a week.
Tools list for a sloping ceiling wardrobe project
- Tape measure and spirit level
- Sliding bevel gauge for angle transfer
- Circular saw or track saw
- Jigsaw for cut-outs
- Drill and driver bits
- Scribe tool or compass
- Clamps and spacers
Materials and cut-to-size panel options
Cut-to-size MDF or plywood panels save hours of ripping down sheet goods. Order them to your finished dimensions and you skip the dustiest part of the job.
Modular systems are another route. IKEA Hackers documentation shows how PAX and Sektion cabinets can be adapted into built-in storage for rooms with non-standard ceiling angles.
Order panels 10mm oversized on every scribe edge. You can always trim more off. You cannot add material back.
Step 1: Measure the Sloped Ceiling Angle and Vertical Heights
Accurate measurement is the critical first step in overcoming the geometric challenges of slanted ceilings (Urban Wardrobes guide to slanted ceilings).
Measure the vertical height at three points: the low wall, the midpoint, and the high wall. Then measure the depth from front to back at floor level.
Recording rafter lines and floor levels
Mark every rafter line on the wall with a pencil. Check the floor for level in both directions. Old floors often drop 15mm across a room, and your plinth has to absorb that.
Record everything on a simple sketch:
| Measurement | Where to Take It | Why It Matters |
|---|---|---|
| Low wall height | Back wall, floor to slope | Sets your shortest panel |
| High wall height | Front wall, floor to ceiling | Sets your tallest panel |
| Rafter spacing | Along the slope | Locates fixing points |
| Floor level drop | Corner to corner | Sizes the plinth |
| Room depth | Front to back | Sets carcass depth |
Step 2: Plan the Internal Storage Layout for an Angled Wardrobe
Plan storage around height, not width. The tall end takes full hanging, the low end takes drawers or open shelving, and the middle does the heavy lifting. Get the zoning right and the carpentry stays simple.
Zone the interior by height, not by width
Divide the wardrobe into three vertical zones before drawing anything:
- Tall zone (full-height end): long hanging for coats, dresses and suits. A standard rail sits around 1,700-1,800mm from the floor, with roughly 1,000mm of clear drop below it.
- Mid zone: double hanging, one rail at about 1,000mm and a second at roughly 2,000mm, the single biggest storage win in a sloped wardrobe, doubling rail capacity where headroom is already generous.
- Low zone (under the slope): drawer banks, pull-out baskets or open cubbies. Drawer boxes typically need 500-550mm of internal depth, so check the carcass depth at the low end still clears the runners before you commit.
A common pattern gives the tall zone about 40% of the run, the mid zone 40%, and the low zone 20%. Adjust to what you actually own, count your long garments before fixing the rail height.
Rail heights, shelf spacing and drawer depths
Work to these figures and you will not fight the geometry later:
| Element | Typical dimension | Why it matters on a slope |
|---|---|---|
| Long-hang rail height | 1,700-1,800mm | Must clear the scribed line at the tall end |
| Double-hang rails | ~1,000mm and ~2,000mm | Needs at least 2,100mm of local headroom |
| Shelf spacing | 300-350mm | Keeps folded stacks usable under the slope |
| Drawer box depth | 500-550mm | Sets your minimum carcass depth at the low end |
| Shoe shelf pitch | 150-200mm | Angled shelves follow the rake more cleanly |
Shoe shelves are the one place where angling the shelf to match the slope genuinely helps. A shelf that rakes with the ceiling keeps the front edge at a consistent height, so you are not reaching into a wedge.
Plan the lighting before you close the panels
This is the step most DIY guides skip, and the one you cannot retrofit cheaply. Run the lighting circuit while the carcass is still open.
- Under-shelf LED strips: surface-mounted or recessed into a 10mm groove routed into the shelf front edge. Warm white (around 2700K-3000K) reads better inside a wardrobe than cool white.
- Above-rail strip: a single strip along the tall zone, switched separately from the under-shelf run.
- Motion sensor: a PIR sensor inside the door opening, wired to a driver tucked into the plinth void or a service gap at the back of the tall zone.
- Cable route: drill a 20mm service hole through the back of each shelf before assembly, then fish the low-voltage cable down to the driver, thin enough to hide behind a 6mm back panel.
Decide the lighting layout at the same time as the shelving layout. Every shelf you cut is a chance to drill a cable hole, every shelf already fitted is a chance you have missed.
Sketch the configuration before you build
Draw the front elevation to scale, mark the scribed line, then draw the internal partitions on top. If a partition lands within 100mm of the scribed line, move it, a sliver of storage is worse than a wider neighbouring bay. Once it works on paper, transfer the partition positions onto the plinth and top rail before cutting.
Step 3: Build the Wardrobe Carcass and Plinth
Build the plinth first, then stand the carcass on top. This lets you level the base before the weight goes on.
Cut the plinth to the floor’s highest point, then pack the low spots. Fix the carcass sides to the stud work behind the plasterboard, not just to the plaster.
Structural integrity and weight distribution
Weight should travel down through the sides and plinth to the floor, never hang from the ceiling. A loaded hanging rail can carry 40kg or more, and that load needs a solid path to the ground.
Never fix a loaded wardrobe only into plasterboard. It will pull free under the weight of coats and boxes, and the repair bill will far exceed the cost of finding the studs first.
How to Scribe Wardrobe Panels to Sloped Ceilings
Scribing is how you get a clean line where panel meets slope. Set the panel in place, then use a scribe tool or compass to transfer the ceiling’s shape onto the panel edge.
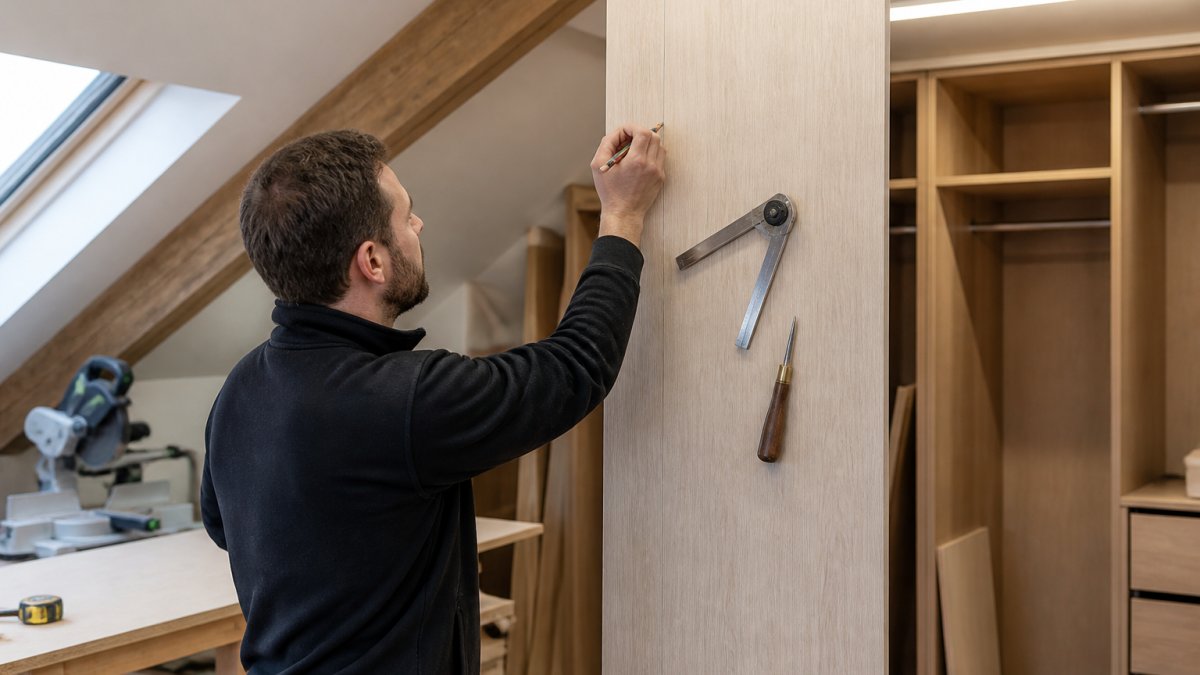
One workshop has taken this further. Cav Joinery’s TikTok documentation shows 3D-printed adjustable scribe clamps and custom spacers used to manage irregular gaps, delivering tighter gap precision with less installation drama.
Scribe every panel that touches the slope or an uneven wall. Skipping it leaves gaps that no amount of filler will hide convincingly.
Fitting Doors and Maximising Vertical Storage
Doors are where angled openings get tricky: a square door on a sloped frame will bind or leave a wedge-shaped gap at the top, and the fix is decided at design stage, not fitting stage.
Sliding vs hinged doors for angled openings
Sliding doors suit low headroom because they need no swing space. Hinged doors give better access but need full clearance and careful hinge adjustment on the slope side. Bi-fold sits between the two and often suits a mid-depth bay.
| Door Type | Best For | Watch Out For |
|---|---|---|
| Sliding | Low headroom, tight rooms | Track alignment on uneven floors; the top track needs a level datum even when the ceiling is not |
| Hinged | Full access, tall openings | Binding on the sloped side; use adjustable European hinges so you can tune the gap after fitting |
| Bi-fold | Mid-depth spaces | Hardware wear over time; every leaf adds a hinge point that can sag |
Cutting doors to follow the slope
A door that follows the rake is cut as a trapezoid, not a rectangle. Two approaches work:
- Scribed door: cut the door oversized, fit it in place, then scribe the top edge to the ceiling line with the same scribe tool used on the carcass, the cleanest result on an irregular slope.
- Stepped top rail: keep the door rectangular and hide the slope behind a fixed fascia panel above the door line. Faster, but you lose storage above the door and the fascia becomes a dust trap.
For sliding doors, the top track must be level even when the ceiling is not. Pack the track off the ceiling with a timber batten cut to the slope, then fix the track to the batten. Do not try to bend the track to the rake.
Lighting integration inside the wardrobe
Add LED strip lighting under shelves and above the rail. Run the cable before you close up the panels, because retrofitting later means pulling the wardrobe apart.
- Under-shelf strips: 10mm routed groove in the shelf front edge, warm white, daisy-chained through the service holes drilled at layout stage.
- Above-rail strip: a single run along the tall zone, on its own switch so you can light the hanging area without lighting the whole interior.
- Motion sensor: a PIR sensor inside the door opening, wired to a driver in the plinth void. Door-activated switching is the biggest usability upgrade on a sloped wardrobe, because the low end is often in shadow.
- Driver location: plinth void or a service gap at the back of the tall zone. Never bury a driver behind a fixed panel.
Low-voltage LED cable is safe to run yourself, but anything mains-side, the driver’s supply, the switch, the fused spur, is notifiable electrical work in most cases. If you are not confident, get a registered electrician to make the final connection before you close the panels.
Maximising vertical storage
Take shelving right up to the scribed line, every centimetre above the rail is storage you already paid for.
- Above-rail shelf: a single deep shelf running the full length of the tall zone, set just below the scribed line.
- Angled shoe shelves: rake the shelf to match the slope so the front edge stays at a consistent height.
- Tall slim bay: a 300mm-wide section at the tall end for ironing boards, ladders and vacuum tubes.
- Top boxes: open cubbies above the rail for suitcases and seasonal bedding, the one place a sloped wardrobe beats a standard one, because the tall end gives headroom a square carcass cannot.
Decide door type, door cut and lighting layout together. A sliding door changes where the track sits, which changes where the top shelf can go, which changes where the above-rail strip can run. Sequence them in that order and the build stays simple.
DIY Wardrobe Internal Storage Ideas for Awkward Spaces
Awkward spaces reward clever interiors more than clever carpentry. The build can be simple if the layout is smart.
- Pull-out baskets in the low section
- Angled shoe shelves under the slope
- A tall slim section for ironing boards and ladders
- Drawer banks on soft-close runners
- Open cubbies for bags and folded knitwear
Homeowners with loft conversions or understairs nooks who want maximum storage from an irregular footprint.
When to Bring In a Professional
Some slopes are simply too complex for a first DIY attempt. Multiple rafter angles, bowed walls and wonky floors stack up fast.
If you want a flawless finish without the risk, Finest Furniture Studio designs and fits bespoke wardrobes for awkward spaces, including sloping ceilings. Every project comes with a 10-year warranty on wardrobes, a 7-day fitting service, transparent pricing with no hidden fees, and a free design visit.
Frequently Asked Questions
Can I install a built-in wardrobe under a slanted ceiling?
Yes. A sloping ceiling wardrobe works well if you measure the ceiling angle and vertical heights first, then build the carcass to follow the rafter line. Modular systems like PAX or Sektion can provide a frame, but you will need to trim panels and add a fascia to close the angled gap. Accurate measurement is the critical first step, and a plinth plus leveling feet keeps the unit stable on uneven floors.
What tools are required for a DIY fitted wardrobe project?
At minimum you need a tape measure, spirit level, sliding bevel gauge, scribe tool, circular saw or track saw, drill, and a fine-tooth hand saw for trimming. A stud finder helps locate rafters before fixing. For a cleaner finish on awkward angles, a 3D-printed scribe clamp or custom spacer can hold panels steady while you mark gaps. Add a jigsaw for cut-outs around sockets and a clamp set for assembling the carcass.
How do you cut wardrobe panels to fit an angled ceiling?
Set the panel in place, then use a sliding bevel gauge to copy the ceiling angle onto the panel edge. Scribe the line with a pencil, allowing a 2-3 mm gap for expansion and filler. Cut with a track saw or circular saw for a straight edge, then sand and test-fit. Repeat for each panel along the slope. A scribe piece or fascia covers the joint and hides any small gaps where the panel meets the rafter line.
Is a DIY fitted wardrobe cheaper than a bespoke one?
DIY usually costs less in materials, but the trade-off is time and finish quality. A professional workshop can achieve tighter gaps and a more durable carcass, especially on complex angles where visible gaps are common. If your ceiling is heavily sloped or the space is understairs, a bespoke fitted wardrobe may save you rework. For straightforward slopes, DIY is a viable route.
A sloping ceiling does not have to mean wasted space. But if the angles multiply or the finish has to be perfect, the scribe work alone can defeat a weekend project. Finest Furniture Studio handles the measuring, the custom cabinetry and the fitting in one seamless service. Book a Free Design Visit and turn that awkward corner into storage you will actually use.

