

Last Updated: November 5, 2026
Quick Summary
A quality fitted wardrobe installation looks like it was always part of the room, with square doors, minimal gaps and a unit that feels fixed rather than placed. Check the gaps against the walls, ceiling and floor, then test that the doors close evenly and sit flush where they meet.
- Look for visible gaps between the unit and the walls, ceiling or floor.
- Close each door slowly and check the gap is even from top to bottom.
- Run a finger along the joint where two doors meet; it should sit flush.
- Check that fillers are fixed securely, cut cleanly and finished to match.
- Open and close every door several times to confirm none catch or drop.
Table of Contents
- What a Well-Installed Fitted Wardrobe Looks Like
- How to Check Fitted Wardrobe Door Alignment
- Gaps, Fillers and Finishing at the Edges
- Fitting Fitted Wardrobes to Uneven Walls and Sloping Ceilings
- A Fitted Wardrobe Installation Checklist You Can Use on Handover
- How Long Fitted Wardrobe Installation Should Take
- Booking Your Free Design Visit to Plan the Fit
- Frequently Asked Questions
What a Well-Installed Fitted Wardrobe Looks Like
A well-installed fitted wardrobe looks like it was always part of the room. Doors sit square, gaps are minimal, and the unit feels fixed rather than placed. Those qualities are the first things to check when judging quality with any installer.
Watch for visible gaps between the unit and the walls, ceiling or floor. Wide, uneven gaps suggest the unit was not scribed to the room properly.
Look at the carcass as well. The side panels should be straight and the top should be level. If the shelves sag or the doors rub against the frame, the fit was rushed.
How to Check Fitted Wardrobe Door Alignment
Door alignment is one of the quickest tests of workmanship. Close each door slowly and check the gap around its edges. The gaps should be even from top to bottom and across the width of the opening.
Run a finger along the joint between two doors that meet in the middle. The edges should sit flush, with no step or lip. A slight unevenness is normal in older properties, but a visible step on new work is a sign the hinges or frame need adjusting.
Open and close every door several times. Doors that catch, drop or swing open on their own have not been set up correctly. Ask the installer to adjust the hinges before you accept the work.
Gaps, Fillers and Finishing at the Edges
Gaps are where many installations reveal their quality. Walls are rarely perfectly straight, so a good installer scribes the unit to the wall and closes the gap with a filler strip or trim. The result should look deliberate and tidy. A clean, intentional finish depends on judging how materials meet, a skill shared with identifying quality heritage furniture.
Check the join where the unit meets the ceiling and skirting board. Fillers should be fixed securely, cut cleanly and finished to match the wardrobe. Loose or peeling fillers, or raw cut edges, suggest a shortcut.
Narrow or awkward gaps are common in alcoves and under sloping roofs. If you have a tight recess, read our guide on Can You Fit Useful Storage in a Narrow Wardrobe? to see what can still work.
Fitting Fitted Wardrobes to Uneven Walls and Sloping Ceilings
Uneven walls, sloping ceilings, and out-of-level floors are the real test of an installation. Older UK homes often have walls that lean, floors that slope, and skirting boards that are far from straight.
Wall and floor preparation
Choosing the right interior is equally important under a slope. The fittings should suit the reduced height at the back, so hanging rails and shelves are placed where they can actually be used. Our comparison of modular and bespoke wardrobes explains which system suits an irregular room, and internal fittings for sloped wardrobes covers how to plan the inside. For a detailed look at the fitting challenges, see our DIY fitted wardrobe sloping ceiling guide.
A Fitted Wardrobe Installation Checklist You Can Use on Handover
Most installers will walk you through the finished job, but a proper handover is your chance to inspect the work against objective criteria. Use the checklist below, and where a defect is found, note it in writing with a date for remedy. Keep a copy with your paperwork, snagging is far easier to resolve when problems are documented at handover.
Workmanship tolerances to check
- Door gaps: With doors closed, the gap between door and carcass should be even. A visible taper or step between adjacent doors is a defect, not a minor variation.
- Door alignment: Run a finger along the joint where two doors meet. They should sit flush; a visible step suggests hinges need adjusting or the carcass is twisted.
- Fillers and scribes: Fillers should be fixed securely, cut cleanly, and finished to match. Raw or splintered cut edges, or fillers that flex when pressed, indicate a rushed fit.
- Shelves and rails: Shelves should be level and not sag under light load. Hanging rails must be secure and at the agreed height, test by hanging a heavy coat and checking for movement.
- Handles and knobs: All should be straight, fixed tightly, and aligned consistently across doors and drawers.
- Surfaces: Check for scratches, paint marks, or adhesive residue. Minor marks may polish out; deep scratches are a snag.
- Anchoring: Give the carcass a gentle push, it should feel solid and not rock. Ask the installer to confirm how the unit is fixed to the wall.
Documenting snags and agreeing remedies
List each defect with a clear description and location (e.g. “left door of unit 2: 3 mm gap at top, tapering to 1 mm at bottom”). Agree a realistic timescale for correction, most installers will schedule a return visit within a week or two for adjustments. Confirm what is covered by the workmanship guarantee and what counts as fair wear and tear. If a defect is structural (e.g. a twisted carcass), the remedy may require partial dismantling; clarify this before signing off.
Watch out: Do not sign off the job or pay the final balance until snags are either fixed or scheduled in writing. Verbal promises are difficult to enforce later.
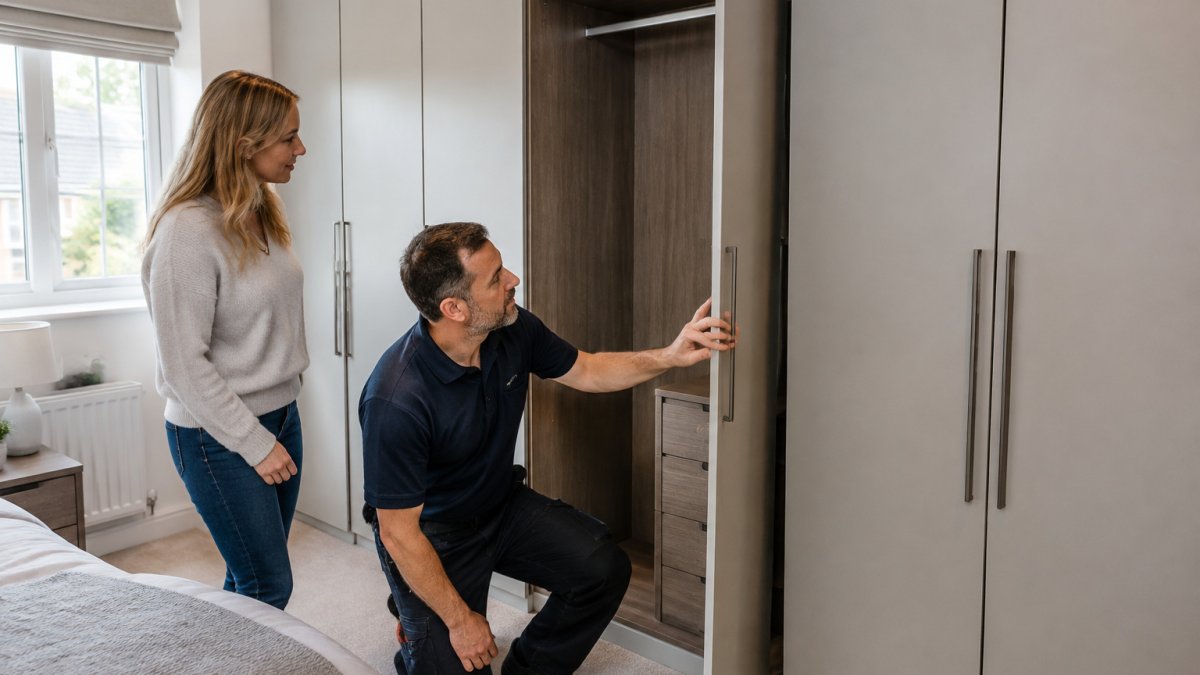
Use these workmanship checks at handover to inspect the finished job against clear criteria.
| Check | What good looks like | Defect to note |
|---|---|---|
| Door gaps | Even gap around each door | Visible taper or step |
| Door alignment | Doors sit flush where they meet | Visible step at the joint |
| Fillers and scribes | Fixed securely and cut cleanly | Raw edges or flexing fillers |
| Shelves and rails | Level, no sag under light load | Sagging shelves or moving rail |
| Handles and knobs | Straight and consistently aligned | Crooked or loose fittings |
| Surfaces | Free of scratches and residue | Deep scratches are a snag |
| Anchoring | Solid, does not rock when pushed | Unit rocks or fixing unclear |
How Long Fitted Wardrobe Installation Should Take
Installation time depends on the size and complexity of the unit. A straightforward wardrobe in a square room takes less time than a multi-section design fitted into an alcove with a sloping ceiling. Ask for a clear timeline before work starts.
Our fitting service includes a 7-day fitting service for eligible projects. Your exact timeline depends on the design, site conditions and the scope of work, so confirm the schedule during your consultation.
Plan your household around the install. Clear the area, move valuables and arrange access for the fitter. A tidy space helps the work run to schedule.
Booking Your Free Design Visit to Plan the Fit
A free design visit lets a specialist measure the room, check the walls and floor, and discuss what will work in your space.
During the visit, bring up any concerns about gaps, sloping ceilings or door alignment. Ask how each will be handled in your design. This is also the right moment to confirm the warranty terms and the pricing structure on the Finest Furniture Studio website.
Finest Furniture Studio offers a complimentary design visit, so you can plan the fit before committing. Book a free design visit to start planning your installation with confidence.
Frequently Asked Questions
What does a high-quality fitted wardrobe installation look like?
A well-installed fitted wardrobe sits level and plumb against the walls, with doors that hang evenly and close without rubbing. Gaps at the edges should be small and consistent, covered by neat trim or filler panels rather than left open. Drawers and rails should run smoothly, and the finish should be free of chips, scratches and visible dust traps. Ask for the installation to be checked against these points before you accept the job, and raise any issues while the installer is still on site.
How can you tell if fitted wardrobe doors are aligned correctly?
Close each door and look at the gap between neighbouring doors and between the doors and the frame. The gaps should be even from top to bottom. Open and close each door slowly: it should move freely, stay where you leave it and not scrape the carcass or the next door. Uneven gaps or doors that drift open often point to hinges that need adjusting or a carcass that is not square, so ask the installer to correct them before handover.
How long does fitted wardrobe installation usually take?
Installation time depends on the size and complexity of the design, the condition of the room and how much preparation the walls and floor need. Finest Furniture Studio offers a 7-day fitting service, but the exact timeline for your project is confirmed at your free design visit and set out in your quote. Ask for a written schedule so you can plan around working from home or other commitments.
Should fitted wardrobes have gaps around the edges?
Some small gap is normal, because no wall or floor is perfectly straight, and this is usually hidden by trim, scribe strips or filler panels. A gap that is wide, uneven or visible from the room is a sign of poor fitting. A good installer will measure the room carefully, fit the carcass to the actual walls and finish the edges neatly so the wardrobe looks built in rather than simply placed against the wall.
Finest Furniture Studio builds custom-fitted storage designed to suit your room, with a clear installation process from start to handover. Book a free design visit to discuss your space and see what a precise fit looks like in practice.


